Easy Stuffed Cabbage Bake Recipe
You know those recipes that just feel like a warm hug? The ones that fill your kitchen with the most incredible aroma, making everyone (and I mean *everyone*) gather around, just waiting for that first bite? This zucchini bread is exactly that for me. It’s not just about the taste, though believe me, it’s phenomenal – moist, perfectly spiced, with just the right touch of sweetness. It’s about the memories tied to it, the sheer joy on my kids’ faces when they see this loaf cooling on the rack, and the fact that it’s a lifesaver on those afternoons when a craving hits hard, but I’m not up for a whole baking project. It’s like a sophisticated cousin to a regular chocolate chip muffin, but somehow even more comforting and satisfying. I first stumbled upon a version of this years ago, and it’s been a staple in my kitchen ever since, evolving slightly with each batch as I’ve learned little tricks and discovered what *I* truly love in a perfect slice of zucchini bread.
What is Zucchini bread?
So, what exactly *is* zucchini bread? At its heart, it’s a quick bread, meaning it uses a chemical leavening agent (like baking soda or baking powder) instead of yeast, so you don’t have to wait around for dough to rise. The star ingredient, of course, is zucchini! Now, don’t let that vegetable part scare you off. When baked, zucchini doesn’t lend a strong “vegetable” flavor; instead, it contributes an incredible amount of moisture, making the bread unbelievably tender and soft. Think of it as a sneaky way to get a little extra goodness into a treat that already tastes amazing. It’s essentially a wonderfully moist, spiced cake that just happens to be baked in a loaf pan. It’s often compared to banana bread, and while they share that comforting, moist texture, zucchini bread has a lighter, more subtle flavor that lets the spices and any added mix-ins truly shine.
Why you’ll love this recipe?
Honestly, there are so many reasons why this zucchini bread has earned a permanent spot in my recipe box, and why I think you’re going to adore it too. First off, the flavor is just out of this world. It’s a delicate dance of warm spices – cinnamon, nutmeg, and a hint of clove – that just screams cozy. The zucchini makes it incredibly moist, so you never get that dry, crumbly texture that’s so disappointing. It’s genuinely so simple to whip up, even on a weeknight. I’m talking about mixing everything in one bowl (mostly!) and then letting the oven do the work. Plus, it’s incredibly budget-friendly. Zucchini is usually pretty affordable, and the other ingredients are pantry staples for most home bakers. What I love most, though, is its versatility. You can enjoy it plain, with a simple dusting of powdered sugar, or jazz it up with nuts, chocolate chips, or even a cream cheese swirl. It’s perfect for breakfast, a delightful afternoon snack, or even a simple dessert. It’s one of those rare recipes that feels both indulgent and wholesome, and it’s definitely a crowd-pleaser. My kids devour it, my husband asks for it regularly, and it’s always a hit when I bring it to potlucks. It’s so much better than those store-bought versions that can often taste artificial; this is pure homemade goodness.
How do you make Zucchini bread?
Quick Overview
The process is wonderfully straightforward. You’ll essentially be mixing your dry ingredients, then your wet ingredients separately, before combining them gently. The grated zucchini is folded in, and then, if you’re feeling fancy, you can add a swirl of cinnamon-sugar or chocolate chips. Pour it all into a prepared loaf pan and bake until a toothpick comes out clean. It’s that easy! The beauty is in the simplicity, and the result is a loaf that’s unbelievably tender and flavorful, every single time.
Ingredients
For the Main Batter:
I always start with good quality all-purpose flour, usually around 2 cups. Make sure to measure it properly by spooning it into your cup and leveling it off with a straight edge, not by scooping directly from the bag – that can lead to a denser loaf. For sweetness, about 1.5 cups of granulated sugar is my go-to, but you can adjust this slightly depending on your preference. A teaspoon of baking soda and half a teaspoon of baking powder give it that perfect lift. And for those warm, comforting flavors, I use 2 teaspoons of ground cinnamon and half a teaspoon each of ground nutmeg and ground cloves. A generous pinch of salt (about half a teaspoon) balances everything out. Don’t skip the salt; it’s a flavor enhancer!
For the Filling:
This is where you can get creative! My absolute favorite addition is about 1 cup of chocolate chips – semi-sweet is best for me, but milk chocolate or dark chocolate work wonderfully too. If you’re a nut lover, about half a cup of chopped walnuts or pecans adds a fantastic crunch. For a bit of extra zest, sometimes I’ll add the zest of one lemon or orange to the batter itself, not really a filling, but it brightens everything up!
For the Glaze:
This is optional but highly recommended for that extra touch of indulgence. It’s a simple powdered sugar glaze: about 1 cup of powdered sugar mixed with 2-3 tablespoons of milk (or even a bit of lemon juice for a tang) until it reaches a drizzly consistency. You want it thick enough to coat, but not so thick that it won’t spread. I often add a tiny splash of vanilla extract to this as well.
Step-by-Step Instructions
Step 1: Preheat & Prep Pan
First things first, get that oven preheating to 350 degrees Fahrenheit (175 degrees Celsius). While it’s heating up, grease and flour a standard 9×5 inch loaf pan. I usually use butter or cooking spray for greasing, and then a tablespoon or two of flour, tapping out the excess. This ensures your beautiful loaf doesn’t stick. If you’re feeling extra cautious, you can also line the pan with parchment paper, leaving an overhang on the sides to lift it out easily later.
Step 2: Mix Dry Ingredients
In a large mixing bowl, whisk together your all-purpose flour, granulated sugar, baking soda, baking powder, cinnamon, nutmeg, cloves, and salt. Give it a good whisk until everything is evenly distributed. This is important because it helps ensure your leavening agents are spread throughout the batter, leading to an even rise and texture. You don’t want a surprise pocket of baking soda in your slice!
Step 3: Mix Wet Ingredients
In a separate medium bowl, crack two large eggs. Add about 2/3 cup of melted unsalted butter or a neutral oil like vegetable or canola oil. I find butter gives a richer flavor, but oil makes it even more incredibly moist. Stir in about 1/4 cup of milk or buttermilk, and a teaspoon of vanilla extract. Whisk it all together until well combined.
Step 4: Combine
Now, pour the wet ingredients into the bowl with the dry ingredients. Using a spatula or a wooden spoon, gently fold them together until *just* combined. It’s really important not to overmix here! You want to see just a few streaks of flour remaining. Overmixing develops the gluten in the flour, which can make your bread tough, and we definitely don’t want that. Next, stir in about 1.5 to 2 cups of finely grated zucchini. Squeeze out any excess moisture from the zucchini before adding it; this is a crucial step for texture. Fold it gently into the batter until it’s evenly distributed.
Step 5: Prepare Filling
If you’re adding chocolate chips or nuts, this is the point where you gently fold them into the batter. If you’re doing a cinnamon-sugar swirl, you’ll make that separately. A simple swirl is usually 2 tablespoons of sugar mixed with 1 teaspoon of cinnamon. You can also make a cream cheese swirl by creaming together about 4 ounces of softened cream cheese with 2 tablespoons of sugar and a splash of vanilla.
Step 6: Layer & Swirl
Pour about half of the batter into your prepared loaf pan. If you’re doing a swirl, dollop spoonfuls of your filling mixture over the batter. Then, pour the remaining batter on top. If you’re using a cream cheese swirl, dollop it on top of the second layer of batter. Now, take a knife or a skewer and gently swirl the filling into the batter. Don’t overdo it – you want distinct swirls, not a muddy mess! If you’re using chocolate chips or nuts, just ensure they’re evenly distributed throughout.
Step 7: Bake
Pop that loaf pan into your preheated oven. Bake for about 50-65 minutes. The exact time can vary depending on your oven, so start checking around the 50-minute mark. The best way to tell if it’s done is to insert a toothpick or a thin knife into the center of the loaf. If it comes out clean, or with just a few moist crumbs attached (no wet batter!), it’s ready. If it’s still gooey, give it another 5-10 minutes and check again. If the top starts browning too quickly, you can loosely tent it with foil.
Step 8: Cool & Glaze
Once baked, let the zucchini bread cool in the loaf pan for about 10-15 minutes. This allows it to set up properly. Then, carefully invert it onto a wire rack to cool completely. This is important! If you try to glaze it while it’s hot, the glaze will just melt and drip off. Once it’s completely cool, you can prepare your glaze. Whisk together the powdered sugar and milk (or lemon juice) until you have a smooth, pourable consistency. Drizzle it over the top of the cooled loaf, letting it drip down the sides. If you added chocolate chips or nuts, you can sprinkle a few more on top of the wet glaze for extra decoration.
Step 9: Slice & Serve
Once the glaze has set slightly (or if you skipped the glaze!), you can slice your zucchini bread. I find a serrated knife works best for clean cuts. Serve at room temperature. It’s absolutely divine on its own, but a little smear of butter is never a bad idea!
What to Serve It With
This zucchini bread is so wonderfully versatile, it honestly fits into almost any meal or occasion. For a quick and easy breakfast, I love it toasted and served with a simple mug of coffee or a glass of milk. It’s just hearty enough to keep you going. At brunch, it’s a star player. I’ll usually serve it alongside some fresh fruit salad, maybe some scrambled eggs or a quiche. A sprinkle of powdered sugar or a light dusting of cinnamon on top makes it feel extra special. As a dessert, it’s perfect for satisfying that sweet craving without being overly heavy. A dollop of whipped cream or a scoop of vanilla bean ice cream alongside a warm slice is pure bliss. And for those cozy afternoon snacks? It’s unbeatable. I just grab a slice, curl up with a good book and a cup of tea, and it’s pure comfort. My family also loves it packed in their lunchboxes for a sweet treat. It’s one of those recipes that just brings a little bit of sunshine to any day.
Top Tips for Perfecting Your Zucchini Bread
Over the years, I’ve learned a few tricks that really elevate this zucchini bread from good to absolutely phenomenal. For zucchini prep, don’t skip squeezing out the excess moisture! I usually grate my zucchini on the large holes of a box grater, then grab a handful and squeeze it firmly over the sink or wrap it in a clean kitchen towel to wring out as much liquid as possible. This prevents a soggy loaf. When mixing, remember the golden rule: don’t overmix. A few streaks of flour are perfectly fine; they’ll disappear as you fold in the zucchini. Overmixing leads to a tough bread, and nobody wants that! For swirl customization, whether it’s cinnamon-sugar or cream cheese, less is often more. You want distinct ribbons, not a completely blended mix. I usually reserve about a quarter of the swirl mixture to dollop on top before baking. If you’re looking for ingredient swaps, I’ve experimented quite a bit! For a dairy-free option, you can use plant-based milk like almond or soy milk, and for the butter, a neutral-flavored oil like melted coconut oil or vegetable oil works well. I’ve even tried almond milk in the batter, and it made it incredibly creamy. If you’re out of eggs, you can try a flax egg (1 tablespoon flaxseed meal mixed with 3 tablespoons water, let sit for 5 minutes) but the texture might be slightly different. For baking, I always recommend using the middle rack of your oven for even heat distribution. If you notice the top is browning too quickly before the center is cooked, just loosely tent the loaf pan with aluminum foil. And for glaze variations, a simple lemon glaze (powdered sugar with lemon juice) adds a lovely tartness that cuts through the sweetness, or you can even use a simple chocolate ganache for a more decadent finish. A dusting of powdered sugar is also a beautifully simple alternative to a full glaze.
Storing and Reheating Tips
One of the best things about this zucchini bread is how well it keeps! At room temperature, it stays wonderfully moist and delicious for about 2-3 days. I usually store it in an airtight container or wrap it tightly in plastic wrap. Make sure it’s completely cooled before wrapping, otherwise, condensation can make it soggy. If you need it to last a bit longer, the refrigerator is your friend. Wrapped well, it can stay fresh in the fridge for up to a week. I find it’s even better on day two or three! When you’re ready to enjoy a slice from the fridge, you can eat it cold, or for an extra treat, I love to pop it in the toaster on a low setting for a minute or two – it brings back that lovely fresh-baked warmth. For longer storage, this zucchini bread freezes like a dream! Wrap individual slices or the whole loaf tightly in plastic wrap, then in aluminum foil, or place them in a freezer-safe bag. It’ll keep well in the freezer for up to 2-3 months. To thaw, just let it sit at room temperature for a few hours, or gently reheat it in the oven or toaster. If you’ve glazed your loaf, I usually prefer to add the glaze *after* thawing and reheating if it’s going to be frozen, as the glaze can sometimes get a little sticky in the freezer. But honestly, even a slightly less-than-perfect glaze after freezing still tastes amazing.
Frequently Asked Questions
Final Thoughts
This zucchini bread, for me, is more than just a recipe; it’s a feeling. It’s the feeling of home, of comfort, and of sharing something truly special. It’s proof that you can create something incredibly delicious and satisfying with simple, humble ingredients. The way it turns out so moist and flavorful, every single time, is just a little bit magical. It’s the perfect example of how baking can be both a creative outlet and a source of immense joy. If you’re someone who loves a moist, spiced cake, or if you’re looking for a fantastic way to use up that surplus zucchini from your garden (or the grocery store!), I really hope you’ll give this a try. And if you’re a fan of tender, flavorful quick breads, you might also adore my Easy Banana Bread Recipe or my Moist Blueberry Muffin Recipe. I truly can’t wait to hear how your zucchini bread turns out! Please leave a comment below and tell me what you think, or share any fun variations you tried. Happy baking!
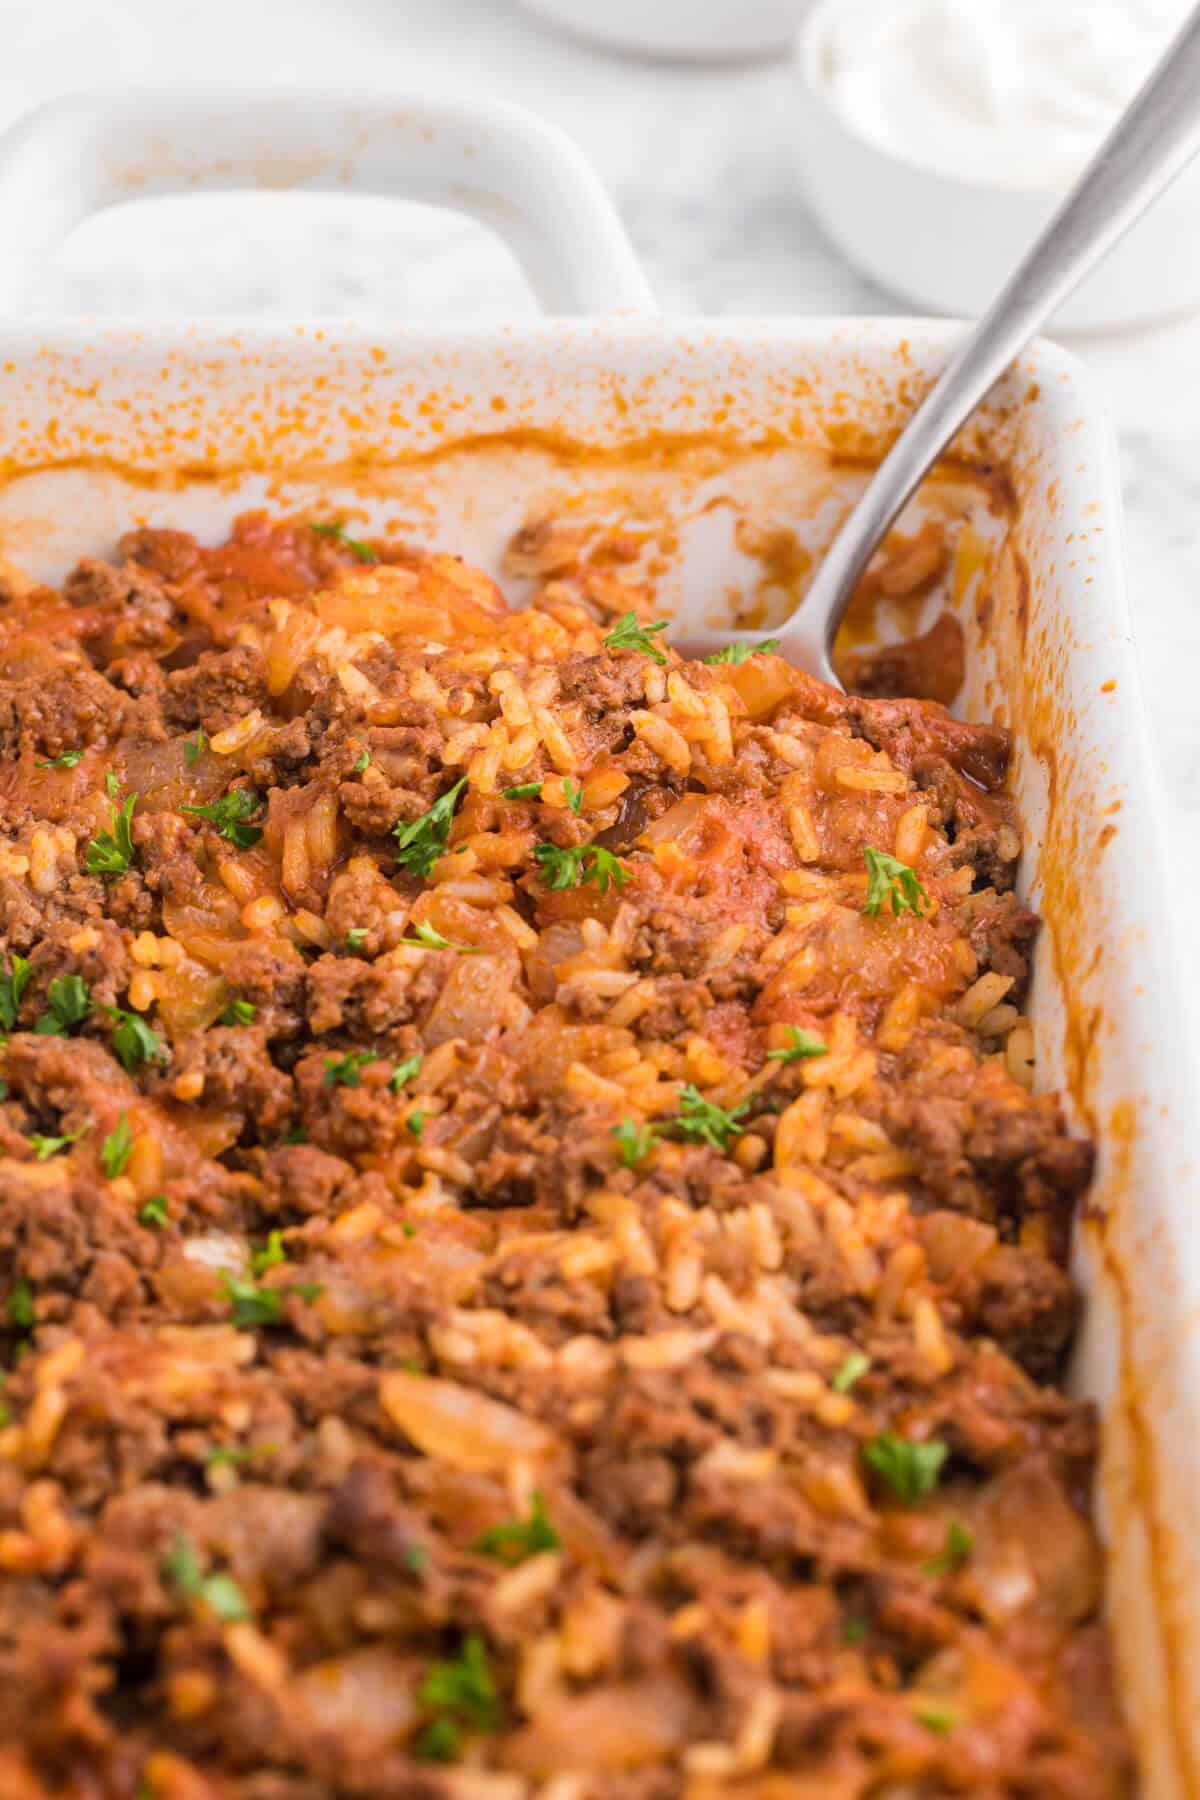
Cabbage Roll Casserole
Ingredients
Method
- Preheat oven to 350°F.
- Add ground beef, onion, garlic, salt and pepper to a skillet over medium high heat. Cook until beef is browned and onion is softened. Add tomato sauce and water. Stir in rice and bring to a boil. Turn down heat to low and cover. Simmer for 20 minutes.
- Place ½ cabbage in a 9×13 inch baking dish. Cover with ½ rice mixture. Repeat layers. Cover with aluminum foil and bake for 1 hour. Serve with sour cream.