Easy Mint Candy in a Slow Cooker
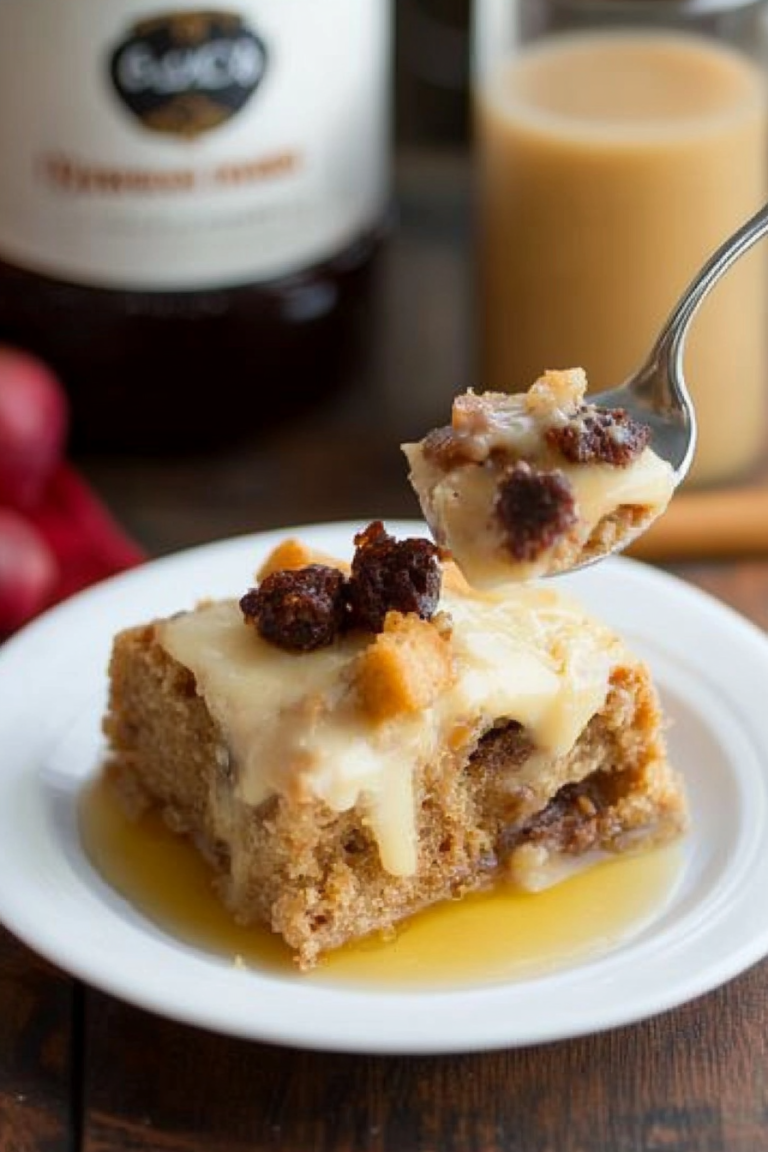
There’s nothing quite like biting into a warm slice of homemade coffee cake, especially when you’re sitting in your pajamas on a slow Sunday morning, coffee steaming in front of you, and the house smells like vanilla and cinnamon. I remember the first time I made this zucchini streusel coffee cake; it was a chilly fall day, and my kids begged me to bake something sweet after school. I didn’t have much in the pantry, but I did have a big zucchini seeping in the fridge, just waiting for its moment to shine. That’s how this recipe was born—an unexpected twist on classic coffee cake, transformed into a moist, tender, zucchini-infused treat with a crunchy streusel topping that’s practically addictive. Honestly, I’ve made this countless times since then, and I swear, no matter how many layers I try to tweak or sugar I cut back on, it always disappears in minutes at my house. It’s cozy, it’s satisfying, and I promise, once you give it a try, it’ll become a beloved staple too. Trust me on this one—you won’t regret it! And the best part? It’s so easy that you’ll be wondering why you didn’t think of this delicious idea sooner.
What is Zucchini Streusel Coffee Cake?
Think of zucchini streusel coffee cake as a marriage between a classic crumb cake and a veggie-loaded secret weapon. It’s essentially a tender, moist buttery cake infused with shredded zucchini—yes, zucchini—hidden inside to keep it super soft and a little sneaky when it comes to nutrition. The phrase “coffee cake” usually makes people picture a cinnamon-sugar crumb topping resting atop a soft, sweet layer, and that’s exactly what this is. The zucchini adds moisture and richness without making it dense; instead, it keeps every bite light and luscious. The name “streusel” refers to that crunchy, buttery topping packed with brown sugar and nuts (or optional—you could leave it nut-free if you prefer). Think of it as a cozy hug in cake form, perfect for Sunday brunch, breakfast, or even a snack with your afternoon tea. The best part? Once you shred the zucchini (I always do this with a box grater—it’s a kitchen hack I swear by), this cake practically makes itself. It’s like giving a vegetable a fancy new role—who knew zucchini could be this charming?
Why you’ll love this recipe?
What I love most about this zucchini streusel coffee cake is how it balances comfort and cleverness. First, the flavor—rich, buttery notes mingle with cinnamon and that irresistible crumb topping, making every bite a little celebration. The zucchini does its quiet magic, keeping the cake moist and tender without any fuss. And speaking of fuss, this is one of those recipes I always do when I need something homemade but don’t want to spend hours in the kitchen. The batter comes together in minutes—I’ve even made it with one hand while holding my sleepy toddler the other! Plus, it’s budget-friendly. You probably already have most of the ingredients tucked away, and if you don’t, they’re simple staples: flour, sugar, eggs, a zucchini or two, and a pinch of cinnamon. And the best part? Versatility. You can switch up the streusel nuts, add a handful of chocolate chips for a cheat day, or even swap out the sugar for honey or maple syrup. What I love most about this is how it’s a real crowd-pleaser. My kids ask for this all the time, and my friends always ask for the recipe. It’s cozy enough for weekend mornings but fancy enough to serve to guests—the perfect bake in my book.
How do you make Zucchini Streusel Coffee Cake?
Quick Overview
This coffee cake is honestly a breeze. It starts with shredding zucchini into a bowl of batter, mixing up a simple crumb topping, and then layering everything in a pan before popping it in the oven. The trick is not overmixing the batter—you want it light and fluffy. The zucchini keeps it incredibly moist, which means you’ll get that melt-in-your-mouth texture with every slice. Once baked, it gets topped with a sprinkle of crunchy streusel that you can customize with nuts or even oats. It’s perfect for making ahead—you can bake it in the morning, and the smell alone will make your house feel extra welcoming. Trust me, this one’s a lifesaver on busy nights when you want to treat yourself without the fuss of complicated icing or fancy ingredients. Just imagine carrying this warm slice to the table with a cup of coffee—total homey heaven.
Ingredients
For the Main Batter:
– 2 cups all-purpose flour (preferably unbleached for a tender crumb)
– 1 cup granulated sugar (or equal parts honey for a softer sweetness)
– 1 teaspoon baking powder
– 1/2 teaspoon baking soda
– 1/2 teaspoon salt
– 1 teaspoon ground cinnamon (trust me, this is key!)
– 1/2 cup vegetable oil or melted unsalted butter
– 3 large eggs
– 1 teaspoon vanilla extract
– 1-2 medium zucchinis, grated (about 2 cups)
– 1/4 teaspoon freshly grated nutmeg (optional but recommended for depth)
For the Filling:
– 1/4 cup packed brown sugar
– 1/2 teaspoon cinnamon
– 1/4 cup chopped nuts (walnuts or pecans—your call!)
For the Streusel Topping:
– 1/2 cup all-purpose flour
– 1/3 cup packed brown sugar
– 1/4 cup cold unsalted butter, cubed
– 1/4 teaspoon salt
– Optional: a handful of chopped nuts or oats for extra crunch
Step-by-Step Instructions
Step 1: Preheat & Prep Pan
Start by preheating your oven to 350°F (175°C). Grease a 9-inch square or round baking pan well—you can use butter or non-stick spray. Line it with parchment paper if you want easy removal. I always do this because nothing’s worse than a cake sticking to the pan, especially when it’s warm and freshly baked.
Step 2: Mix Dry Ingredients
In a large bowl, whisk together the flour, sugar, baking powder, baking soda, salt, cinnamon, and nutmeg. Make sure everything is evenly distributed—this step is super important, so your cake bakes evenly. I find that sifting the dry ingredients once makes for a lighter batter, but a good whisk does the trick if you’re in a rush.
Step 3: Mix Wet Ingredients
In a separate bowl, beat the eggs lightly, then add the oil (or melted butter) and vanilla. Whisk until combined. Then, grate your zucchini—no need to peel, just give it a good rinse first. I use a box grater to shred it quickly, and I always squeeze out excess moisture with a clean kitchen towel. This trick prevents the cake from turning out watery, and trust me, it makes all the difference.
Step 4: Combine
Make a well in your dry ingredients and pour in the wet mixture. Gently fold with a spatula or wooden spoon—don’t overmix! The batter should be just combined, slightly lumpy is fine. Overmixing can lead to a dense cake, and nobody wants that.
Step 5: Prepare Filling
In a small bowl, mix together the brown sugar, cinnamon, and nuts. I love adding nuts here—they give the cake that satisfying crunch—plus, they add a toasty flavor. If you’re nut-free, skip them or sprinkle some shredded coconut or chocolate chips instead.
Step 6: Layer & Swirl
Pour half of the batter into your prepared pan. Spread evenly, then sprinkle the filling mixture over it. Top with the remaining batter. For a pretty swirl effect, use a toothpick or skewer to gently run through the batter, creating a marbled look. It’s not necessary, but it makes the presentation even more tempting.
Step 7: Bake
Pop it in your preheated oven and bake for 40-45 minutes. Check for doneness by inserting a toothpick in the center—if it comes out clean, you’re good. If it’s still a little wet, give it a few more minutes. Every oven bakes a bit differently, so keep an eye on it after 40 minutes. The smell alone will have everyone in the house wandering towards the kitchen.
Step 8: Cool & Glaze
Let the cake cool in the pan for about 15 minutes before transferring it to a wire rack. This helps it set perfectly. While it cools, make your glaze—simply mix powdered sugar with a splash of milk or lemon juice until you reach your desired drizzling consistency. Pour or drizzle over the slightly warm cake for that classic bakery look. Honestly, I think the glaze is what makes this cake feel extra special, so don’t skimp on it.
Step 9: Slice & Serve
Once cooled completely, slice into squares or wedges and serve. I love pairing a warm piece with more coffee or a glass of cold milk. If I’m feeling fancy, I’ll add a dollop of whipped cream or a scoop of vanilla ice cream—yum! This cake is best enjoyed within 2 days, but honestly, if you hide a slice or two, it’s gone before you know it.
What to Serve It With
This zucchini streusel coffee cake is incredibly versatile. For breakfast, serve it plain or with a smear of cream cheese. Pair it with a steaming cup of coffee or a frothy latte—nothing beats that cozy morning vibe. For brunch, add fresh berries or a dusting of powdered sugar to elevate its presentation. Cut thick slices and serve alongside a fruit salad or yogurt parfait for a nice contrast of textures and flavors.
As a dessert, I love warming a slice in the microwave for about 15 seconds and topping it with a scoop of vanilla or cinnamon ice cream. It’s also wonderful when you’re craving something sweet at 10 p.m. but don’t want to go all-in on baking a whole cake. My family loves the crunch from the streusel, especially when paired with a cup of tea or an after-dinner coffee.
During holidays or special occasions, I like to dress it up with a drizzle of caramel or a dash of powdered sugar — it always gets rave reviews. Honestly, it’s the kind of baked good that smells as good as it tastes, and it’s a guaranteed crowd-pleaser, whether you’re feeding a family or just treating yourself on a lazy weekend.
Top Tips for Perfecting Your Zucchini Streusel Coffee Cake
Over the years, I’ve picked up a few tricks to make this cake turn out even better:
- Zucchini Prep: Always squeeze out the excess moisture after shredding. It prevents the cake from turning soggy. I’ve learned this the hard way after a few rubbery batches!
- Mixing Advice: Be gentle when combining wet and dry ingredients. Overmixing leads to a dense crumb—I prefer folding with a spatula until just combined.
- Swirl Customization: For a prettier marbled effect, add a few tablespoons of cocoa powder or fruit preserves into the batter and swirl with a toothpick. It’s fun and looks gorgeous!
- Ingredient Swaps: Want to make it healthier? Try swapping half the sugar for maple syrup or honey. The cake will be a little more tender and fragrant.
- Baking Tips: Rotate your pan halfway through baking if your oven tends to hot spots. Also, use the toothpick test liberally—better to underbake slightly than overbake and dry out.
- Glaze Variations: Mix in a teaspoon of lemon zest or vanilla extract for a different flavor profile. Or sprinkle chopped nuts or pearl sugar on top before baking for extra crunch.
One thing I’ve learned over the years? Even if your batter looks a little uneven or the streusel isn’t perfectly sprinkled, it still tastes incredible. Sometimes the imperfect baked goods are the most memorable because they come from the heart—and every batch I make teaches me something new. Don’t be afraid to experiment and adapt to your taste!
Storing and Reheating Tips
This cake stays surprisingly fresh for a few days if stored properly. Wrap it tightly in plastic wrap or keep it in an airtight container at room temperature for up to 2 days. After that, it’s best kept in the refrigerator for up to 4 days—just warm slices gently in the microwave for 15 seconds before serving. If you want to keep it longer, freeze slices wrapped tightly in plastic and foil; they’ll last about 2 months. Thaw at room temperature or warm for a few seconds in the microwave. Just hold off on adding the glaze until you’re ready to serve—otherwise, it might get soggy or slip off. I find that reheated and glazed is just as good as fresh from the oven, if not better—the flavors meld beautifully!
Frequently Asked Questions
Final Thoughts
This zucchini streusel coffee cake has truly become a favorite in my home. It’s a perfect way to sneak a vegetable into dessert, yet somehow it tastes indulgent and so comforting. The moist crumb paired with that crunchy streusel topping is a match made in heaven—my kids ask for seconds every time, and I don’t blame them. It’s one of those rare recipes that feels special enough for guests but is also so simple that I don’t mind making it on a Thursday afternoon. Plus, the fact that it’s adaptable means you can customize it to your heart’s content—roughly chopped nuts, chopped dried fruit, or even a splash of orange zest. I encourage you to give it a try, tweak it as you please, and—most importantly—enjoy the process. Baked goods made with love always taste better, and I can promise this one’s a keeper. Happy baking, and I’d love to hear how yours turns out! Don’t forget to leave a comment or share your version—I can’t wait to see your creations.

peppermint candy
Ingredients
Method
- Add almond bark and peanuts to a 6-quart slow cooker. Cook on LOW for 1.5 to 2 hours, until melted.
- Once melted, add crushed peppermints, pretzels, and cereals. Stir gently to combine.
- Drop 1.5 tablespoons of the mixture onto parchment-lined baking pans.
- Melt chocolate chips in a small microwave-safe bowl at 30-second intervals until smooth.
- Drizzle the melted chocolate over the candy and top with holiday sprinkles.
- Chill baking sheets in the fridge for at least 30 minutes before serving.