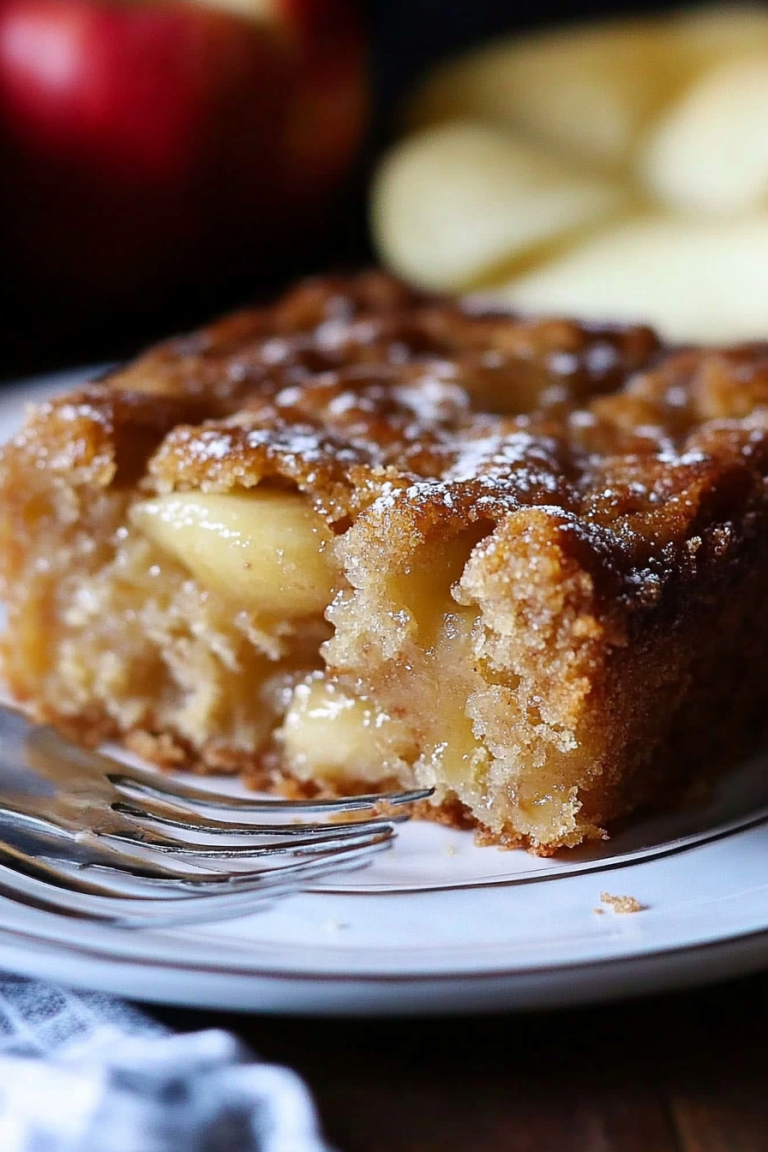
Simple Baked Apple Crumble Perfection
Okay, friend, let’s talk about zucchini bread. Not just any zucchini bread, but the kind that makes your kitchen smell like pure comfort and disappears from the cooling rack faster than you can say “second slice.” I’ve been making this exact recipe for years, and it’s become that dependable go-to for potlucks, teacher gifts, or honestly, just when I need a little bit of sweet, moist goodness with my afternoon tea. My own kids, who can be the pickiest eaters on the planet, actually request this. They don’t even realize it’s packed with a vegetable! It’s that good. Think of it as the ultimate crowd-pleaser, way more satisfying than those store-bought cookies and surprisingly simple, even if you’re not a baking wizard. Seriously, it’s my secret weapon, and I’m so excited to finally share it with you.
What is Zucchini bread?
So, what exactly *is* this magical thing we call zucchini bread? At its heart, it’s a quick bread, meaning it doesn’t need yeast and comes together in a flash. The name might make you pause, thinking “vegetables in cake?” but trust me, the zucchini is the unsung hero here. It’s not about tasting like a salad; oh no! The zucchini is there to lend an incredible moistness and a tender crumb that’s just *chef’s kiss*. It’s essentially a sweet, spiced loaf cake where grated zucchini adds that special je ne sais quoi. It’s often compared to banana bread, and while I love banana bread dearly, this zucchini version has a lighter, less intensely sweet profile that I find myself craving more often. It’s a true taste of home, a comforting classic that’s both familiar and delightfully surprising.
Why you’ll love this recipe?
There are a million reasons why this zucchini bread recipe has earned a permanent spot in my recipe box, and I’m pretty sure you’ll fall in love with it for many of the same reasons. First off, the flavor is just out of this world. It’s perfectly spiced with cinnamon and a hint of nutmeg, creating this warm, inviting aroma that fills your entire house the moment it’s in the oven. The texture? Oh my goodness. It’s unbelievably moist and tender, thanks to that secret ingredient: zucchini! You’d never guess it’s in there. And the best part? It’s ridiculously easy. I’ve made it on weeknights when I’ve only had about 15 minutes to spare before soccer practice, and it still turns out beautifully. Plus, it’s super cost-effective. Zucchini is often plentiful and inexpensive, and the other ingredients are pantry staples. What I truly adore about this recipe, though, is its versatility. It’s fantastic on its own, but a drizzle of simple glaze takes it to a whole new level, making it feel like a fancy bakery treat. If you’ve ever enjoyed my What is the best banana bread recipe?What is the recipe for tender crumb?
How to Make Zucchini Bread
Quick Overview
Making this zucchini bread is so straightforward, you’ll wonder why you haven’t done it before. We’re basically mixing some dry ingredients, some wet ingredients, folding them together gently, adding a luscious filling, and baking it to golden perfection. The magic really happens in how the zucchini melts into the batter, creating an unparalleled moistness. It’s a simple process with hugely rewarding results, perfect for busy days or when you just need a little baking therapy without any fuss.
Ingredients
For the Main Batter:
This is where we build the foundation for that incredible moist texture. I always make sure my zucchini is finely grated – it distributes so much better! And for the flour, all-purpose is perfect, but I’ve experimented with a good quality gluten-free blend, and it works beautifully too, though sometimes I add an extra tablespoon of liquid. Make sure your baking soda and baking powder are fresh; this is crucial for a good rise!
– 3 cups all-purpose flour
– 1 teaspoon baking soda
– 1 teaspoon baking powder
– 1 teaspoon ground cinnamon
– 1/2 teaspoon ground nutmeg
– 1/4 teaspoon salt
– 1 1/2 cups granulated sugar (you can reduce this slightly if you prefer less sweet)
– 3 large eggs, at room temperature
– 1 cup vegetable oil (or a neutral-tasting oil like canola)
– 1/4 cup buttermilk (or milk with 1 tsp lemon juice added, let sit for 5 mins)
– 1 teaspoon vanilla extract
– 2 cups finely grated zucchini, squeezed of excess moisture
For the Filling:
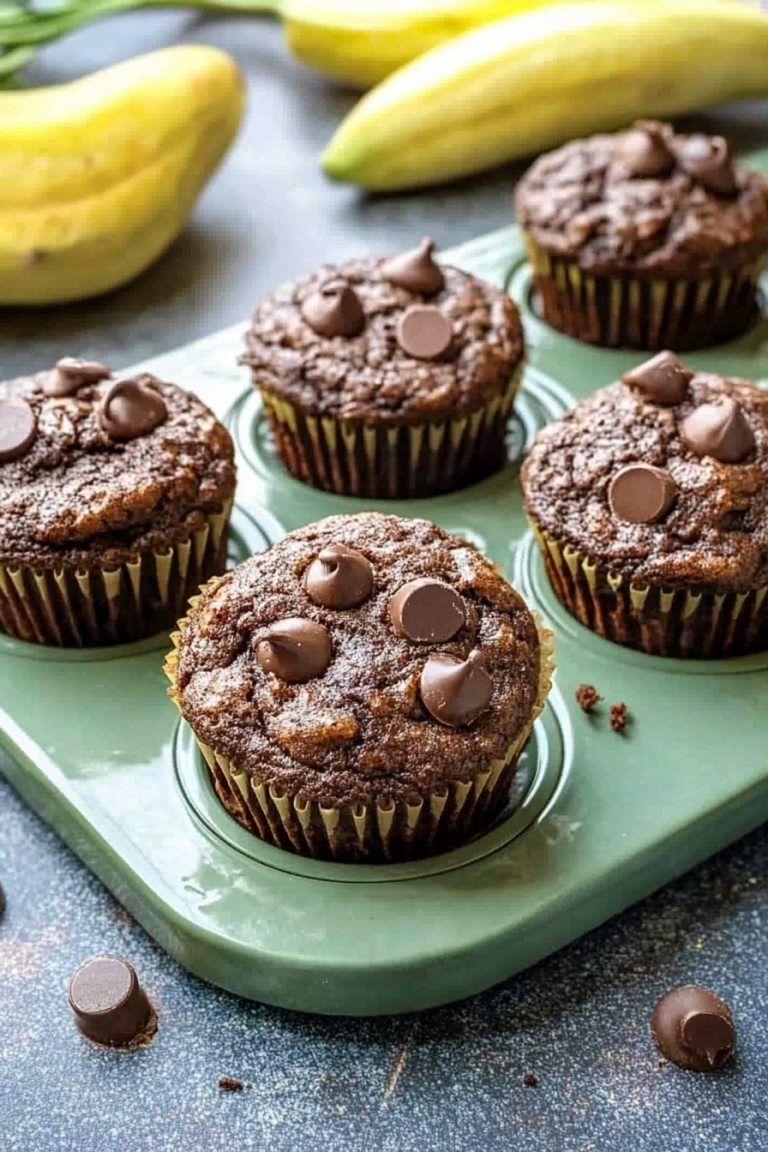
This is where you can really play! I love a classic cinnamon-sugar swirl, but chocolate chips are always a huge hit with the kids. Sometimes I’ll add a handful of chopped walnuts or pecans for a nice crunch.
– 1/2 cup brown sugar, packed
– 1 tablespoon ground cinnamon
– (Optional: 1/2 cup chocolate chips, chopped nuts, or a mix)
For the Glaze:
This is totally optional but highly recommended! It adds a touch of sweetness and a beautiful finish. You want it to be pourable but not too thin. I usually eyeball it until it’s just right.
– 1 cup powdered sugar
– 2-3 tablespoons milk (or lemon juice for a tangy kick)
– 1/2 teaspoon vanilla extract
Step-by-Step Instructions
Step 1: Preheat & Prep Pan
First things first, let’s get that oven ready. Preheat it to 350°F (175°C). I like to use a standard 9×5 inch loaf pan. Grease it really well with butter or non-stick spray, and then dust it with a little flour. Tap out any excess. This step is super important to prevent sticking, nobody wants their beautiful loaf to break apart!
Step 2: Mix Dry Ingredients
In a large bowl, whisk together the flour, baking soda, baking powder, cinnamon, nutmeg, and salt. Give it a good stir to make sure everything is evenly distributed. Then, pour in the granulated sugar and whisk that in too. This ensures the sugar is evenly incorporated from the start, which helps with texture.
Step 3: Mix Wet Ingredients
In a separate medium bowl, whisk the eggs until they’re lightly beaten. Then, stir in the vegetable oil, buttermilk, and vanilla extract. Mix until everything is well combined and looks smooth. If you’re using almond milk or oat milk, I found it works just as well as buttermilk, and sometimes makes it even creamier!
Step 4: Combine
Now for the magic! Pour the wet ingredients into the bowl with the dry ingredients. Use a spatula or wooden spoon to gently mix them together. Don’t go crazy here! Mix *just until* there are no dry streaks of flour left. Overmixing is the enemy of tender quick breads; it can make it tough. Once it’s combined, gently fold in the grated, squeezed zucchini. You want to distribute it evenly but still be gentle.
Step 5: Prepare Filling
In a small bowl, mix together the brown sugar and cinnamon for the swirl. If you’re adding chocolate chips or nuts, toss them in now. This little mixture is what gives that irresistible spiced ribbon throughout the bread.
Step 6: Layer & Swirl
Pour about half of the batter into your prepared loaf pan and spread it out evenly. Sprinkle about half of your brown sugar-cinnamon mixture (and any add-ins) over the top. Then, pour the remaining batter over that. Sprinkle the rest of the brown sugar-cinnamon mixture on top. Now, grab a butter knife or a skewer and gently swirl it through the batter, creating those beautiful marbled patterns. Don’t over-swirl, you want distinct layers!
Step 7: Bake
Pop that pan into your preheated oven. Bake for about 50-65 minutes. The exact time can vary depending on your oven, so start checking around the 50-minute mark. You’ll know it’s done when a toothpick inserted into the center comes out clean or with just a few moist crumbs attached. If the top starts browning too quickly before the center is cooked, you can loosely tent it with foil.
Step 8: Cool & Glaze
Once it’s baked, let the loaf cool in the pan for about 10-15 minutes. This helps it set up. Then, carefully invert it onto a wire rack to cool completely. Don’t skip this cooling step before glazing – a warm loaf will melt the glaze right off! For the glaze, whisk together the powdered sugar, milk, and vanilla until it’s smooth and pourable. Drizzle it over the completely cooled loaf. Let the glaze set for about 15-20 minutes before slicing.
Step 9: Slice & Serve
The hardest part is waiting for it to cool! Once the glaze is set (or if you’re skipping the glaze), slice it into thick, generous pieces. This bread is absolutely divine served at room temperature. The aroma alone is enough to make you swoon.
What to Serve It With
This zucchini bread is a champion all on its own, but it plays wonderfully with so many things! For a classic breakfast, I love it toasted lightly and served with a dollop of cream cheese or a smear of good butter. A strong cup of coffee or a warm mug of Earl Grey tea is just perfection with it. For a more elaborate brunch spread, I’ll often serve it alongside fresh fruit salad and perhaps some fluffy scrambled eggs or a quiche. It adds a sweet, comforting element that balances out the savory dishes beautifully. As a dessert, it’s honestly decadent enough! A small scoop of vanilla bean ice cream on the side, or a drizzle of chocolate sauce, and you’ve got yourself a simple yet delightful sweet ending. And for those cozy, rainy-day snacks, it’s unbeatable with a glass of cold milk or even a warm apple cider. My family often grabs a slice for an after-school treat – it’s satisfying and feels a little bit special without being overly indulgent.
Top Tips for Perfecting Your Zucchini Bread
I’ve learned a few things over the years of making this zucchini bread, and I want to share them so yours turns out just as amazing, if not better! When it comes to zucchini, the absolute *key* is to grate it finely and then squeeze out as much moisture as you possibly can. I usually use a clean kitchen towel or cheesecloth for this. This step prevents a soggy loaf and ensures that perfect crumb. Seriously, don’t skimp on this part! For mixing, remember my mantra: gentle is best. Overmixing develops the gluten too much, leading to a tough bread. Stop as soon as you don’t see dry flour. When you’re swirling the filling, less is more. You want distinct ribbons, not a muddy mess. Just a few gentle passes with a knife are enough. If you’re not a fan of cinnamon-sugar swirls, don’t sweat it! A cup of chocolate chips folded into the batter at the end is a guaranteed hit, especially with kids. My cousin tried adding a little orange zest to the batter once, and it was surprisingly delightful, adding a bright, fresh note. For baking, always do the toothpick test. Ovens can be fickle, and knowing your oven’s quirks is half the battle. If the top is browning too fast, tenting with foil is a lifesaver. And for the glaze, consistency is everything. If it’s too thick, add milk a tiny bit at a time until it’s just right for drizzling. If it’s too thin, add more powdered sugar. It’s all about finding that sweet spot!
Storing and Reheating Tips
One of the things I love about this zucchini bread is how well it keeps. If I’m making it for a party or just know we’ll be eating it over a few days, I store it at room temperature. Just wrap it tightly in plastic wrap or pop it into an airtight container. It stays wonderfully moist for about 2-3 days that way. If you think you’ll need it for longer, or if it’s particularly warm where you live, the refrigerator is your friend. Wrap it well in plastic wrap, then in foil, or place it in a sturdy airtight container. It’ll keep well in the fridge for up to a week, though honestly, it rarely lasts that long in my house! For longer storage, freezing is the way to go. I like to slice the bread first, then wrap each slice individually in plastic wrap, and then place those wrapped slices into a freezer bag or container. You can also freeze the whole loaf if you prefer. It will keep perfectly in the freezer for up to 3 months. To reheat, you can simply let a slice thaw at room temperature for about 30 minutes, or pop it in the toaster or a low oven for a few minutes until warmed through. If you’ve glazed it, I usually recommend adding the glaze *after* reheating and cooling slightly, or just skipping the glaze if you plan to freeze it, as it can sometimes get a bit sticky. But truthfully, it’s delicious at room temp, chilled, or gently warmed.
Frequently Asked Questions
Final Thoughts
Honestly, this zucchini bread recipe is more than just a recipe to me; it’s a little piece of home. It’s the smell that welcomes you when you walk in the door, the perfect treat to share, and a reliable way to use up that summer zucchini bounty. It’s proof that simple ingredients, prepared with a little bit of love, can create something truly extraordinary. I hope you love it as much as my family and I do. If you give it a try, please let me know how it turns out in the comments below! I’m always curious to hear about your baking adventures and any fun twists you add. And if you’re already a fan of moist, comforting bakes, you might also want to check out my perfect blueberry muffins or my chewy chocolate chip cookies. Happy baking!
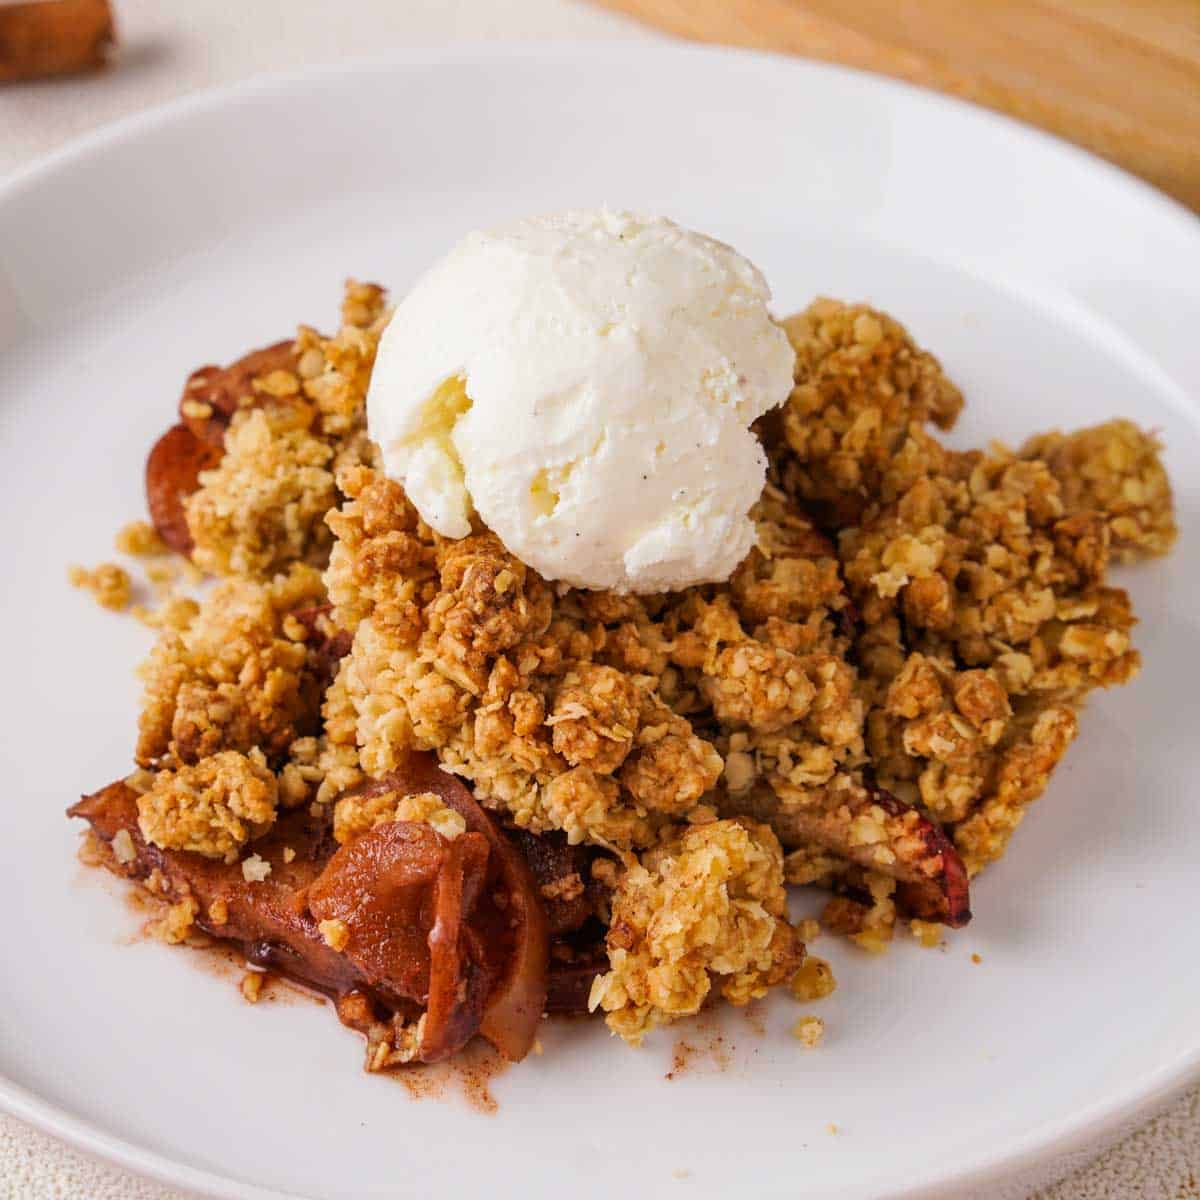
baked apple crumble
Ingredients
Method
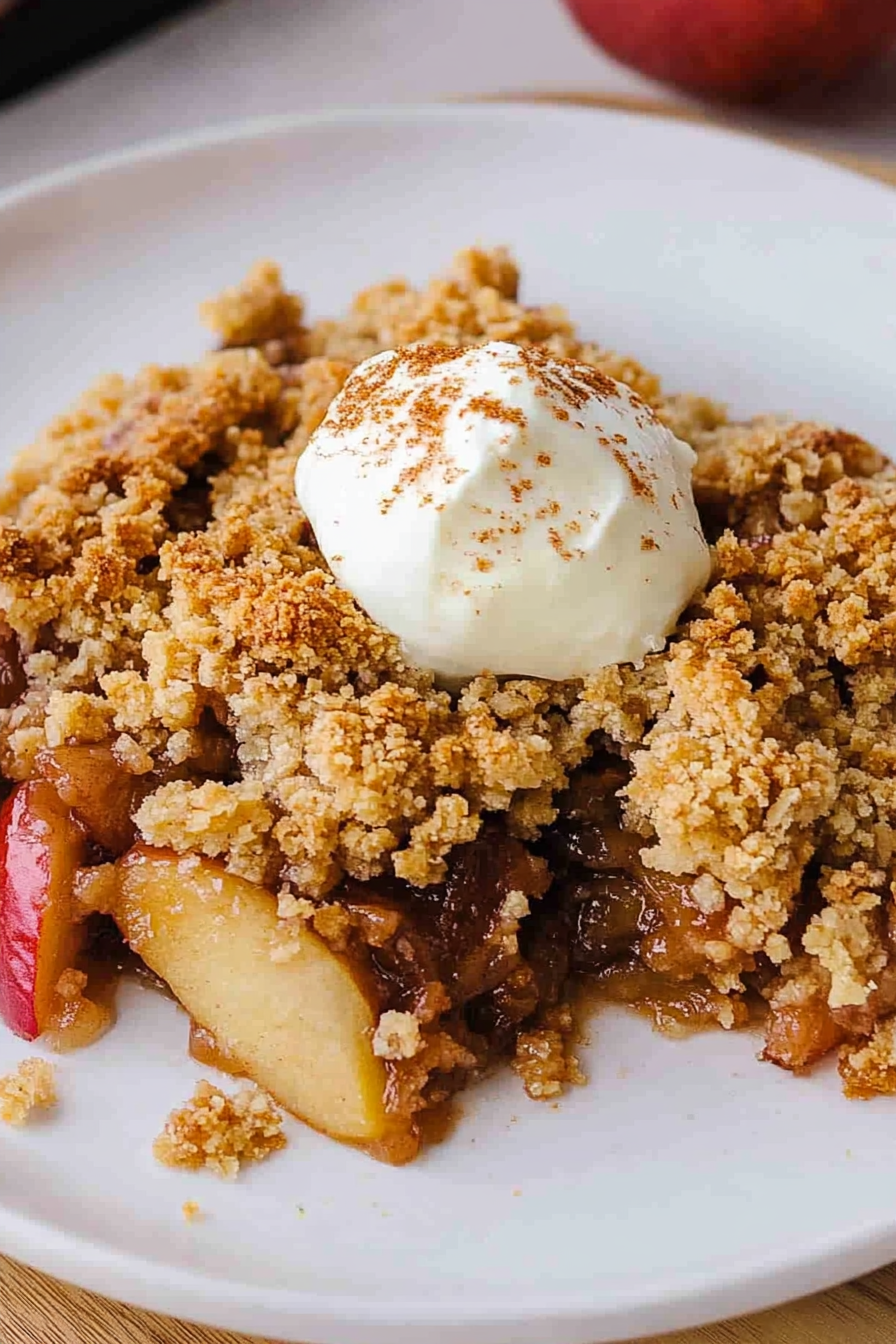
- Preheat the oven to 375 degrees F. Lightly spray a 9 by 13 inch baking dish with nonstick spray.
- Core apples and slice thinly. You may peel if desired, I leave the skin on mine.
- Place the apples and cinnamon in a large bowl and stir to evenly coat. Pour apples into the prepared pan.
- Mix flour, oats, and brown sugar in a large bowl. Stir in butter and mix until uniform.
- Pour crumble topping evenly over the top of the apples.
- Bake for 30 minutes or until golden brown.
- Serve warm with vanilla ice cream if desired.