Easy Chocolate Fudge Recipe Delight
There are some recipes that just feel like a warm hug, aren’t there? The kind you stumble upon, try once, and then suddenly, they become a permanent fixture in your kitchen rotation. For me, that recipe is this Chocolate Zucchini Bread. It’s not just a baked good; it’s memory in a slice. I remember my mom making this when I was a kid, the kitchen filling with the most incredible aroma that would have us all gathering around, impatiently waiting for our turn. It’s like a chocolate cake had a baby with a perfectly moist muffin, and the result is pure magic. Honestly, if you’ve never considered baking with zucchini, prepare to be amazed. This is my go-to when I need something comforting, a little bit decadent, but still feels like I’m sneakily getting some veggies into my family. It’s the unsung hero of bake sales, lazy weekend mornings, and those 3 PM cravings that hit hard.
What Is Chocolate Zucchini Bread?
So, what exactly is this magical thing we call Chocolate Zucchini Bread? Think of it as your favorite chocolate cake’s cozy, slightly more responsible cousin. It’s a quick bread, which means no fancy yeast-proofing or complicated steps. It’s essentially a moist, tender chocolate cake or muffin batter that happens to have grated zucchini mixed in. Now, before you wrinkle your nose at the zucchini part, let me reassure you: you absolutely cannot taste it! What it does do, though, is work wonders for moisture and texture. It makes the bread incredibly tender and keeps it from drying out, even after a few days. The “chocolate” part is pretty self-explanatory – it’s packed with cocoa powder and often chocolate chips, making it a true treat for any chocolate lover. It’s the perfect way to use up those garden-variety zucchinis that seem to sprout overnight, and it’s a lifesaver when you need a crowd-pleaser that feels a little bit homemade and a lot bit special.
Why You’ll Love This Recipe
Honestly, I could go on and on about why this Chocolate Zucchini Bread is my absolute favorite, but let me try to keep it concise! First off, the flavor is just out of this world. It’s intensely chocolatey without being overwhelmingly sweet, and the subtle hint of vanilla and cinnamon is just perfection. The texture is where the zucchini really shines; it’s unbelievably moist and tender, almost fudgy. It’s so good that my kids, who are usually quite discerning about what goes into their mouths, ask for this all the time. And the best part? It’s ridiculously easy to make. Seriously, if you can stir a couple of bowls, you can make this. It’s a one-bowl wonder for the dry ingredients, and another for the wet, meaning less cleanup, which is always a win in my book! Plus, it’s surprisingly budget-friendly. Zucchini is usually super affordable, and the other ingredients are pantry staples. You get all this incredible flavor and texture without breaking the bank. I’ve tried a few other chocolate zucchini bread recipes over the years, but this one always comes out on top. It’s consistent, foolproof, and consistently delicious. It’s perfect for when you’re craving something sweet at 10 PM but don’t want to bake a whole cake, or when you need a quick dessert for unexpected guests. It’s a true winner.
How to Make Chocolate Zucchini Bread
Quick Overview
This recipe is all about simplicity and fantastic results. You’ll whisk together your dry ingredients, then your wet ingredients in separate bowls, combine them gently, fold in some chocolate chips, and bake until a toothpick comes out clean. The zucchini, of course, is grated and mixed right into the wet ingredients. It’s a straightforward process that takes less than 20 minutes of active prep time, making it ideal for even the busiest weeknights. The beauty of this method is how it guarantees that signature moist texture without any fuss. It’s truly a no-fail recipe that delivers big on flavor and satisfaction.
Ingredients
For the Main Batter:
Here’s what you’ll need to get started. I always try to use fresh zucchini, and if you have them from your garden, even better! Make sure they’re medium-sized; too large and they can be a bit watery. For the flour, all-purpose is perfectly fine, but if you’re feeling adventurous, a good quality whole wheat pastry flour can add a nice nutty depth without changing the texture too much. And for the cocoa powder, I really prefer a good Dutch-processed cocoa. It gives the bread a darker color and a richer, smoother chocolate flavor than natural cocoa. You can find it in most grocery stores or specialty baking shops. Don’t skimp on the vanilla extract either; it really rounds out the chocolate flavor beautifully.
- 2 cups all-purpose flour
- 3/4 cup unsweetened Dutch-processed cocoa powder
- 1 1/2 teaspoons baking soda
- 1 teaspoon baking powder
- 1/2 teaspoon salt
- 1/2 teaspoon ground cinnamon (optional, but I love it!)
- 1 3/4 cups granulated sugar (or 1 1/2 cups if you prefer it less sweet)
- 2 large eggs, at room temperature
- 1 cup buttermilk, at room temperature (or 1 cup milk + 1 tablespoon lemon juice or vinegar, let sit for 5 minutes)
- 1/2 cup vegetable oil (or melted coconut oil, or unsalted butter melted)
- 2 teaspoons pure vanilla extract
- 2 cups grated zucchini (about 2 medium zucchinis, squeezed of excess moisture)
For the Filling:
This is where we really amp up the chocolatey goodness! I love using semi-sweet chocolate chips because they provide a nice balance of sweetness and rich chocolate flavor. But feel free to use dark chocolate chips, milk chocolate chips, or even chopped chocolate if you’re feeling fancy. Sometimes, I’ll even toss in a handful of chopped walnuts or pecans for a little crunch, but that’s totally optional. The key is to use good quality chocolate; it really makes a difference!
- 1 cup semi-sweet chocolate chips (plus more for sprinkling on top if you like!)
- 1/2 cup chopped walnuts or pecans (optional)
For the Glaze:
This glaze is super simple and adds that extra touch of elegance and sweetness. You want it to be pourable but thick enough to coat the bread nicely. I usually eyeball it until it looks right, but the proportions below are a good starting point. If it’s too thick, add a tiny bit more milk or water. If it’s too thin, add a bit more powdered sugar. It should drizzle beautifully. You can also add a tiny pinch of salt to the glaze to balance the sweetness.
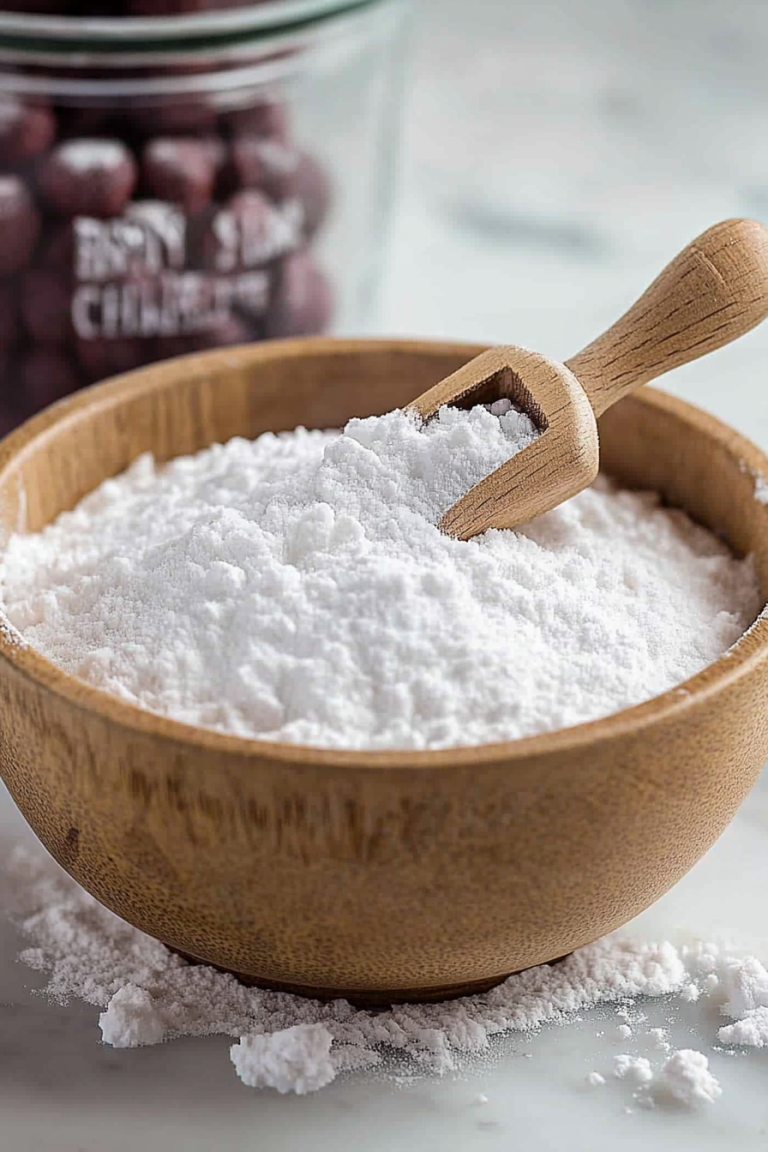
- 1 cup powdered sugar
- 2-3 tablespoons milk (or water)
- 1/2 teaspoon vanilla extract
Step-by-Step Instructions
Step 1: Preheat & Prep Pan
First things first, get that oven preheating! We want it nice and hot at 350 degrees Fahrenheit (175 degrees Celsius). While the oven is doing its thing, grab your baking pan. A standard 9×5 inch loaf pan works perfectly. Grease it really well with butter or cooking spray, and then I like to lightly flour it too, or even better, line it with parchment paper. This ensures your beautiful loaf slides right out without any sticking. Trust me on this one; I’ve had my share of loaves stuck in the pan, and it’s never a fun experience!
Step 2: Mix Dry Ingredients
In a large bowl, whisk together your flour, cocoa powder, baking soda, baking powder, salt, and cinnamon (if you’re using it). Whisking is key here; it gets everything evenly distributed and helps aerate the flour, which is important for a light crumb. You want to make sure there are no lumps of cocoa powder hiding in there. Give it a good whisk until it’s all one consistent color. This step is super important for ensuring every bite is packed with that chocolatey goodness!
Step 3: Mix Wet Ingredients
In a separate, medium-sized bowl, combine your sugar, eggs, buttermilk, oil (or melted butter/coconut oil), vanilla extract, and the grated zucchini. Now, here’s a crucial step for the zucchini: squeeze out as much excess moisture as you can! I usually do this by wrapping the grated zucchini in a clean kitchen towel or paper towels and giving it a good squeeze. You’d be surprised how much water comes out. This prevents your bread from becoming soggy. Whisk these wet ingredients together until everything is well combined and smooth. The mixture should look luscious and inviting!
Step 4: Combine
Now comes the magic moment: bringing the wet and dry ingredients together. Pour the wet ingredients into the bowl with the dry ingredients. Using a spatula or a wooden spoon, gently fold them together. The key here is NOT to overmix. You want to mix just until no dry streaks of flour remain. A few small lumps are perfectly fine! Overmixing develops the gluten in the flour, which can lead to a tough, dense loaf, and we definitely don’t want that. We’re going for tender and moist!
Step 5: Prepare Filling
Gently fold in your chocolate chips and nuts (if using) into the batter. Again, just fold them in until they’re evenly distributed. You don’t want to beat the batter at this stage. Just a gentle fold to incorporate those delicious little pockets of chocolatey surprise throughout the bread.
Step 6: Layer & Swirl
Pour about half of the batter into your prepared loaf pan and spread it evenly. Then, sprinkle half of the additional chocolate chips (if you’re using them for topping) over this layer. Pour the remaining batter on top and gently spread it out. Sprinkle the rest of the chocolate chips over the top. If you’re feeling artistic, you can even swirl a little extra batter or some melted chocolate on top for a decorative effect, but honestly, it’s so delicious, it doesn’t need much fuss!
Step 7: Bake
Pop that beautifully prepared loaf into your preheated oven. Bake for about 50-65 minutes. The exact time can vary depending on your oven, so start checking around the 50-minute mark. The best way to tell if it’s done is to insert a toothpick into the center of the loaf. If it comes out clean, or with just a few moist crumbs attached (not wet batter), it’s ready. If it’s still wet, give it another 5-10 minutes and check again. You want a beautiful, slightly domed top with a rich, dark color.
Step 8: Cool & Glaze
Once it’s out of the oven, let the loaf cool in the pan for about 10-15 minutes. This allows it to set up a bit and makes it easier to remove. Then, carefully invert it onto a wire rack to cool completely. Resist the urge to cut into it while it’s hot – it’s tempting, I know! Letting it cool completely is crucial, especially before glazing. Once it’s cooled, whip up your glaze by whisking together the powdered sugar, milk (add it gradually!), and vanilla extract until smooth and drizzly. Pour the glaze over the top of the cooled loaf, letting it drip down the sides. It’s going to look and smell heavenly!
Step 9: Slice & Serve
Once the glaze has set slightly (or you just can’t wait any longer!), slice into your masterpiece. A serrated knife works best for clean slices. The aroma will be incredible, and the texture will be just perfect. Enjoy it on its own, or with a cup of coffee or tea. This bread is truly a delight!
What to Serve It With
This Chocolate Zucchini Bread is so versatile, it fits into almost any part of your day! For breakfast, it’s fantastic on its own, maybe with a sprinkle of fresh berries on the side. A hot cup of coffee or a steaming mug of tea is its perfect companion – simple, comforting, and satisfying. If you’re planning a lovely brunch spread, slice it a bit more neatly and perhaps serve it alongside some scrambled eggs, crispy bacon, and a fruit salad. It adds a touch of indulgence without being too heavy. As a dessert, it’s a dream. I love serving a warm slice with a scoop of vanilla bean ice cream or a dollop of whipped cream. The contrast of the warm, moist bread with the cold, creamy topping is divine. And for those cozy snack times? This bread is the ultimate comfort food. Grab a slice, curl up on the couch with a good book or your favorite show, and just enjoy. My family also loves it with a glass of cold milk – just like the good old days!
Top Tips for Perfecting Your Chocolate Zucchini Bread
I’ve made this recipe countless times, and through trial and error, I’ve picked up a few tricks that I think make all the difference in achieving that perfect, moist, and flavorful loaf. So, lean in, because these are the nuggets of wisdom I’ve gathered!
Zucchini Prep: This is probably the most important step. You really need to squeeze out as much moisture as possible from the grated zucchini. I can’t stress this enough! I like to use a clean kitchen towel and give it a really good, firm squeeze. If you skip this, your bread can end up dense and soggy. Also, for grating, I prefer using the medium holes on a box grater. Too fine and it can turn mushy; too coarse and you might get weird chunks. Aim for something in between.
Mixing Advice: Remember, it’s all about not overmixing the batter once you combine the wet and dry ingredients. Overmixing develops the gluten, leading to a tough, dry loaf. You want to stop mixing as soon as you don’t see any more dry flour. A few small lumps are perfectly fine and even desirable! Embrace the rustic charm.
Swirl Customization: While this recipe is a loaf, you can absolutely adapt it. If you wanted to do a bundt cake, you’d likely need to adjust the baking time. For muffins, I’d fill the liners about two-thirds full and bake for around 20-25 minutes, keeping a close eye on them. The zucchini makes everything super moist, so they bake beautifully.
Ingredient Swaps: I’ve tested this with almond milk instead of buttermilk, and it actually made it even creamier! So feel free to experiment with your favorite milk alternatives. If you’re out of oil, melted unsalted butter or melted coconut oil works beautifully as a 1:1 substitute. For a less sweet option, you can reduce the granulated sugar slightly, but don’t go too low, as sugar contributes to moisture and tenderness in baked goods.
Baking Tips: Always know your oven! Ovens can run hot or cool, so a reliable oven thermometer is your best friend. If you find your loaf is browning too quickly on top before the inside is cooked, you can loosely tent it with aluminum foil for the last 15-20 minutes of baking. And that toothpick test is your ultimate guide for doneness. It’s better to check a little early than to overbake!
Glaze Variations: If you’re not a fan of the powdered sugar glaze, you can dust the cooled loaf with a little powdered sugar or even just serve it plain – it’s still delicious! Another option is a cream cheese frosting, which pairs wonderfully with the chocolate. Or, for something a bit different, try a chocolate ganache. The possibilities are endless!
Storing and Reheating Tips
This Chocolate Zucchini Bread is pretty forgiving when it comes to storage, which is fantastic. If you happen to have any leftovers (a big “if” in my house!), storing it properly will keep it tasting as fresh and moist as possible.
Room Temperature: Once completely cooled, you can store the bread at room temperature. I usually wrap it tightly in plastic wrap or place it in an airtight container. It will stay delicious for about 2-3 days. If your kitchen is particularly warm, the refrigerator might be a better option to prevent any spoilage.
Refrigerator Storage: For longer storage, wrap the cooled bread well in plastic wrap, then in a layer of aluminum foil, or place it in a sturdy airtight container. It should keep well in the refrigerator for up to 5 days. The texture might firm up a bit in the fridge, but it’s easily remedied.
Freezer Instructions: This bread freezes incredibly well! Once completely cooled, wrap the loaf tightly in a layer of plastic wrap, followed by a layer of aluminum foil, or place it in a freezer-safe bag. It can be stored in the freezer for up to 3 months. When you’re ready to enjoy it, let it thaw overnight in the refrigerator, or at room temperature for a few hours. If you want it warm, you can gently reheat slices in a low oven (around 300°F or 150°C) for about 5-10 minutes until warmed through. You can also quickly warm slices in a toaster oven or even a microwave for about 15-20 seconds, but be careful not to overheat.
Glaze Timing Advice: The best time to add the glaze is when the bread is completely cool. If you glaze it while it’s warm, the glaze will melt and become too runny, potentially sliding off. For longer storage, especially if freezing, I sometimes prefer to glaze the bread *after* it has been thawed and warmed. This way, the glaze stays perfectly intact and fresh. If you’re storing it at room temp or in the fridge for a couple of days, glazing it before storing is usually fine.
Frequently Asked Questions
Final Thoughts
So there you have it – my absolute favorite Chocolate Zucchini Bread recipe. It’s more than just a recipe for me; it’s a connection to my childhood, a reliable go-to for satisfying chocolate cravings, and proof that you can sneak in some veggies without anyone even knowing! The combination of moist, tender cake with pockets of rich chocolate is just pure comfort. I really hope you give this a try. It’s the kind of recipe that makes you feel like a baking rockstar, even if you only have 20 minutes to spare. If you love this, you might also enjoy my Decadent Fudgy Brownies or my Easy Banana Bread Muffins for more comforting baked goods. I can’t wait to hear what you think, and I’d be thrilled if you shared your own variations or any amazing creations you come up with in the comments below! Happy baking!
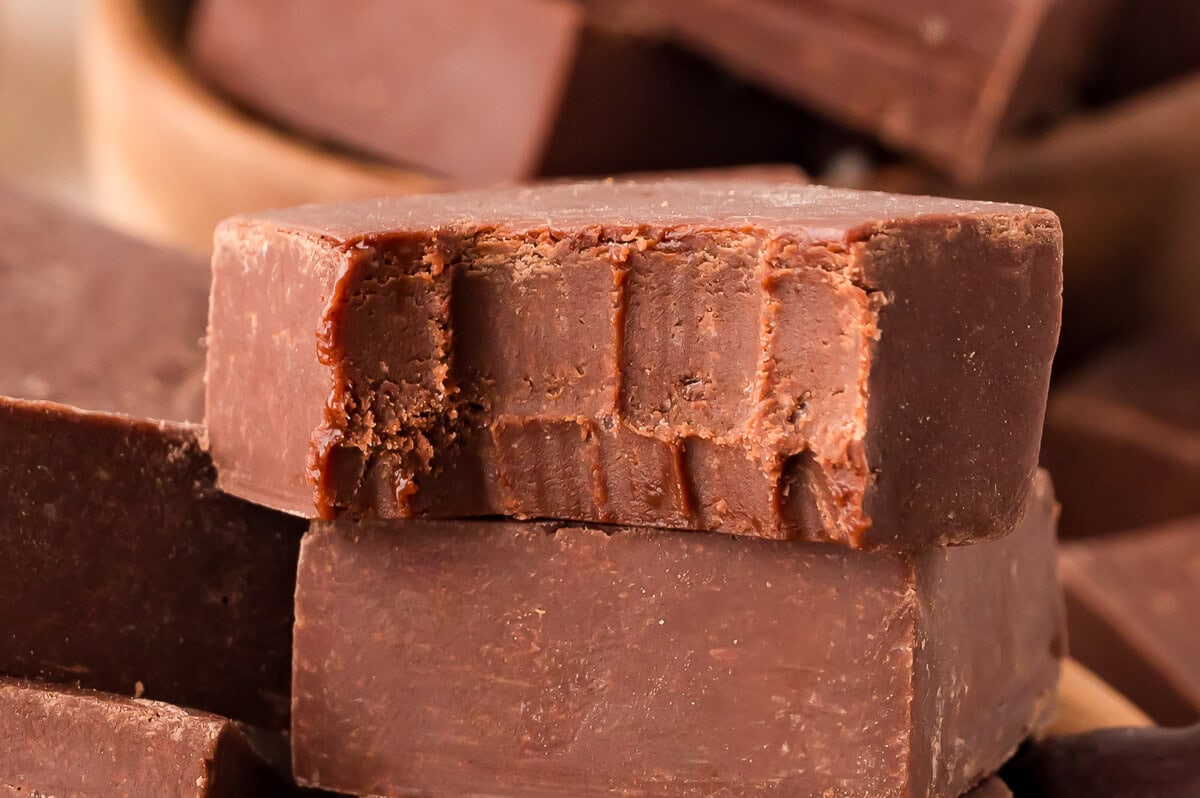
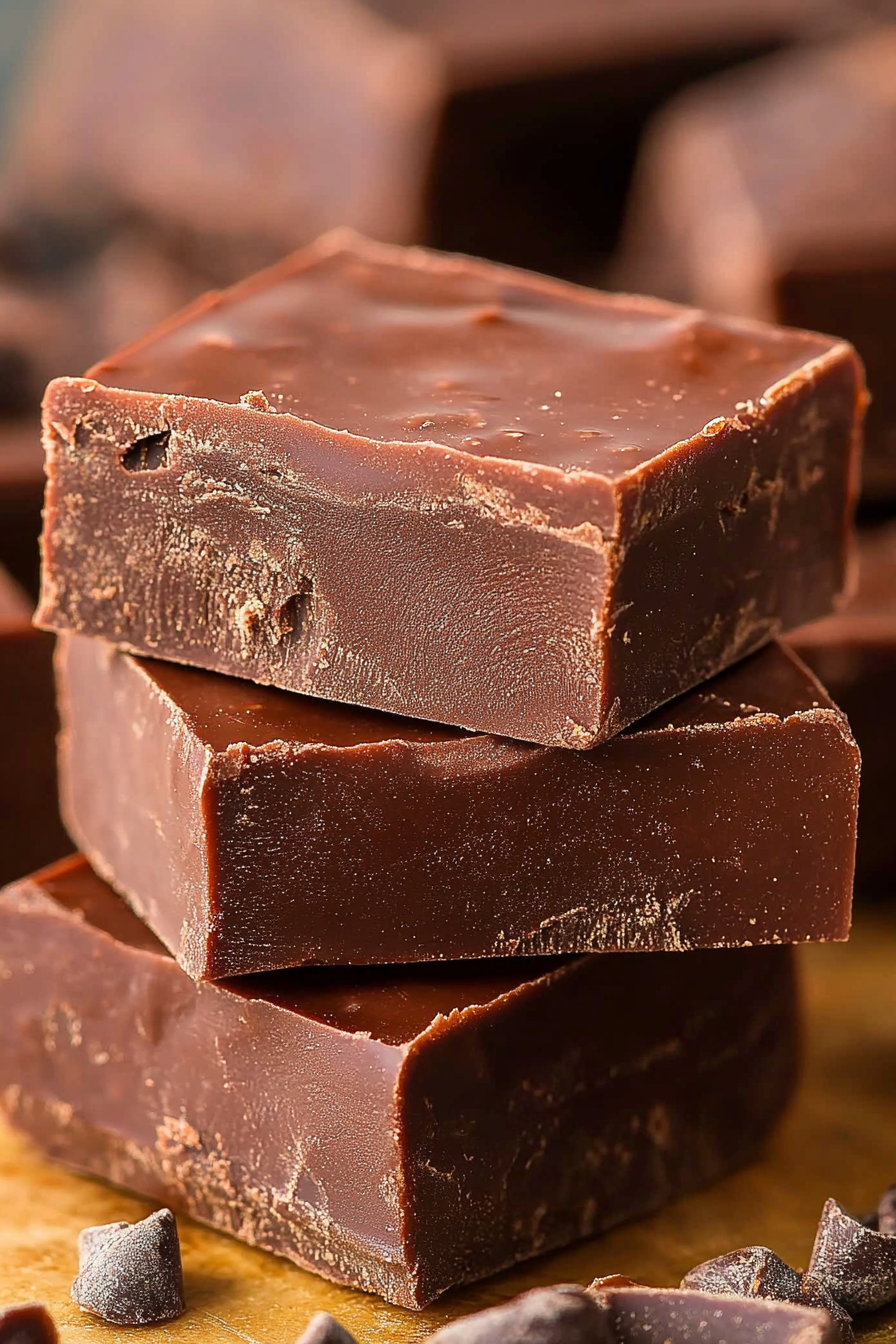
chocolate fudge recipe
Ingredients
Method
- Add chocolate chips, sweetened condensed milk, vanilla and salt to a medium pot on the stove. Heat on low to melt the chocolate, stirring constantly. Remove from heat.
- Stir in powdered sugar. Spread into a square 9-inch baking pan lined with parchment paper. Cool in the fridge until set for at least 2 hours. Cut into squares and enjoy.