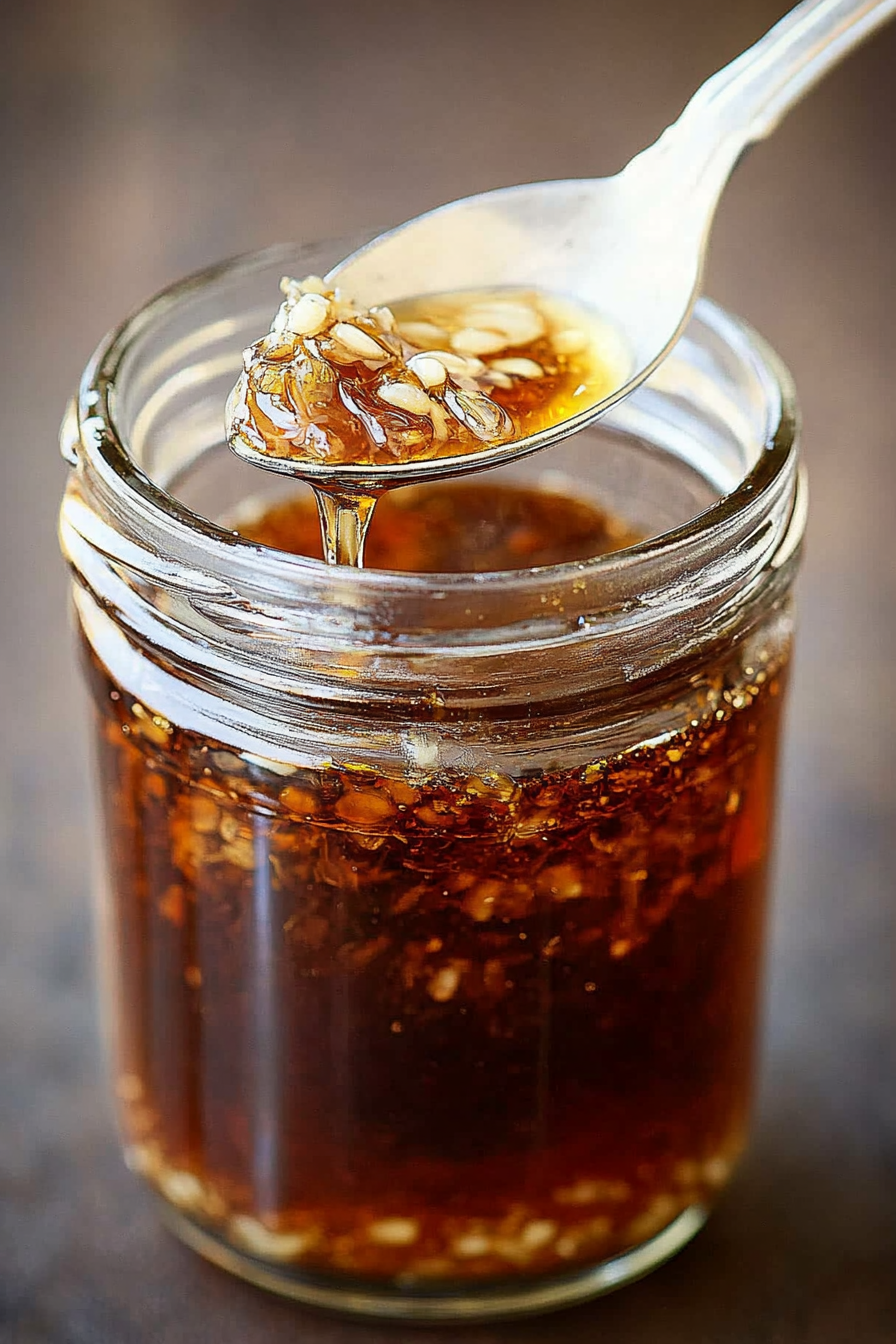
Spicy Creole Garlic Oil Your New Favorite
You know those days? The ones where the sky is a little gray, the to-do list feels impossibly long, and all you want is a little bit of comfort baked into something delicious? That’s exactly when I reach for this zucchini bread. It’s not just any zucchini bread, though. This is the one that smells like my childhood kitchen, the one my kids devour faster than I can slice it, and the one that’s become my absolute go-to for a sweet treat that doesn’t feel *too* indulgent. If you’ve ever made a banana bread and loved it, you’re going to adore this zucchini bread. It’s got that same moist, tender crumb, but with a subtle sweetness and a beautiful golden hue that just makes you happy. It’s the kind of recipe that whispers warmth and coziness with every bite, and trust me, it’s easier than you think!
What is Zucchini bread?
So, what exactly is zucchini bread, and why does it have that name? Well, it’s pretty straightforward! At its heart, it’s a quick bread, meaning it uses baking soda and/or baking powder as leavening instead of yeast, so no waiting around for dough to rise. The star ingredient, of course, is zucchini! Now, don’t let that scare you. When you grate zucchini and mix it into the batter, it practically disappears, leaving behind nothing but incredible moisture and tenderness. It’s like a little secret ingredient that makes the whole thing magically delicious. Think of it as a super moist, slightly sweet cake that you can enjoy for breakfast, a snack, or even dessert. It’s comforting, familiar, and always a crowd-pleaser. My grandma used to make something similar, and this recipe is my tribute to those sweet, simple baking memories.
Why you’ll love this recipe?
Oh, where do I even begin with why this zucchini bread is so special? First off, the FLAVOR is just divine. It’s perfectly sweet, not cloying, with a hint of cinnamon that makes it smell absolutely intoxicating while it bakes. It’s got this lovely, moist crumb that’s just *chefs kiss* perfection. Then there’s the SIMPLICITY of it all. Seriously, you can have this mixed up and in the oven in about 15 minutes flat. It’s a lifesaver on those busy weeknights when a sweet craving hits but you don’t have hours to spend baking. Plus, it’s surprisingly COST-EFFICIENT. Zucchini is often super affordable, especially when it’s in season, and the other ingredients are pantry staples. And let’s talk VERSATILITY! You can enjoy this warm with a dollop of butter, toasted and slathered with cream cheese, or even served with a light drizzle of honey. It’s also fantastic for using up those zucchinis from the garden that seem to multiply overnight! What I love most about this particular recipe is that it’s so forgiving. Even if you’re new to baking, you can nail this. I’ve experimented with different flours (almond flour works surprisingly well, though it changes the texture a bit) and even added a handful of chocolate chips, and it just kept getting better. It’s the kind of recipe that makes you feel like a baking rockstar without all the fuss.
How do I make my favorite Zucchini bread?
Quick Overview
This recipe is all about simple steps that yield maximum flavor and the most wonderfully tender crumb. We’ll start by prepping our zucchini and pan, then mix our dry and wet ingredients separately before bringing them together. A quick swirl of a simple cinnamon-sugar mixture adds that extra something special, and then it’s into the oven for a beautiful bake. The best part? It’s practically foolproof, even if you’re a beginner baker!
Ingredients
For the Main Batter:
1 and 1/2 cups all-purpose flour (I always use unbleached, it seems to make a difference!)
1 teaspoon baking soda
1/2 teaspoon baking powder
1/2 teaspoon salt
1 teaspoon ground cinnamon (use the good stuff, it’s worth it!)
1/4 teaspoon ground nutmeg (optional, but I love it)
1/2 cup (1 stick) unsalted butter, softened to room temperature (crucial for a good mix!)
3/4 cup granulated sugar (you can get away with a little less if your zucchini is very moist)
2 large eggs, at room temperature
1 teaspoon vanilla extract
1 cup grated zucchini (about 1 medium-large zucchini, make sure to squeeze out the excess moisture!)
1/4 cup milk (any kind works, I’ve even used almond milk and it made it extra creamy!)
For the Swirl:
2 tablespoons granulated sugar
1 teaspoon ground cinnamon
1 tablespoon softened butter (optional, but adds richness)
Step-by-Step Instructions
Step 1: Preheat & Prep Pan
First things first, let’s get your oven all warmed up to 350 degrees Fahrenheit (175 degrees Celsius). While that’s heating, grab a standard 9×5 inch loaf pan. I like to grease mine really well with butter or cooking spray, and then dust it lightly with flour. This helps ensure your beautiful bread pops right out after baking. If you’re feeling fancy, you can also line it with parchment paper, leaving a little overhang on the sides to easily lift it out later – that’s a trick I learned after a few slightly stuck loaves!
Step 2: Mix Dry Ingredients
In a medium-sized bowl, whisk together your flour, baking soda, baking powder, salt, cinnamon, and nutmeg if you’re using it. Give it a really good whisk until everything is nicely combined. This ensures that all the leavening agents and spices are evenly distributed, which means a beautifully consistent rise and flavor in your finished bread. No one wants a bite that’s all baking soda!
Step 3: Mix Wet Ingredients
Now, in a larger bowl, cream together your softened butter and granulated sugar. Beat them with an electric mixer or a sturdy whisk until they’re light and fluffy. This step is important for incorporating air, which helps make the bread tender. Then, beat in your eggs, one at a time, making sure each one is fully incorporated before adding the next. Stir in the vanilla extract. The mixture should look smooth and creamy.
Step 4: Combine
This is where the magic starts to happen! Now, we’re going to add our dry ingredients to the wet ingredients, alternating with the milk. Add about a third of the dry ingredients to the butter mixture and mix on low speed (or stir gently) until just combined. Then add half of the milk and mix again. Repeat this process: another third of the dry ingredients, the remaining milk, and finally the last of the dry ingredients. Be careful not to overmix! Seriously, just mix until you no longer see streaks of dry flour. A few little lumps are totally fine. Overmixing can lead to a tough, dense bread, and we definitely don’t want that.
Step 5: Prepare Filling
In a small bowl, stir together the 2 tablespoons of sugar and 1 teaspoon of cinnamon for the swirl. If you’re using the extra tablespoon of softened butter, you can mix it in here too to create a sort of paste. This mixture is going to give us those lovely pockets of spiced sweetness throughout the bread. It’s such a simple addition, but it makes a world of difference!
Step 6: Layer & Swirl
Now, gently fold in your grated zucchini into the batter. Make sure it’s evenly distributed. Pour about half of the batter into your prepared loaf pan and spread it out evenly. Sprinkle about half of your cinnamon-sugar mixture over this layer. Then, carefully spoon the remaining batter on top and spread it out. Finally, sprinkle the rest of the cinnamon-sugar mixture over the top. If you like, you can use a knife or a skewer to gently swirl the cinnamon sugar into the top layer of the batter. This creates those beautiful marbled patterns that are so pretty when you slice it!
Step 7: Bake
Place your loaf pan in the preheated oven. Bake for about 50-65 minutes. The baking time can vary depending on your oven, so start checking around the 50-minute mark. You’ll know it’s done when a toothpick inserted into the center comes out clean, or with just a few moist crumbs attached (but no wet batter!). If the top starts to get too brown before the inside is cooked, you can loosely tent it with aluminum foil.
Step 8: Cool & Glaze
Once baked, take the loaf pan out of the oven and let it cool in the pan for about 10-15 minutes. This allows the bread to set up a bit more. Then, carefully invert the pan onto a wire rack to let the bread cool completely. I usually can’t resist a warm slice, but for the best texture and easier slicing, it’s best to let it cool down. If you’re feeling extra indulgent, you can whip up a simple glaze (powdered sugar mixed with a little milk and vanilla) and drizzle it over the top once it’s completely cooled. It’s totally optional, but oh-so-delicious!
Step 9: Slice & Serve
Once the bread has cooled, use a serrated knife to slice it into thick, comforting slices. Serve it as is, or with a smear of butter or cream cheese. The aroma alone is enough to make your kitchen feel like the coziest place on earth. Enjoy every warm, moist bite!
What to Serve It With
This zucchini bread is truly a chameleon when it comes to serving. For a simple, satisfying BREAKFAST, I love it toasted with a light spread of butter and a big mug of coffee. The warmth of the bread and the richness of the coffee are just perfection to start the day. If you’re hosting a BRUNCH, this bread is a welcome addition to any spread. You can serve it with a side of fresh berries or a dollop of Greek yogurt for a lighter touch. It looks beautiful on a platter, especially with that lovely swirled top. As a DESSERT, it’s wonderfully versatile. I sometimes serve it with a scoop of vanilla bean ice cream for a simple yet elegant treat, or with a light dusting of powdered sugar. And for those moments when you just need a little pick-me-up, a slice of this zucchini bread is the ultimate COZY SNACK. It pairs perfectly with a cup of tea on a chilly afternoon or even a glass of milk for the kids (and me!). My family also loves it with a thin layer of almond butter. Honestly, it’s so good, it hardly needs anything at all!
Top Tips for Perfecting Your Zucchini Bread
I’ve made this zucchini bread more times than I can count, and along the way, I’ve picked up a few tricks that I think really elevate it. Here are my top tips for getting it just right, every single time:
Zucchini Prep: This is probably the MOST important step. Grate your zucchini using the medium holes on a box grater. Once it’s grated, place it in a fine-mesh sieve or a clean kitchen towel and press out as much excess moisture as you possibly can. If you skip this, your bread can end up too wet and dense. It might seem like a lot of zucchini, but it shrinks down as you squeeze.
Mixing Advice: Remember what I said about not overmixing? It’s worth repeating! Once the flour is added, mix just until the ingredients are combined. A few lumps in the batter are your friends here. Overworking the gluten in the flour will lead to a tough texture, and we want this bread to be wonderfully tender.
Swirl Customization: The cinnamon-sugar swirl is pretty easy, but if you want to get fancy, you can make beautiful patterns. After you’ve spread the top layer of batter, sprinkle the swirl mixture on top, then use a thin knife or a skewer to draw zig-zags, spirals, or even little hearts through the topping and into the batter. It makes for a really pretty presentation.
Ingredient Swaps: I’ve already mentioned almond milk, which works beautifully. If you’re out of butter, you can actually substitute it with a neutral oil like vegetable or canola oil, using about 3/4 of the amount of butter. For a dairy-free version, you can use plant-based milk and oil. If you’re a chocolate lover, add about 1/2 cup of chocolate chips (mini or regular) to the batter along with the zucchini. It’s a game-changer!
Baking Tips: Ovens can be so different! My advice is to always start checking for doneness a little earlier than the recipe suggests. Use the toothpick test – it’s the most reliable way. If your loaf is browning too quickly on top, you can cover it loosely with aluminum foil for the last 15-20 minutes of baking. This traps the heat and allows the inside to cook through without burning the crust.
Glaze Variations: The simple powdered sugar glaze is fantastic, but you can play with it. Add a tiny bit of lemon zest for a hint of brightness, or a splash of maple syrup for a different kind of sweetness. If you don’t want to glaze at all, a light dusting of powdered sugar once it’s cooled is lovely and subtle.
Storing and Reheating Tips
This zucchini bread is so good, you might find yourself wanting to make a double batch! Luckily, it stores beautifully. For best results, let the bread cool completely before storing. At ROOM TEMPERATURE, I’ve found it stays wonderfully moist for about 2-3 days when stored in an airtight container or wrapped tightly in plastic wrap. If your kitchen is particularly warm, or if you live in a humid climate, storing it in the refrigerator might be a better option. REFRIGERATOR STORAGE will keep it fresh for up to a week. Just make sure it’s in an airtight container or well-wrapped. When you’re ready to enjoy a slice, you can eat it cold, or warm it up slightly in a toaster oven or microwave for about 10-15 seconds. For LONGER STORAGE, this bread freezes like a dream! Wrap individual slices tightly in plastic wrap, then place them in a freezer-safe bag or container. It will keep well in the freezer for up to 3 months. Thaw at room temperature, or gently reheat as mentioned above. GLACE TIMING ADVICE is simple: I always wait until the bread is completely cool before adding any glaze. If you glaze it while it’s warm, the glaze can melt and become a sticky mess. For bread stored in the fridge or freezer, I usually skip the glaze until I’m ready to serve a slice, just to keep the glaze from getting too sticky.
Frequently Asked Questions
Final Thoughts
So there you have it – my beloved zucchini bread recipe! It’s more than just a baked good; it’s a hug in edible form, a little slice of comfort that I can always count on. It’s the perfect way to use up those garden zucchinis, and it’s a guaranteed hit with kids and adults alike. I truly believe this is the kind of recipe that belongs in everyone’s kitchen repertoire. It’s simple, forgiving, and most importantly, it tastes absolutely incredible. If you love a good quick bread, I think you’ll also enjoy my recipe for moist banana bread or my easy blueberry muffin recipe. They share that same homey, comforting vibe. Give this zucchini bread a try, and I really hope it brings as much warmth and happiness to your home as it does to mine. I can’t wait to hear what you think and if you discover your own favorite way to enjoy it! Happy baking!

Creole Garlic Oil
Ingredients
Method
- Combine the olive oil and vegetable oil in a small saucepan.
- Add the sliced garlic to the oil. Heat over low heat until the garlic is golden brown and fragrant, about 8-10 minutes. Be careful not to burn the garlic.
- Remove the saucepan from the heat. Stir in the red pepper flakes, dried oregano, dried thyme, and salt.
- Let the oil cool for a few minutes. Strain the oil into a clean jar or bottle, discarding the garlic solids or keeping them if desired.
- Store in an airtight container at room temperature for up to 2 weeks. Enjoy!