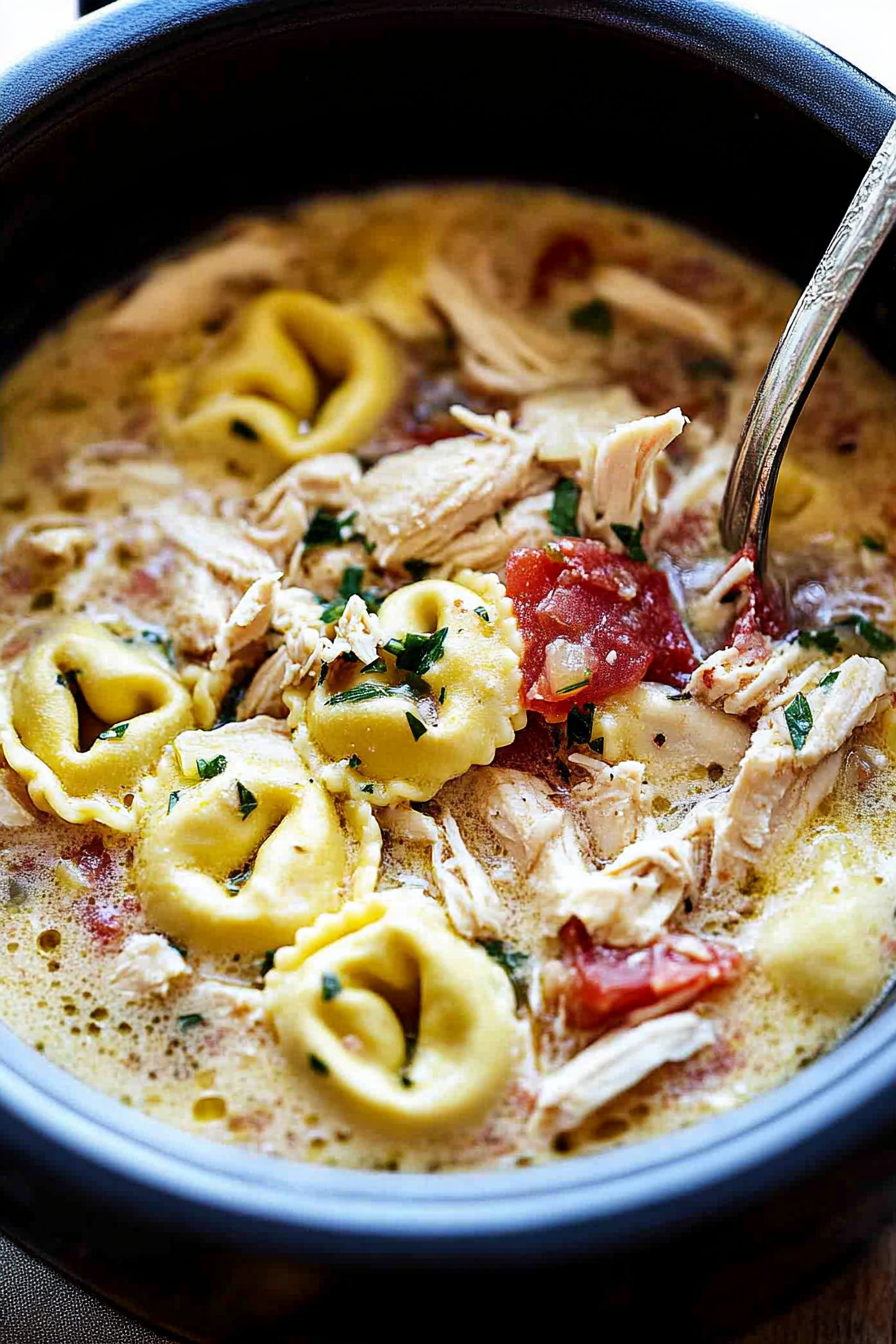
Cozy Tortellini Chicken Soup Recipe
There’s this nostalgic smell that wafts through my house every time I make these zucchini brownies — it’s a warm, slightly nutty aroma with just a hint of cocoa that instantly makes me smile. I remember the first time I whipped up a batch, thinking I was being clever sneaking a veggie into a dessert. My kids, or rather my little taste-testers, asked for seconds before they even finished the first slice. Honestly, I think they loved the rich chocolate flavor more than the surprise zucchini inside. This recipe is one of those things I keep in my back pocket, especially on nights when I want something sweet but don’t want to spend hours baking. Plus, it’s incredible how moist and fudgy they turn out — it’s like they’re secretly good for you! If you’re into classic brownies but crave a little health boost, I promise you, these zucchini brownies will become a go-to. Trust me on this one, once you try them, they’ll disappear in minutes at your house, too.
What is Zucchini Brownies?
Think of zucchini brownies as your favorite chocolate treat, but with a sneaky vegetable twist. It’s essentially a fudgy, rich brownie recipe infused with grated zucchini — don’t worry, it doesn’t taste like vegetables at all. The name might sound a little strange at first, but honestly, it’s just about making a healthier, slightly moister version of the classic brownie that’s perfect for sneaking in some greens without anyone noticing. The zucchini adds moisture and softness, making these brownies irresistibly chewy and fudgy. They’re like a secret weapon for busy weeknights or when you want to throw together something sweet fast. I’ve tested this recipe countless times, and what I love most is that it’s adaptable — gluten-free, vegan, or with a few tweaks, it can suit all kinds of dietary needs. It’s simple enough for a beginner baker but impressive enough to serve to guests. Think of it as a win-win: health and happiness all rolled into one.
Why you’ll love this recipe?
How do I make zucchini brownies?
- Flavor: The cocoa flavor is deep and decadent, like a classic brownie but with a touch of natural earthiness from the zucchini that balances the sweetness beautifully. It’s a flavor that’s intense but not overpowering.
- Simplicity: I always do the minimum fuss — just mix, layer, and bake. No complicated steps or fancy equipment needed. This one’s a lifesaver on busy nights when you need a quick dessert to satisfy that sweet tooth.
- Cost-efficiency: What is the best way to measure cost-efficiency? Mostly pantry staples, plus it uses zucchini, which I usually have on hand because my garden goes nuts every summer. It’s budget-friendly, and because you grate the zucchini, it’s perfect for using up any leftover veggies.
- Versatility: You can swap in almond flour, make it vegan with flax eggs, or add a handful of chopped nuts or chocolate chips. My kids even love these warmed up with a scoop of vanilla ice cream — talk about a cozy dessert!
What I really love about this recipe is how forgiving it is. Even if I forget to take the zucchini out of the fridge for a few days, it still turns out perfectly moist. Plus, the extra veggies? A nice little bonus that makes me feel better about indulging. And trust me, once you bake these a couple of times, you’ll find your own tweaks and tricks — I sure did.
How to Make Zucchini Brownies
Quick Overview
This recipe comes together way faster than you’d think. Basically, you grate the zucchini, squeeze out a bit of moisture, mix it up with cocoa, sugar, eggs, and melted butter or oil, then layer it into a pan with a handful of chocolate chips. A quick swirl to incorporate some more chocolate on top, then into the oven. The result? Deeply fudgy, moist brownies that actually get better after they’ve cooled for a bit. The best part? The zucchini melts right into the batter, giving the brownies a tender crumb that’s almost addictive. It’s perfect for when you want a rich treat but also want to feel good about what you’re eating.
Ingredients
For the Main Batter:
– 1 ½ cups grated zucchini (about 2 medium zucchinis, grated and drained)
– ½ cup unsweetened cocoa powder
– 1 cup granulated sugar (or coconut sugar for a healthier twist)
– 2 large eggs
– ½ cup melted butter or coconut oil
– 1 teaspoon vanilla extract
– ½ teaspoon baking powder
– ¼ teaspoon salt
– ½ cup all-purpose flour (or almond flour for gluten-free)
For the Filling:
– ½ cup chopped chocolate chips or chunks (dark, semi-sweet, or dairy-free)
– Optional: ¼ cup chopped nuts or dried berries for extra texture
For the Glaze:
– ½ cup chocolate chips, melted with a tablespoon of butter or coconut oil
– Optional: a sprinkle of sea salt or crushed pistachios for garnish
Step-by-Step Instructions
Step 1: Preheat & Prep Pan
Heat your oven to 350°F (175°C). Line a 9×9-inch baking pan with parchment paper or spray with non-stick spray. I always do this first so I don’t have to fuss later. Make sure your zucchini is grated and ready to go — I like using a box grater for the best texture. Also, give the grated zucchini a quick squeeze with a clean towel or paper towel to remove excess moisture. This helps prevent the batter from becoming too watery and ensures those brownies stay fudgy.
Step 2: Mix Dry Ingredients
In a small bowl, whisk together the cocoa powder, baking powder, salt, and flour. This step helps distribute everything evenly and prevents clumping. I learned the hard way that adding flour directly to wet ingredients means lumpy batter — so I always combine my dry first. Keep this mixture handy.
Step 3: Mix Wet Ingredients
In a larger bowl, whisk the eggs, sugar, vanilla, and melted butter until smooth. It should look shiny and slightly frothy. I like to use a spatula for the next step — careful not to overmix; you just want everything combined. The smell of vanilla with cocoa makes my kitchen feel like a little chocolate heaven. When I tested this with almond milk, it made the brownies even creamier — so feel free to experiment!
Step 4: Combine
Gradually add the dry ingredients into the wet mixture, gently folding with a spatula. Don’t overstir — overmixing can make the brownies dense instead of fudgy. Fold just until you see no more streaks of flour, then gently fold in the grated zucchini and chocolate chips. The batter is thick but spreadable; you’ll notice it’s way more chocolaty than you would expect from a veggie-laden bake!
Step 5: Prepare Filling
If you’re adding nuts or dried berries, fold them into the batter now. For extra chocolatey goodness, sprinkle a handful of chopped chocolate on top before baking. A quick tap on the pan to settle the batter helps uniformity, and a gentle swirl with a spoon can create a pretty marbled effect with the batter if you’re feeling fancy.
Step 6: Layer & Swirl
Spread the batter evenly into your prepared pan. If you want a pretty swirl on top, sprinkle some extra chocolate chips on the surface and give it a gentle swirl with a toothpick or skewer. This not only looks gorgeous but adds little pockets of melted chocolate when baked. Trust me, the visual makes it disappear even faster!
Step 7: Bake
Pop it into the oven for about 25-30 minutes. The smell alone will draw you to the kitchen. To check for doneness, insert a toothpick in the center — if it comes out with moist crumbs but not wet batter, they’re done. Every oven is different, so I recommend starting to check around the 25-minute mark. The edges should be set and a little pull away from the pan. Let them cool in the pan for at least 15 minutes before transferring to a wire rack.
Step 8: Cool & Glaze
Allow the brownies to cool completely before glazing. Warm brownies can cause the glaze to run off or become too sticky. Once cooled, spread your melted chocolate glaze on top, sprinkle with a tiny bit of sea salt, or add toppings like chopped pistachios or even a sprinkle of powdered sugar. It’s all about how fancy you want it to look — and trust me, the glaze makes a big difference in that picture-perfect finish!
Step 9: Slice & Serve
Use a sharp knife dipped in hot water for clean cuts. Slice into squares and serve at room temperature or slightly warmed with a dollop of whipped cream or a scoop of vanilla ice cream. My family loves these with a cup of cold milk — honestly, it’s like a cozy hug in brownie form.
What to Serve It With
This brownie is so versatile, I keep thinking of new ways to enjoy it. For breakfast, I love serving a warm square with a mug of black coffee or a frothy latte — the cocoa and zucchini make it feel almost like a mocha. On weekends, I whip up a batch for brunch, pairing it with fresh berries and a drizzle of honey or yogurt. As an after-dinner treat, it pairs beautifully with a glass of milk or a robust coffee. My kids actually ask for this all the time — sometimes just as an afternoon snack, sometimes after dinner. When I have friends over, I like to serve a plate of these brownies with a dusting of powdered sugar and a sprig of mint — it looks pretty and tastes incredible. The best part? It’s a comfort food that doesn’t feel like a cheat — it’s almost healthy, right?
Top Tips for Perfecting Your Zucchini Brownies
Of all the baking adventures I’ve had, this recipe’s success comes down to a few little tricks I’ve learned over the years. First, prep your zucchini properly. Grate it finely and squeeze out every drop of excess moisture — otherwise, your batter can turn watery, and nobody wants soggy brownies. My secret is wrapping the grated zucchini in a clean dish towel and giving it a good squeeze — trust me, it makes a huge difference. Second, fold ingredients gently — overmixing leads to dense, rubbery brownies. Keep the spatula moving softly, and you’ll get that perfect fudgy texture.
Regarding fillings, I like adding chocolate chips or chopped nuts because they add texture and bursts of flavor, but you could also mix in dried cranberries or coconut flakes. When it comes to baking, oven temperatures can vary, so start checking around 25 minutes. I’ve made these with vegan butter, coconut sugar, and even apple sauce instead of eggs — all fantastic options! Just keep an eye on the batter, and don’t forget: cooling fully before glazing makes a pretty finish.
Finally, the glaze is my favorite part. Melting chocolate chips with a teaspoon of coconut oil creates a shiny, luscious topping. Want a little extra flair? Sprinkle chopped pistachios or a pinch of sea salt on top before the glaze sets. These tweaks really elevate the presentation and flavor. Honestly, I test and update this recipe every time I make it, and each version feels just a little better — it’s one of those baking projects I keep coming back to, and always with a smile.
Storing and Reheating Tips
Once cooled, these brownies keep surprisingly well. For the best freshness, store leftovers in an airtight container at room temperature for up to 3 days. Cover with a cloth or foil to keep them soft; I’ve found that plastic wrap can sometimes make the top a little sticky. If I know I’ll be holding onto them longer, I pop them in the fridge — they stay good for about a week. Just remember, the fridge can make them a tad denser, so I like to warm slices in the microwave for about 10 seconds to bring back that fudgy, melt-in-your-mouth texture. Freezing works great, too — just wrap each piece individually in plastic wrap, then pop into a freezer bag; they’ll last up to three months. When you’re ready to enjoy, just thaw at room temp and drizzle with fresh glaze if you like — easy peasy! The glaze can be reapplied if the brownies have been refrigerated or frozen, retaining that glossy shine and rich flavor.
Frequently Asked Questions
Final Thoughts
If you’re looking for a way to indulge without feeling totally guilty, or just want to keep your baking interesting, these zucchini brownies are a game changer. They’re moist, flavorful, and secretly healthy, which makes me feel good every time I serve them. Plus, they remind me of my childhood — a little bit of sneaky nutrition wrapped in pure chocolate bliss. I’ve made these so many times, I’ve lost count, and each batch feels like a little celebration. My advice? Play around with different add-ins, experiment with gluten-free flours, or double the batch and freeze some for later. Once you get the hang of it, you’ll see how forgiving and adaptable this recipe is. Happy baking, friends! And don’t forget to come back here and tell me how yours turned out. I’m always eager to hear about your twists and tweaks!

chicken tortellini soup
Ingredients
Method
- In a Dutch oven over medium heat, add olive oil.
- Once oil is hot, add chopped onion and jalapeno; cook until tender, about 5 minutes.
- Add minced garlic and cook for 1 minute.
- Stir in diced tomatoes, Italian seasoning, salt, and pepper; cook for 2 minutes.
- Pour in heavy cream and bring to a boil.
- Add cooked tortellini, shredded chicken, Parmesan, Romano cheese, and chopped basil. Heat through.
- Serve hot, garnished with additional basil if desired.