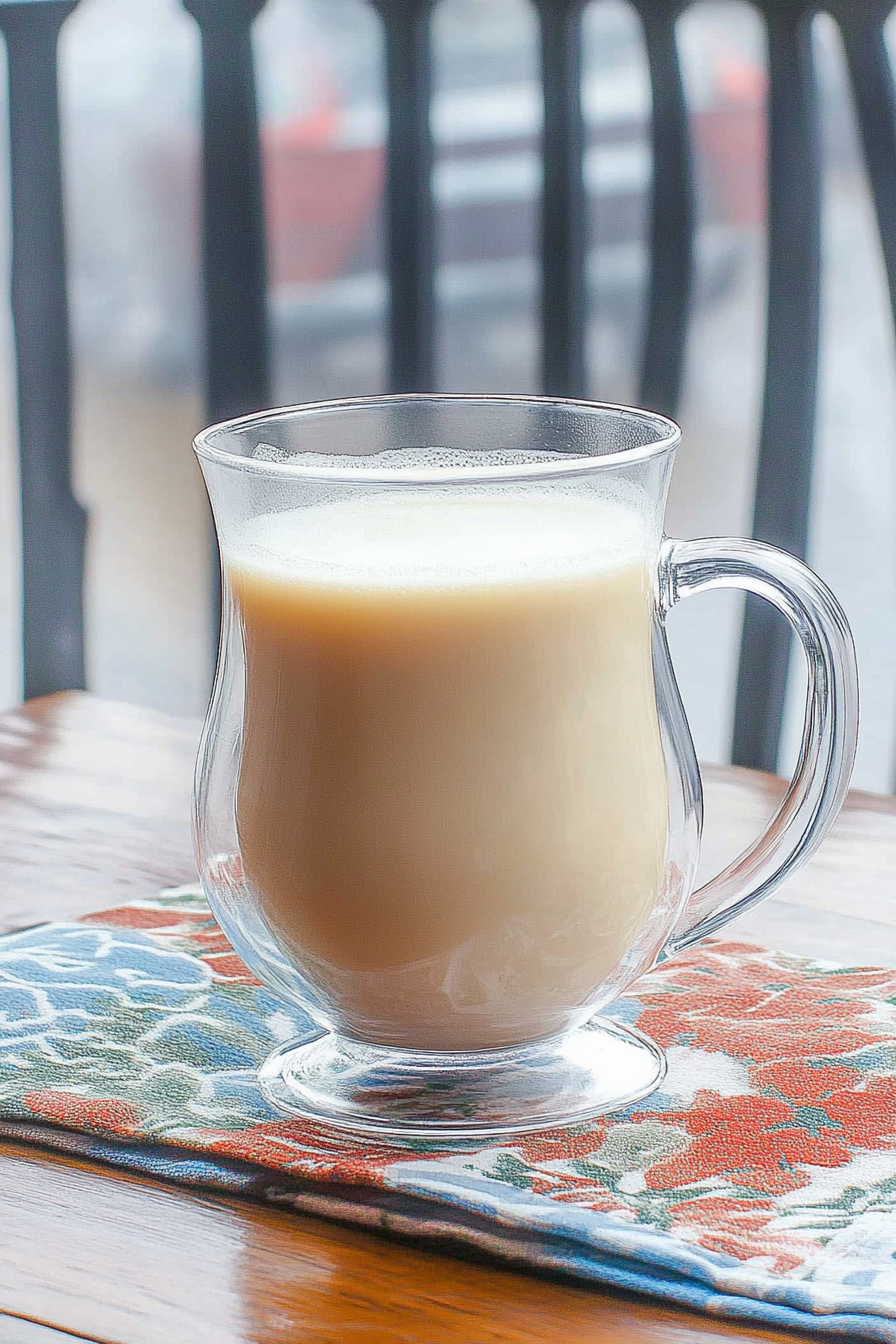
Cozy Earl Grey Tea Latte Recipe
I still remember the first time I made this zucchini swirl loaf. It was a rainy Sunday, the kind where you just want something warm and comforting, but also a little special. I had a bunch of zucchinis from my garden, and honestly, I was tired of the same old zucchini bread. So I started playing around, tossing in a few favorite flavors, and this recipe was born. It’s become a family staple that my kids ask for all the time — they love the little surprise swirl in every slice. The smell alone, baking in the oven, is enough to turn any gloomy day into a cozy celebration. It’s incredibly easy, but don’t let that fool you — the flavor is wow, and the texture is moist and tender, almost like a cake. Plus, it’s a sneaky way to get more veggies into hungry little mouths without a fuss. Trust me, this dish has saved many busy weeknights and lazy weekend brunches alike. And the best part? It’s just as good at breakfast as it is for dessert. I can’t wait for you to try it! Make sure you grab your zucchinis—you won’t regret it!
What is Zucchini Swirl Loaf?
This zucchini swirl loaf is like a cozy hug wrapped in delicious bread. Think of it as a cross between a moist zucchini cake and a classic loaf, with a little fruity-flavored swirl running through the middle. The “swirl” part is what makes it stand out—imagine a ribbon of vibrant, sweet cinnamon or a berry compote weaving its way through tender batter. It’s essentially a loaf that looks fancy but is downright easy to pull together. The name says it all: zucchini forms the base, keeping everything moist and healthy-feeling, while the swirl adds that extra special touch. It’s perfect if you’re looking for something that feels indulgent but secretly sneaky in nutrition. And let’s be honest, I love recipes like this because I can prepare it in one bowl, load it into the oven, and enjoy a slice with my morning coffee—no fuss, no stress. This loaf is versatile enough to serve as breakfast, snack, or dessert, making it a true all-in-one crowd-pleaser. My favorite part? The way everyone—kids, friends, even that odd picky eater—asks for seconds.
Why you’ll love this recipe?
The number one reason I keep coming back to this zucchini swirl loaf is the flavor. The subtle sweetness paired with earthy zucchini and that show-stopping swirl—trust me, it’s addictive. What I love most about this is how simple it is to make. You don’t need fancy gadgets or a ton of ingredients. Honestly, most of what you need is probably already in your pantry. It’s budget-friendly too, since zucchinis are in season and pretty cheap, even at the grocery store. This recipe is also surprisingly versatile; you can swap out the swirl flavor—think lemon curd, blueberry jam, or even chocolate spread—to make new versions every time.
And if you’re like me, busy most days, this is a lifesaver on weeknights when dinner’s running late, and everyone’s hungry. It’s a one-bowl wonder, and the clean-up is such a breeze. Plus, it’s perfect for making ahead — the flavors even deepen the longer it sits. I’ve made this countless times, and it never fails to impress at potlucks, brunch, or just when I need a warm piece of comfort in the afternoon. Honestly, it’s one of those recipes where each slice feels like a little reward—moist, fragrant, and just sweet enough to satisfy that craving. It’s one of those recipes I love because it’s genuine, fuss-free, and always feels like a little gift I give myself. Whether you’re a seasoned baker or just starting out, this loaf will quickly become your new favorite.
How do you make Zucchini Swirl Loaf?
Quick Overview
This zucchini swirl loaf is super straightforward—think one bowl, a few simple ingredients, and a hot oven. I always do this when I want to bake something quick but impressive. The batter is mixed together in no time, then layered with the flavorful swirl, and it bakes into a golden, tender treat. The swirl not only makes it pretty but also adds a burst of flavor in every bite. What makes this method special is how forgiving it is—no overmixing, no fancy techniques, just good, honest baking. It’s perfect for lazy weekends or to whip up when friends drop by unexpectedly. Plus, it’s flexible—if you don’t have zucchini, you can try carrots or apple in a pinch.
Ingredients
For the Main Batter:
– 2 cups all-purpose flour (or gluten-free flour blend if needed, I tested this with almond flour and it actually made it even creamier!)
– 1 teaspoon baking powder
– ½ teaspoon baking soda
– ½ teaspoon salt
– 1 cup granulated sugar (or honey if you want to go a little healthier)
– ⅓ cup vegetable oil or melted butter
– 2 large eggs
– 1 teaspoon vanilla extract
– 1 cup grated zucchini (squeeze out excess moisture first — this keeps the loaf from getting soggy!)
For the Filling/SWIRL:
– ½ cup fruit jam, lemon curd, or cinnamon-sugar mixture
– Optional: ¼ teaspoon cinnamon or nutmeg for extra warmth
– Fresh berries or chopped nuts for variation
For the Glaze:
– Powdered sugar mixed with a splash of milk or lemon juice, until smooth
– Or a drizzle of maple syrup for a different flavor kick
– A sprinkle of extra cinnamon or zest can elevate the look and taste—trust me on this.
Step-by-Step Instructions
Step 1: Preheat & Prep Pan
I always start by heating my oven to 350°F (175°C). Grease a standard loaf pan with butter or non-stick spray, and I like to line it with parchment for easy removal. Then, I set everything out — your ingredients, mixing bowls, and a whisk or spatula. It keeps the process smooth and fun. Also, I gently dust the pan with a little flour or sugar for an extra layer of non-stick magic.
Step 2: Mix Dry Ingredients
In a large bowl, whisk together the flour, baking powder, baking soda, salt, and spices if using. Mixing these thoroughly ensures even rise and a consistent texture. I’ve made the mistake of skipping this step — the batter was heavier in spots, so don’t skip it! The dry ingredients should be fluffy and well combined.
Step 3: Mix Wet Ingredients
In a separate smaller bowl, beat the eggs and whisk in sugar, oil, and vanilla. I love how this step tricks the batter into becoming silky smooth. I’ve tested this with almond milk too, and it made it even creamier! After that’s combined, gently fold in the grated zucchini — the moisture it adds is magic, but I always squeeze out excess liquid first to keep everything balanced.
Step 4: Combine
Add the wet mixture into the dry ingredients, folding gently until just combined. Resist the temptation to overmix — I learned this the hard way, and overmixing makes the loaf dense instead of tender. Just stir until you see no streaks of flour. The batter should be thick but spreadable.
Step 5: Prepare Filling
If using jam or fruit spread, spoon it into a small bowl. If you want to make this extra special, mix in a dash of cinnamon or chopped nuts for texture. This is where you can get creative — I love swirling in blueberry jam during blueberry season or a smear of lemon curd for zing.
Step 6: Layer & Swirl
Pour half of the batter into the prepared pan, then spread half of your jam or filling over it. Add remaining batter on top, then gently swirl the filling through with a toothpick or skewer — zig-zag, circle, whatever pattern makes you happy. The swirl should be pretty visible but not overly mixed; you want it to peek through when baked.
Step 7: Bake
Pop it in the oven for about 50-60 minutes. Every oven is different; I start checking around 50 minutes by inserting a toothpick into the center — if it comes out clean, it’s ready. If not, give it a few more minutes — just keep an eye on the edges to prevent over-browning. The top will be golden and slightly firm to the touch.
Step 8: Cool & Glaze
Once out of the oven, let the loaf cool in the pan for about 10 minutes, then transfer it to a wire rack. I usually wait until it’s just warm but not hot — this way, glazing is a breeze and doesn’t melt away instantly. Mix powdered sugar with milk or lemon juice, then drizzle over the top. You can get really fancy with it by adding a pinch of cinnamon or zest.
Step 9: Slice & Serve
Wasn’t that satisfying? Use a serrated bread knife to cut perfect slices. For presentation, serve just warm or at room temp — either way, it’s divine. I like to add a dollop of yogurt, a sprinkle of nuts, or a few fresh berries on the side. And hey, leftovers? Wrap tightly and keep at room temp for a day or so, or refrigerate for a week. Just warm it up a little before serving to revive that fresh-baked aroma.
What to Serve It With
My family loves this during breakfast paired with a strong cup of coffee—think: a little pat of butter melting on top, maybe a smear of cream cheese. It’s also the star of brunch tables — the jewel in a spread of fresh fruit, scrambled eggs, and bubbly mimosas. When I serve it as dessert, I like to add a scoop of vanilla ice cream or a drizzling of caramel sauce for that extra indulgence. Sometimes, I even slice it thin and make a fancy tea-time snack with some herbal tea or a warm latte. This loaf is so adaptable; I’ve made it a dozen different ways and every single batch was loved. It’s comforting, easy, and honestly, feels like a little piece of home every time I make it. If you’re craving something cozy but bright, I promise this will be your new favorite—because it’s mine, too. Happy baking!
Top Tips for Perfecting Your Zucchini Swirl Loaf
Over the years, I’ve picked up a few tricks to make this even better. First, always squeeze out excess moisture from the zucchini. I used to skip this step, and too much liquid made the loaf dense or greasy. Wrapping the grated zucchini in a clean dish towel and wringing out the liquid is a game-changer. Second, don’t overmix the batter—this was another mistake I made early on. Gentle folding keeps it light and fluffy. For the swirl, I recommend using a skewer or thin knife for a nice marbled look—you don’t want to fully mix it in; just swirl until it looks pretty. When it comes to ingredient swaps, I’ve tested apple sauce instead of oil, and it made the loaf even more moist without changing the flavor much. You can also swap the sugar with maple syrup or honey, just cut back slightly on the liquid if you do. For baking, make sure your oven is properly calibrated—mine runs hot, so I reduce the temperature by about 10°F. The last tip? Always check for doneness with a toothpick—don’t rely on timing alone. And if you want to jazz it up, a dash of cardamom or ginger in the batter adds an unexpected warm note. Honestly, every time I try something new, I end up loving it even more. It’s like my little baking experiment that always pays off!
Storing and Reheating Tips
This loaf keeps wonderfully, which is great because I often make it ahead of time. If you plan to eat it the same day, keep it wrapped in a clean dish towel or in a bread box at room temperature — it’ll stay moist and soft for about 2 days. For longer storage, I pop it into an airtight container and refrigerate — it’s good for up to a week. Just warm slices slightly in the microwave for about 15 seconds before serving—trust me, it revitalizes all those lovely flavors. Freezing works beautifully too; just wrap the slices tightly in plastic wrap and store in a freezer bag for up to 3 months. When you’re ready to eat, thaw overnight in the fridge and warm as before. The glaze can be added just before serving, so I recommend storing the loaf plain if you want that fresh-glazed look. When I reheat, I avoid nuking it for too long — the edges can get kind of tough. Instead, I give it a quick warm-up in the oven at 350°F for a few minutes. That way, it stays tender and fresh-tasting. The key? Store it in a way that keeps it moist but protected from air that steals flavor. This isn’t a bread that dries out quickly if stored properly; it’s surprisingly resilient and still tastes like just-baked even a couple of days later.
Frequently Asked Questions
Final Thoughts
If you’re looking for a way to make baking feel more like a cozy chat with an old friend, this zucchini swirl loaf is it. It’s humble but glamorous, simple but packed with flavor. My favorite part? It’s one of those recipes that instantly makes the kitchen smell like home—warm, sweet, and comforting. Over the years, I’ve shared this with friends, brought it to brunches, and even used it as an unexpected gift for neighbors. Every time, it disappears in minutes, leaving behind only happy memories and a few crumbs. Give it a try, tweak it to suit your taste, and I promise, it’ll become a favorite in your house too. I love hearing from readers—so if you make it, leave a comment or tag me with your photos. Happy baking, and don’t forget to enjoy each slice!
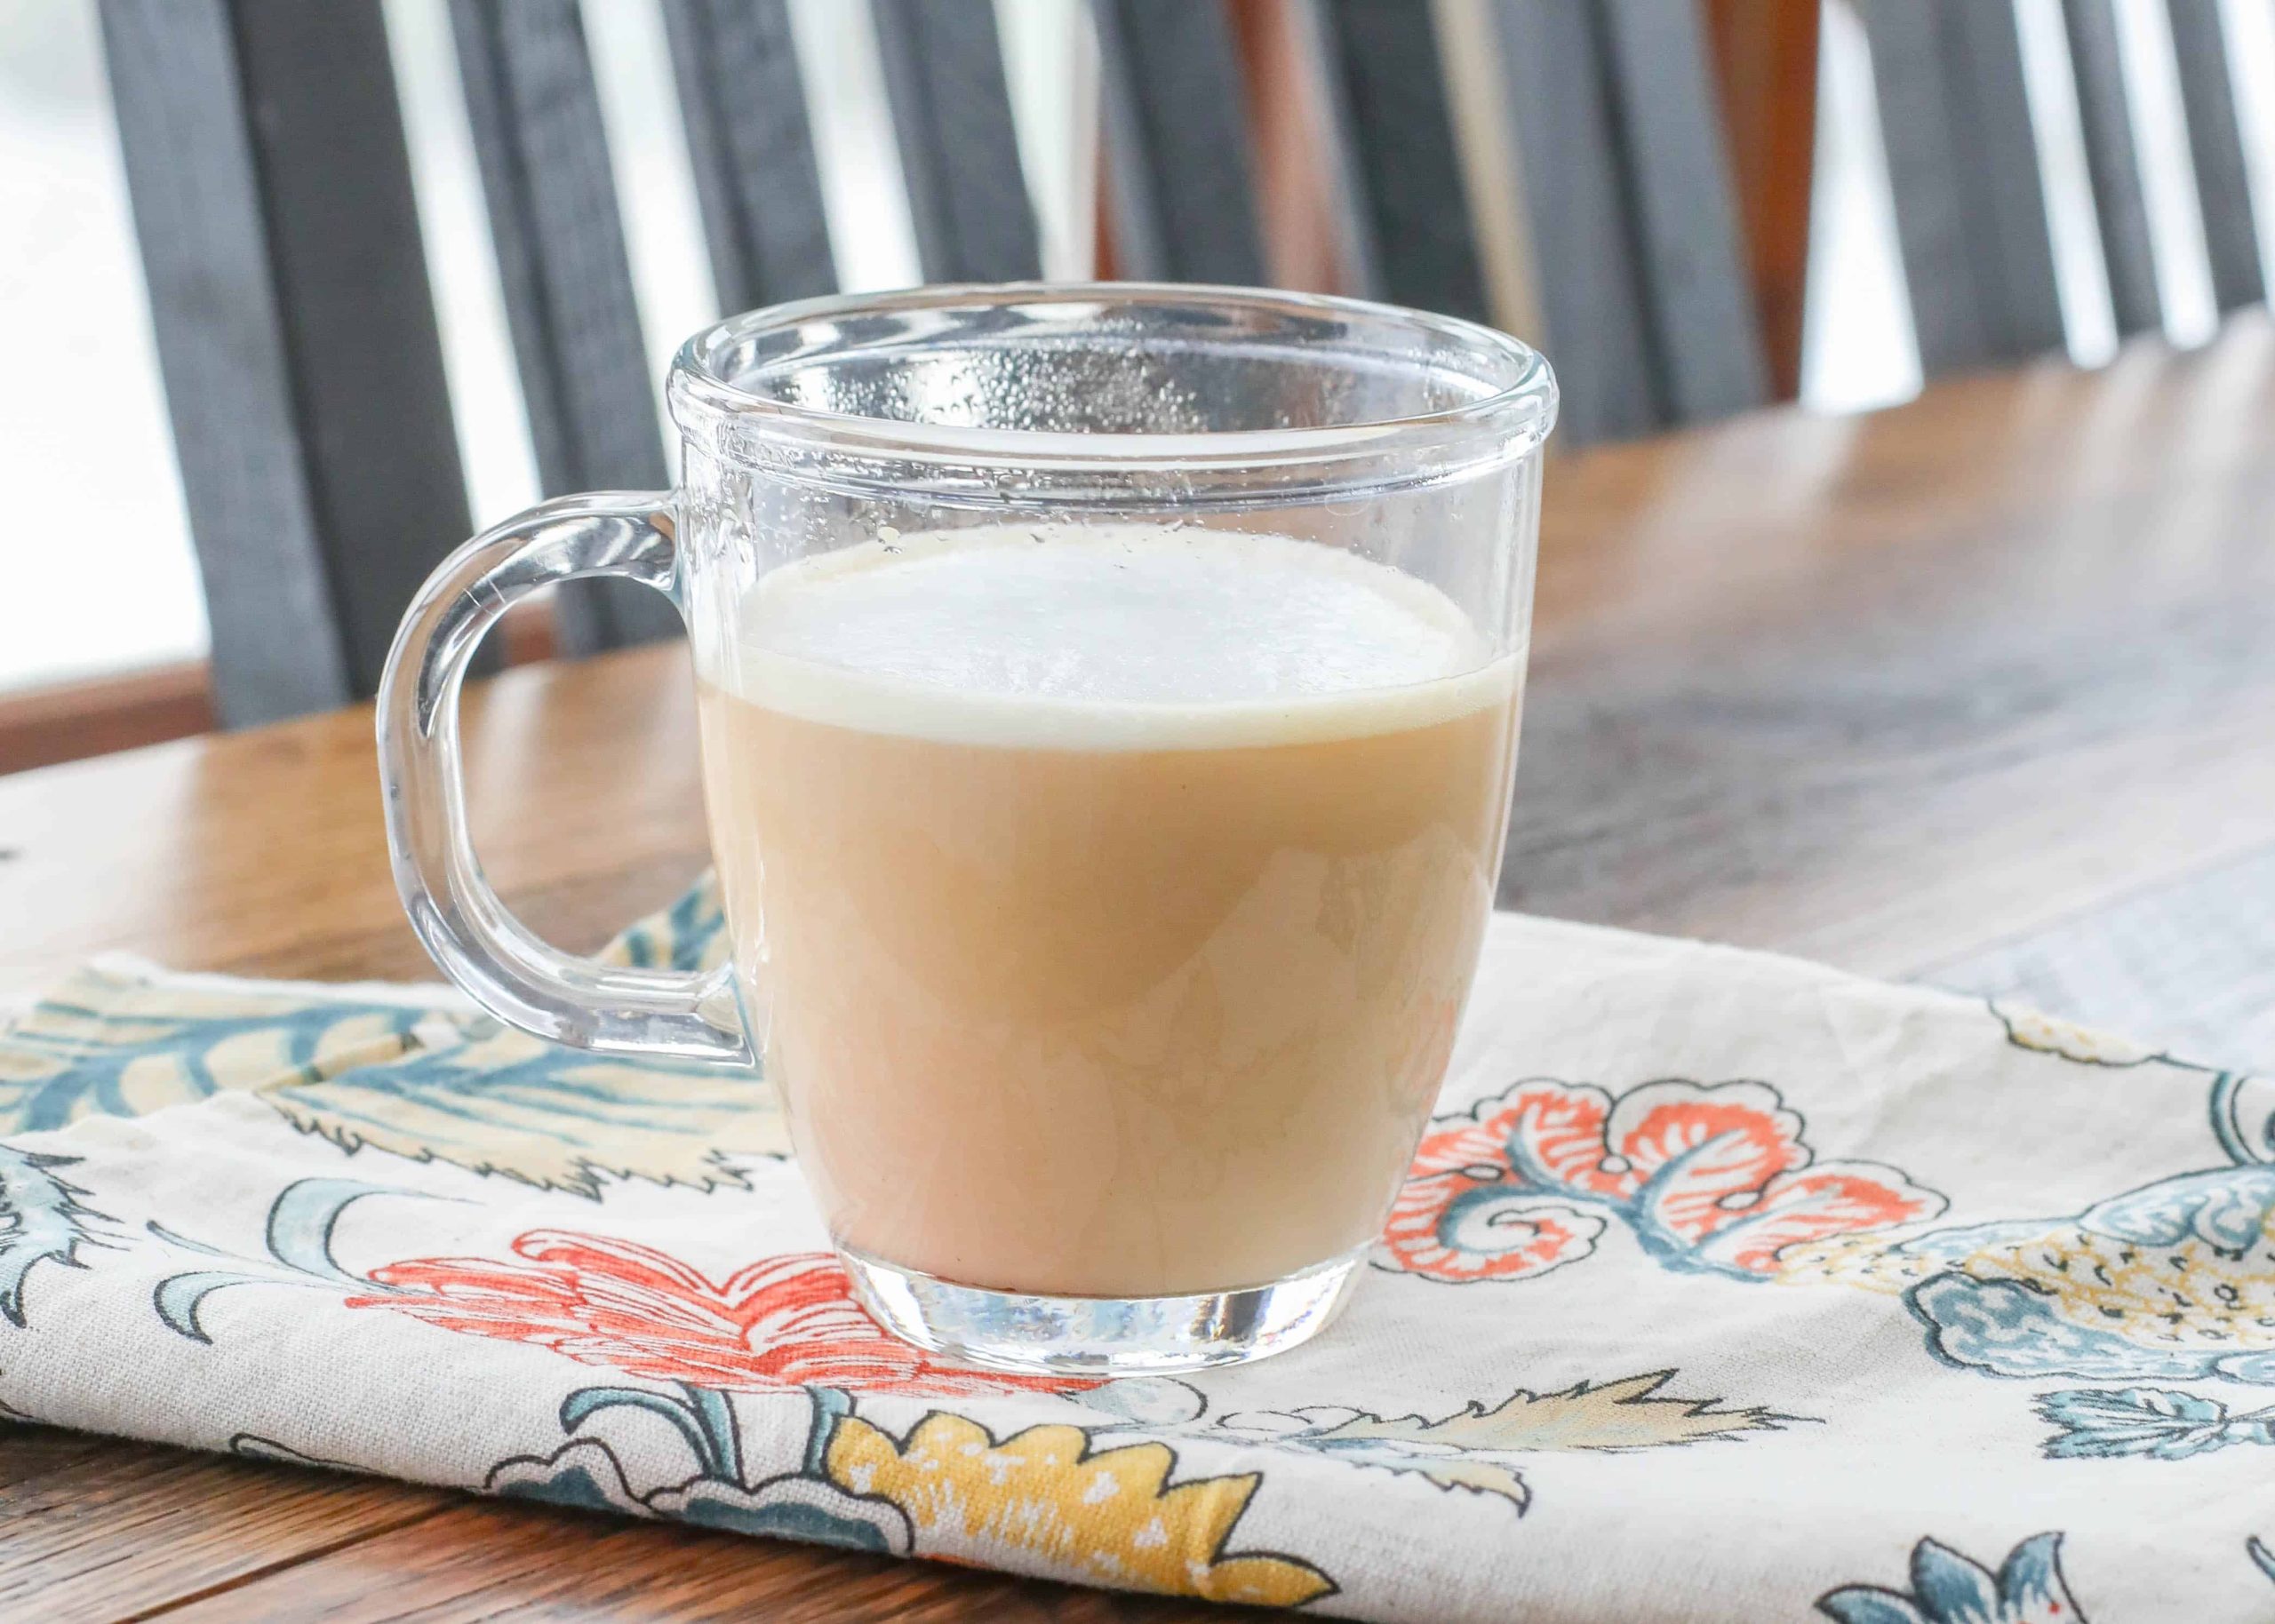
London Fog
Ingredients
Method
- Place the tea bag in a mug with boiling water and steep for 5 minutes. Remove the tea bag and add vanilla syrup or sweeten to taste.
- While the tea is steeping, heat the milk until steaming. Use a frother to make it foamy, about 15 seconds. Pour the steamed milk over the tea and stir gently.