Easy Chicken Broccoli Rice Casserole Delight
There’s this warm, fuzzy feeling I get every time I make my favorite chocolate zucchini swirl cake. It’s funny because, at first glance, zucchini isn’t exactly what you’d call a star ingredient in a cake—most folks think of it as a savory veggie you toss into salads or stir-fries. But trust me, when baked into this moist, decadent cake with swirls of rich chocolate running through every bite, it’s pure magic. I remember the first time I tried this; my boyfriend looked at me skeptically when I told him it had zucchini in it. Then he took a bite, and his eyes lit up. “Wow,” he said, “this is insanely good!” That’s exactly what I love most about this cake—how it sneaks in these healthy veggies and turns them into something irresistibly delicious. And the smell alone—oh my gosh—fills the whole house with warm cocoa and vanilla, making it impossible to wait until it’s cooled. It’s perfect for family gatherings, coffee dates, or even a cozy night when you’re craving something sweet but want to sneak in a little green. Plus, it’s pretty straightforward to whip up, even on busy weeknights. Seriously, this one’s a lifesaver!
What is a Zucchini Swirl Cake?
Think of this chocolate zucchini swirl cake as a happy marriage between a classic chocolate loaf and a surprisingly healthy twist. It’s essentially a soft, tender cake that’s subtly flavored with cocoa and packed with shredded zucchini—kind of like a blondie but with more moisture and a bit of earthiness. The “swirl” part comes from ribbons of melted chocolate that you gently swirl into the batter before baking, creating beautiful marbled patterns that look fancy but are totally foolproof. The name might sound unusual, but it perfectly captures what makes this cake so special. It’s a delicious way to use up those extra zucchinis from the garden or the ones sitting in the fridge that you weren’t sure what to do with. And because zucchini keeps the cake moist without making it heavy, every bite is just soft, flavorful, and satisfying. This cake’s got a cozy, familiar vibe—like a hug from your grandma, but in dessert form.
Why you’ll love this recipe?
What I love most about this chocolate zucchini swirl cake is how it balances indulgence and health without sacrificing flavor. The rich cocoa taste hits all the right notes, while the zucchini keeps everything incredibly moist and tender—no dry crumb in sight. My kids actually ask for seconds, and that’s saying something because they’re notoriously picky about “secret ingredients.” It’s so simple to make, too, which is a huge win during busy weeks. Honestly, I’ll often throw it together in one bowl—no fancy equipment needed—and bake it in a standard loaf pan. Plus, it’s kind of a chameleon; I’ve made it with dark chocolate chips, chopped nuts, or even a dash of cinnamon for a different twist, and it’s always a hit. This recipe is budget-friendly too—you probably already have all the ingredients in your pantry and fridge. And the best part? It’s super versatile—serve it as a casual snack with coffee or dress it up with a dusting of powdered sugar or a scoop of vanilla ice cream for dessert. The flavor, the texture, the hidden veggies—this cake just checks all my boxes. I’ve made this countless times and, honestly, it never fails to make my house smell heavenly.
How do I make Zucchini Swirl Cake?
Quick Overview
This cake comes together quickly, making it perfect for a lazy Sunday bake or a weeknight treat. You start by shredding your zucchini (don’t skip the squeezing out excess moisture — it keeps the batter from being too watery). Then, you whisk together dry ingredients, mix wet ingredients separately, and combine gently. The fun part is swirling melted chocolate into the batter—think of it like marbling with a toothpick or a skewer. Pour everything into a loaf pan, layer in some more chocolate chunks if you like, and then bake until a toothpick comes out clean. The result is a beautifully marbled cake with tender crumb and rich chocolate ribbons. I like to cool it a bit before glazing or sprinkling with powdered sugar—trust me, the wait is worth it. The entire process is straightforward, and honestly, the hardest part is not sneaking a slice before it cools!
Ingredients
For the Main Batter:
– 1 ½ cups all-purpose flour (or a mix of gluten-free flour if you prefer)
– ½ cup unsweetened cocoa powder (high quality for the best flavor)
– 1 teaspoon baking powder
– ½ teaspoon baking soda
– ¼ teaspoon salt
– 1 cup granulated sugar (feel free to reduce slightly if you want less sweetness)
– ½ cup vegetable oil or melted coconut oil
– 3 large eggs
– 1 teaspoon vanilla extract
– 1 cup shredded zucchini (squeezed to remove excess moisture)
For the Filling:
– ½ cup chopped dark chocolate or chocolate chips (I love Ghirardelli for richness)
– 2 tablespoons butter or coconut oil (melted for easy swirling)
– Optional: 1 tablespoon powdered sugar or cinnamon for extra flavor
For the Glaze:
– ½ cup melted chocolate (dark or semi-sweet)
– 1-2 teaspoons milk or coconut cream to thin out if needed
– A sprinkle of sea salt or crushed nuts for garnish (totally optional!)
Step-by-Step Instructions
Step 1: Preheat & Prep Pan
Set your oven to 350°F (175°C). Grease a loaf pan generously with butter or non-stick spray and line it with parchment paper — trust me, this will make removal much easier. If you skip this step, you risk a crumbly mess when slicing. Give the pan a quick tap to ensure it’s evenly coated, then set aside.
Step 2: Mix Dry Ingredients
In a large mixing bowl, whisk together the flour, cocoa powder, baking powder, baking soda, salt, and sugar. I always do this first—it kind of activates everything and makes sure the dry ingredients are evenly combined. You’ll notice it looks a little floury and dark—exactly how it should.
Step 3: Mix Wet Ingredients
In a separate bowl, beat the eggs, then add the oil and vanilla. Whisk until smooth. I like to gently squeeze the shredded zucchini to remove excess moisture before adding—this prevents the batter from being too runny. Stir the zucchini into the wet mixture.
Step 4: Combine
Pour the wet ingredients into the dry and fold gently — don’t overmix! You want just combined batter with a few lumps is fine. Overmixing can make the cake dense, and nobody wants that. The batter should be thick but spreadable.
Step 5: Prepare Filling
In a small bowl, melt the chocolate and butter together (you can do this in short bursts in the microwave or over a double boiler). Once smooth, set aside. You’ll swirl this into the batter next, so don’t let it cool completely—it’s easier to work with while still warm.
Step 6: Layer & Swirl
Pour half of the batter into the prepared pan. Drizzle half of the melted chocolate over it and use a toothpick or skewer to swirl gently—think of creating a marbled effect as you go. Repeat with the remaining batter and chocolate. Swirling too much can muddy the pattern, so be gentle. You want nice ribbons of chocolate running through the cake.
Step 7: Bake
Pop it in the oven and bake for 45-50 minutes. Check for doneness by inserting a toothpick in the center — it should come out with just a few moist crumbs. If it’s wet, cover with foil and bake a few more minutes. Ovens vary, so trust your nose and toothpick test more than the clock.
Step 8: Cool & Glaze
Remove the cake from the oven and let it cool in the pan for about 15 minutes, then transfer it to a wire rack. This prevents sogginess. Once cooled slightly, drizzle with melted chocolate or dust with powdered sugar if you’re feeling fancy. I often wait until it reaches room temp, because then the glaze sets nicely—but hey, a warm slice soaked with glaze melts in your mouth!
Step 9: Slice & Serve
Use a sharp serrated knife to cut clean slices. Because of the zucchini, the crumb stays super tender and moist, so don’t use a dull knife or you might squish the slices. Serve with a dollop of whipped cream, a scoop of vanilla ice cream, or just as is — plain and pure. And get ready for everyone to ask for the recipe!
What to Serve It With
This cake is a chameleon, I tell ya. For breakfast or brunch, it pairs beautifully with a hot cup of coffee or a glass of cold milk. My kids love it as a midday snack with a cold glass of almond milk. When I serve it as dessert, I like to add a dusting of powdered sugar, a drizzle of caramel, or a handful of chopped nuts on top. It’s also wonderful with a scoop of vanilla ice cream on the side, especially on those warm summer nights. I’ve served it at family gatherings, and everyone somehow ends up asking for seconds — even the zucchini skeptics! The whole house smells like cocoa and vanilla, which instantly makes everyone feel cozy. It’s become one of those recipes I keep on hand because I know it’ll bring smiles on any occasion. Plus, it’s a sneaky way to get the kids to eat their veggies without a fuss. Trust me, if you make this, it won’t last long!
Top Tips for Perfecting Your Chocolate Zucchini Swirl Cake
Every baker has moments of trial and error, and I’ve learned a few tricks along the way that really make a difference. First, always squeeze out excess moisture from the zucchini—this keeps the batter from turning too runny and the cake moist but not gloopy. I’ve tried doing just a quick rinse and tossing it in—we end up with a soggy mess. Grating then pressing it with a paper towel works best. When mixing the dry and wet ingredients, fold gently—you don’t want to overwork the batter or the cake turns dense. Swirling the melted chocolate is an art—I usually dip a toothpick and create swirling patterns at different depths, which makes each slice beautiful. Want to customize it? Replace the chocolate with peanut butter swirls or add chopped nuts for crunch. I’ve also experimented with using coconut sugar instead of white sugar—adds a lovely caramel touch but keeps it a bit healthier. Baking is all about patience and paying attention to your oven’s quirks. I recommend setting a timer, then doing the toothpick test—trust me, it’s the best way to know when it’s ready. As for the glaze, I love adding a pinch of sea salt to balance the sweetness, but a little cinnamon or chili powder can also give it a fun twist. Just have fun with it and remember that tasting and adjusting as you go makes for the best baked goodies. I’ve spilled batter, burnt a few edges, but honestly, every mistake taught me something I now swear by. Keep experimenting—you’ll find your perfect version.
Storing and Reheating Tips
This cake keeps well for 2-3 days at room temperature if covered loosely with a towel or stored in an airtight container. If it’s warm outside or you like it extra moist, pop it in the refrigerator; just make sure to bring it back to room temp before slicing for best softness. I find that wrapping individual slices tightly in plastic wrap and freezing works great if you want to keep some on hand for later; just thaw overnight in the fridge and enjoy. For longer storage, it’s best to freeze whole or sliced cakes wrapped in foil and then placed in a zip-top bag—good for up to 3 months! Reheat slices in the microwave for about 15-20 seconds, covered with a damp paper towel, to bring back that freshly baked warmth. If you’re adding glaze or frosting, wait until the cake is mostly at room temperature to avoid melting. The glaze can be added just before serving or stored separately if you’re making it ahead. I’ve learned that keeping the cake covered prevents it from drying out, and that’s key to keeping each bite moist and flavorful. Honestly, I think the secret to the best leftovers is not over-storing—it’s eat it while it’s still fresh and warm!
Frequently Asked Questions
Final Thoughts
If you ask me, this chocolate zucchini swirl cake is one of those recipes that sneaks into your regular rotation because it’s just so darn good. It’s soft, moist, chocolatey, and secretly healthy—all without feeling like you’re eating something “low-cal.” I love how flexible it is: change up the chocolate chips, add nuts, or even spice it up with cinnamon or a dash of chili powder. Every time I make it, I get this cozy, nostalgic feeling—like I’m bringing a little bit of home into each slice. Honestly, it’s become my go-to when I want something comforting and a little impressive, all at once. My family always asks for seconds, and I never hesitate to tell them, “It’s got zucchini inside!” That just makes me smile even more. I hope you try it soon—trust me, once you do, it’ll become a favorite in your house, too. Happy baking, and I can’t wait to hear how yours turns out! Don’t forget to leave a comment or share your own twist—I love hearing about your adventures in the kitchen!
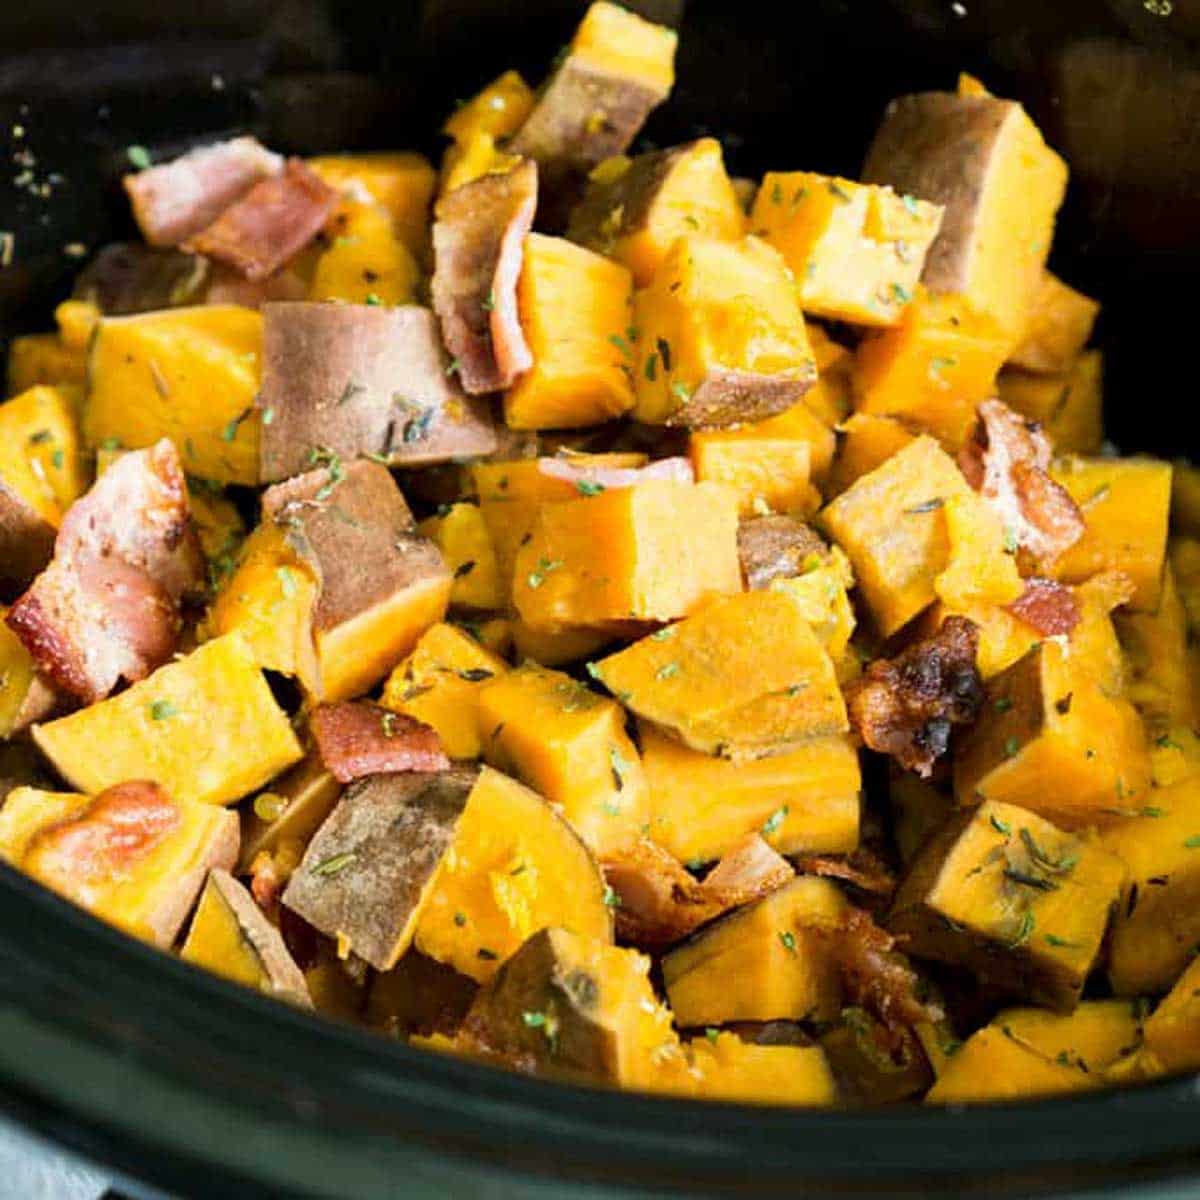
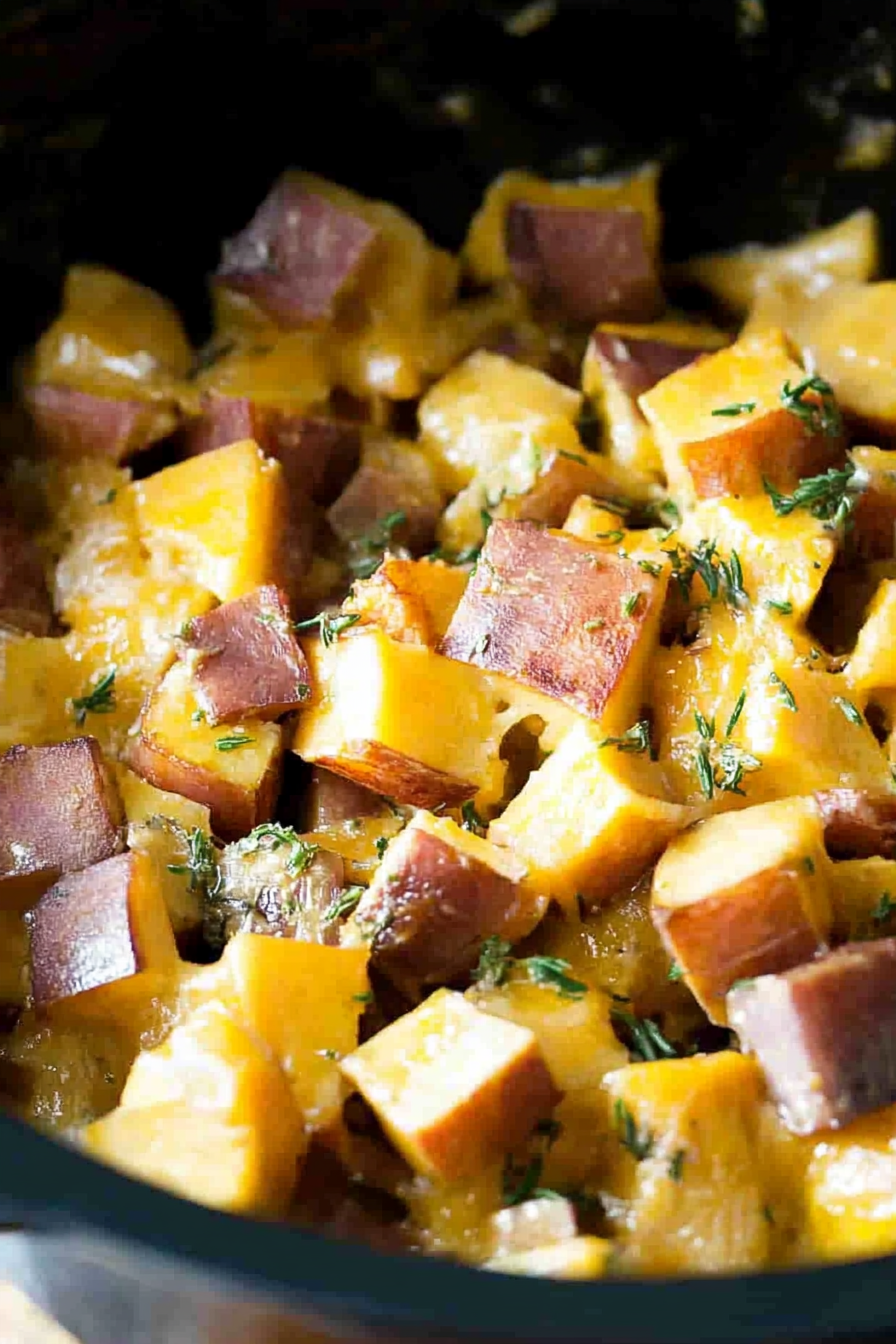
Slow Cooker Sweet Potatoes Casserole
Ingredients
Method
- Place mashed sweet potatoes in the slow cooker. Add brown sugar, butter, milk, and vanilla extract. Mix well.
- Cover and cook on low for 3 hours, stirring halfway through.
- Once cooked, transfer to a serving dish and top with marshmallows and chopped pecans.
- Bake at 350°F for 15 minutes until marshmallows are golden brown.