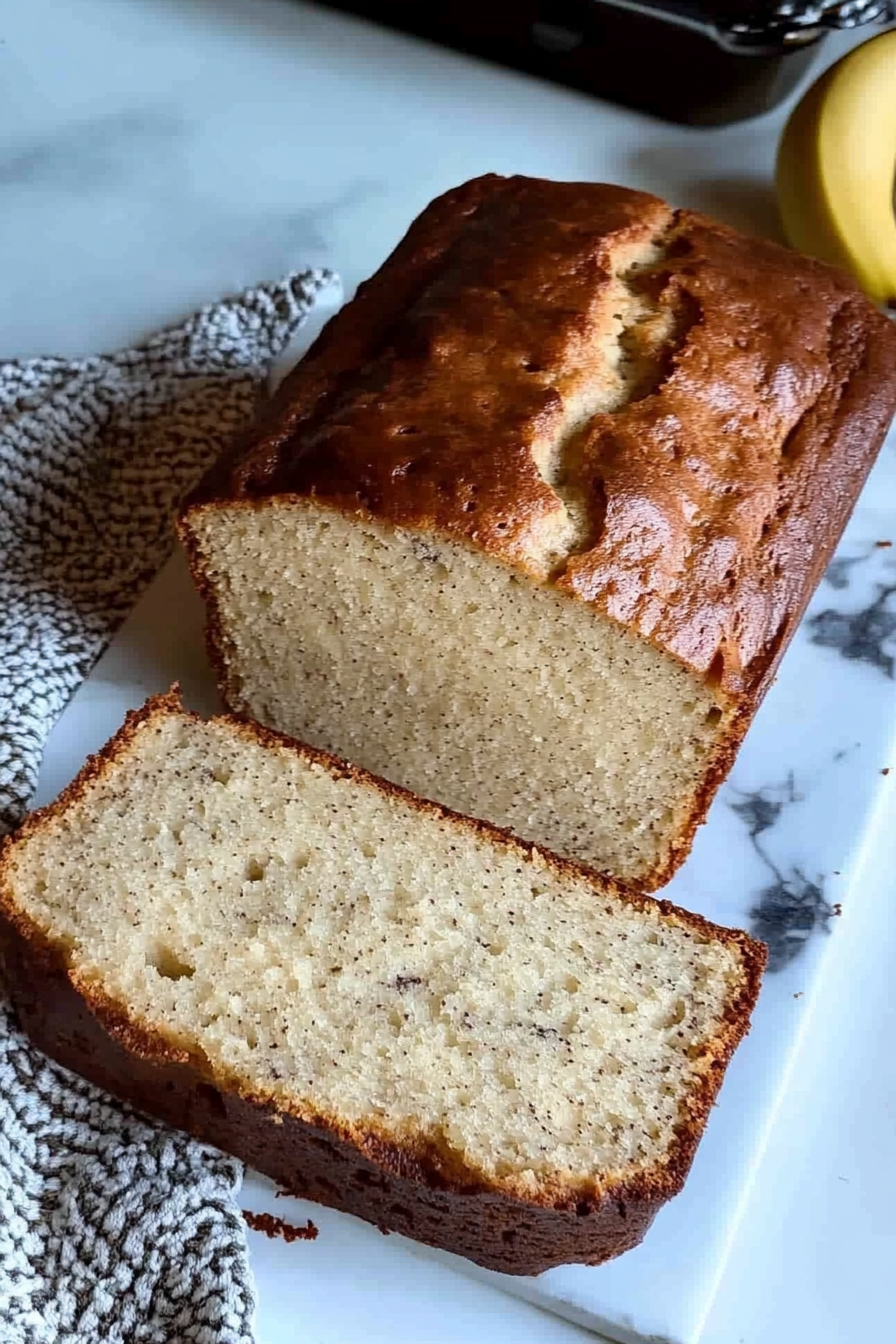
Simple Banana Bread Recipe You’ll Love
There’s something about a warm, freshly baked loaf that just can’t be beat, right? My grandma used to bake her zucchini bread every summer when zucchini was practically overflowing from our garden, and honestly, that smell still brings me right back to those lazy weekend mornings. I remember sneaking a slice before breakfast—no shame!—and the way the sweet, nutty aroma would drift through the house. This particular *moist zucchini loaf with cream cheese swirl* is a family favorite I’ve been making for years. It’s simple, cozy, and hits that sweet spot between healthy and indulgent. Plus, I love how it’s almost a vanilla cupcake disguised as a brunch-side. Trust me, whether you’re taking it on a picnic, packing it in school lunch boxes, or just enjoying it with your afternoon tea, this loaf always disappears in minutes at my house. If you’re looking for a recipe that’s forgiving, beautifully marbled, and downright addictive, keep reading—this one’s a lifesaver on busy nights and a gentle reminder of childhood comfort.
What is Moist Zucchini Loaf with Cream Cheese Swirl?
Think of this as a cozy, slightly sweet bread that’s packed with shredded zucchini for moisture and a hint of vegetables sneaking in, all topped with a luscious swirl of tangy cream cheese. It’s essentially a hybrid between a bread and a cake—perfect for breakfast, brunch, or even a snack. The name might sound fancy, but it’s super straightforward. The “moist” part is no exaggeration; thanks to the zucchini, the bread stays tender for days. The swirl of cream cheese doesn’t just add flavor but also creates a marbled effect that makes it look like you put extra effort in, even if you didn’t. It’s a nod to all those delicious quick breads I grew up with, but with a little gourmet twist. The best part? It’s so easy to whip up, and every batch seems to get better—the flavors marry, and the top gets that perfect crinkly crust that I love to dip in my coffee.
Why you’ll love this recipe?
What I love most about this zucchini loaf is that it’s a total comfort food with an upgrade. The flavor? Oh, it’s heavenly—moist, slightly sweet, with a subtle veggie undertone that’s honestly addictive. The spices—cinnamon and a hint of nutmeg—bring warmth without overpowering, making it perfect for any season. But the real secret? The cream cheese swirl inside. It’s like a surprise inside every bite, creamy and tangy, balancing the sweetness just right. Plus, you don’t need fancy ingredients or a bunch of prep time, which makes it a lifesaver on busy mornings or when friends drop by unexpectedly. I’ve tested this with different variations—using honey instead of sugar, almond milk instead of regular milk, and even swapping in walnuts for crunch—and it’s always a win. The beauty of this loaf is its versatility. Serve it warm with butter, or chilled for a more indulgent treat—either way, it’s guaranteed to brighten your day. Honestly, what’s not to love? It’s like a little hug baked into bread, and my kids ask for seconds every single time.
How do you make a Moist Zucchini Loaf with Cream Cheese Swirl?
Quick Overview
This loaf comes together with simple pantry staples—flour, sugar, eggs, and the star, shredded zucchini. The best part? You mix your wet ingredients, combine with the dry, pour half into a loaf pan, spread a layer of sweetened cream cheese, add more batter, and swirl the two together. It’s almost too easy! Once baked to golden, slightly cracked perfection, the aroma alone will have everyone knocking on your kitchen door. The trick is not overmixing and keeping an eye on the oven; I’ve learned that a little patience and a toothpick test go a long way to get that just-right moistness. The batter’s consistency is thick but pourable, and you’ll love how the zucchini keeps the bread wonderfully moist for days. Plus, this method works great whether you’re baking on a weekday or whipping up a batch for weekend brunch. I promise, the effort-to-reward ratio is off the charts.
Ingredients
For the Main Batter:
- 2 cups shredded zucchini (about 2 medium zucchinis, grated and drained)
- 1 ½ cups all-purpose flour (I always use unbleached for better flavor)
- 1 teaspoon baking powder
- ½ teaspoon baking soda
- ½ teaspoon salt
- 1 teaspoon ground cinnamon
- ½ teaspoon ground nutmeg (optional but adds a cozy touch)
- 1 cup granulated sugar (or brown sugar for extra depth)
- ½ cup vegetable oil (or melted coconut oil)
- 3 large eggs, at room temperature
- 1 teaspoon vanilla extract
- ¼ cup sour cream or plain yogurt (adds tang and creaminess)
For the Filling:
- 4 oz cream cheese, softened
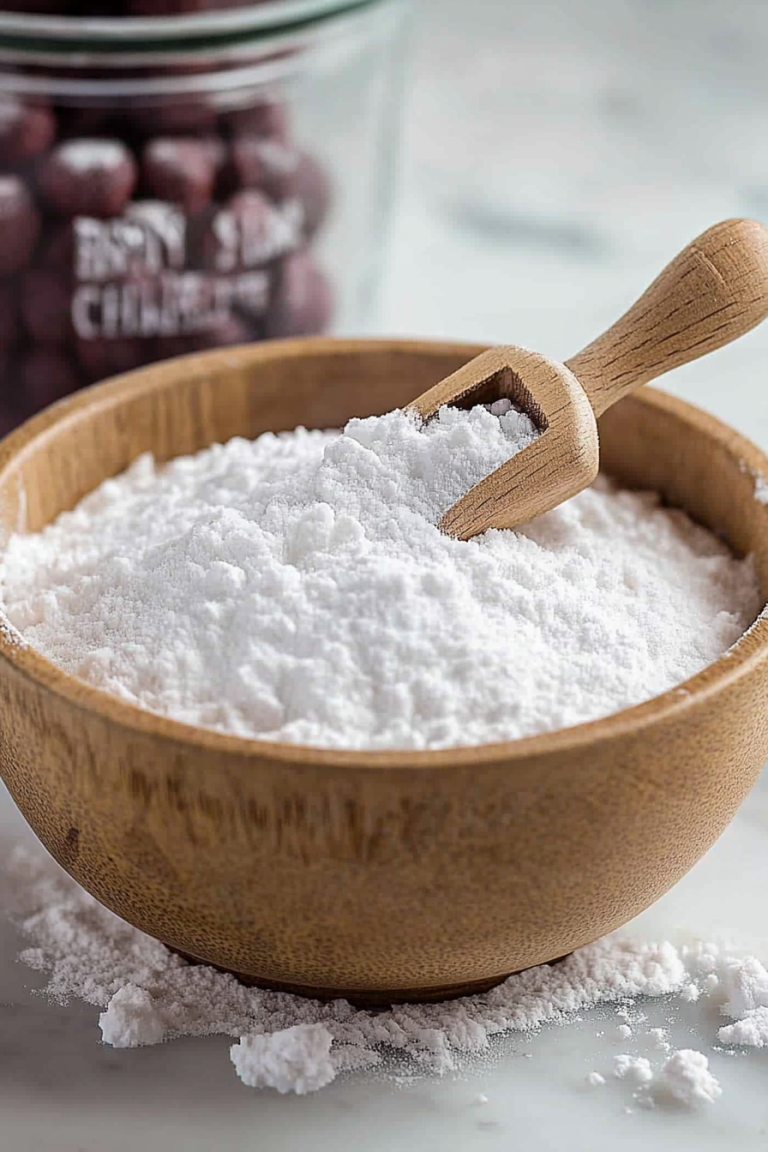
- ¼ cup powdered sugar
- ½ teaspoon vanilla extract
For the Glaze:
- ½ cup powdered sugar
- 1-2 teaspoons milk or lemon juice (for flavor and consistency)
Step-by-Step Instructions
Step 1: Preheat & Prep Pan
Set your oven to 350°F (175°C). Grease a standard loaf pan with butter or non-stick spray, and line it with parchment paper if you want super easy removal. Trust me, nothing’s worse than fighting with a fresh loaf when it’s still hot! While it warms up, grate your zucchinis, then squeeze out excess moisture with a clean towel. This step keeps your bread from turning soggy. Keep your ingredients close; mise en place makes everything easier!
Step 2: Mix Dry Ingredients
In a medium bowl, whisk together the flour, baking powder, baking soda, salt, cinnamon, and nutmeg. I always do this first—it ensures everything’s evenly distributed, especially the leavening agents. Overmixing the dry ingredients at this stage isn’t a big deal, but once you add the wet, I recommend gentle folding only. The key is to keep the batter tender and airy, not tough.
Step 3: Mix Wet Ingredients
In a large bowl, whisk together the sugar, eggs, oil, vanilla, and sour cream until smooth. The mixture will look a bit oily at first—that’s totally normal—and the smell of vanilla and spices will make your kitchen so cozy. I like to break up the eggs separately and then pour them in slowly, so everything emulsifies well. If your eggs are cold, warm the sour cream just slightly to keep everything at a friendly temperature without causing curdling.
Step 4: Combine
Add the dry ingredients to the wet, gently folding just until combined. No need to beat vigorously—overmixing is the enemy. A few streaks of flour are okay. It’s all about keeping the batter light, especially with the zucchini. If you notice the batter feels too thick, a splash of milk can loosen it up just a tad.
Step 5: Prepare Filling
In a small bowl, blend softened cream cheese with powdered sugar and vanilla until smooth. I recommend tasting this mixture before layering—it should be sweet and tangy, almost like cheesecake filling. If you like more richness, toss in a teaspoon of lemon zest or a dash of almond extract. Keep it chilled until you’re ready to swirl.
Step 6: Layer & Swirl
Pour half of the batter into your prepared loaf pan. Spread the cream cheese mixture evenly over the surface. Then pour the remaining batter on top and gently spread. Using a butter knife or toothpick, create swirling motions, running through the batter from top to bottom. Don’t overdo it—just enough to get that marbled look. The swirling gives it that artistic flair but also helps distribute the cream cheese flavor throughout.
Step 7: Bake
Pop it into your preheated oven. Bake for about 50-60 minutes, or until a toothpick inserted into the center comes out clean or with just a few moist crumbs. Ovens vary, so start checking around 50 minutes. If the top darkens too quickly, tent with foil. The loaf should feel firm but still slightly springy—don’t overbake or it’ll dry out!
Step 8: Cool & Glaze
Allow the loaf to cool in the pan for 10 minutes. Then transfer it to a wire rack and cool completely before glazing. If you’re in a hurry, a quick chill in the fridge works, but I love the warmth when I drizzle the glaze—so I usually wait. Mix powdered sugar with a teaspoon of milk or lemon juice until runny but not too thin. Drizzle generously over the top, letting it drip down the sides for that bakery look.
Step 9: Slice & Serve
Use a serrated knife for clean cuts. I always wait until it’s fully cooled; otherwise, it tends to crumble. Serve slices with a pat of butter, a cup of tea, or even a dollop of Greek yogurt on the side. This loaf is best enjoyed within 2-3 days—keep it covered at room temperature or in the fridge if it’s really hot outside. And trust me, the leftovers are just as delicious the next day—if it lasts that long!
What to Serve It With
This zucchini loaf loves to be paired with all kinds of delightful accompaniments. For breakfast, I serve it with fresh fruit and a steaming cup of coffee—nothing beats the smell of brewed coffee mingling with that sweet bread. If I’m hosting brunch, I’ll slice it thick and serve with whipped cream or mascarpone, maybe adding a handful of toasted nuts for crunch. As a dessert, warm slices with a scoop of vanilla ice cream or a drizzle of honey make everything even better.
When I want something cozy, I toast a piece and spread it with butter, or smear some cream cheese for that extra indulgence. My kids, of course, ask for it heated up with extra glaze on top—so good! Whatever your occasion, this loaf is versatile enough to fit right in. It’s become a staple at our family gatherings because everyone loves how it looks like a piece of art but feels like a hug in every bite.
Top Tips for Perfecting Your Moist Zucchini Loaf with Cream Cheese Swirl
Over the years, I’ve learned a few tricks to make this loaf even better. First, don’t skip draining the zucchini well—moisture is the enemy of a tender loaf. I wrap the grated zucchini in a clean dish towel and give it a good squeeze; this keeps your batter from turning into a soggy mess. Second, for a more vibrant swirl, you can add a few drops of food coloring or cocoa powder to the cream cheese layer—just a fun touch for the kids or special occasions.
Mixing is everything. I often fold the ingredients just until combined, especially the zucchini, to keep the batter fluffy. If you overmix, it can get dense and tough; nobody wants that! When swirling, remember: less is more. A gentle marble pattern looks elegant and doesn’t disturb the overall texture. Also, if you’re feeling adventurous, add chopped nuts, chocolate chips, or dried fruit into the batter or cream cheese layer—dreamy options!
As for baking, oven temperatures can vary. My suggestion? start checking at around 50 minutes. The toothpick trick is your best friend—when you think it’s ready, insert a toothpick in the center; if it comes out clean or with only a few moist crumbs, you’re good to go. If it’s still wet, give it a few more minutes. Patience pays off with this loaf.
Finally, I’ve tested several glaze variations—try adding a splash of lemon juice or vanilla to the powdered sugar mixture for extra flavor. If you prefer a richer glaze, melted butter mixed with powdered sugar works wonderfully too. The key is to pour when the loaf is cool enough not to melt the glaze instantly but warm enough for it to seep into the top layer for that perfect shiny finish. Sometimes, I sprinkle a little chopped pistachios or orange zest on top for a special touch—we’re all about personalizing this classic.
Storing and Reheating Tips
This loaf stays fresh for about 2-3 days at room temperature in an airtight container. I usually cover it with a clean kitchen towel or store it in a bread box; it keeps the crust crunchy and the inside tender. If it’s really hot outside, I pop it in the fridge to make sure it doesn’t spoil. Just remember, it’s best to let it come to room temp before slicing for that perfect crumb texture.
If you want to keep it longer, slicing the loaf and wrapping individual pieces tightly in plastic wrap then freezing is my go-to. When I want a quick snack, I just microwave a slice for about 20 seconds—just enough to warm it up without drying it out. To revive the crust, throw it in a 350°F oven for a few minutes before serving. The next day, just the smell alone will make your house smell like a bakery. Trust me, reheated or fresh, this loaf always hits the spot!
Frequently Asked Questions
Final Thoughts
There’s something truly special about a loaf that’s as simple to make as it is memorable to eat. From its moist crumb and tender zucchini bite to the tangy surprise of the cream cheese swirl, this recipe hits all the right notes. Over the years, I’ve baked countless batches—sometimes adding chopped nuts, other times a sprinkle of coconut—and each time, it brings a little warmth to my home. I love how forgiving it is; even if you’re a beginner, you can’t go wrong. The aroma alone is reason enough to start baking—seriously, it’s like inviting everyone into your kitchen with an open arms hug. If you try this, I’d love to hear how yours turns out—feel free to share your tweaks, variations, or just how much your family loved it. Happy baking, friends! And don’t forget: a good loaf makes everything better.
banana bread
Ingredients
Method
- Preheat your oven to 350°F. Line an 8x4 inch loaf pan with parchment paper.
- Add all of the ingredients to a large bowl and combine until smooth. Do not overmix. Bake for 40 minutes or until golden and a toothpick inserted in the center comes out clean. Let it cool for 5 minutes before transferring to a wire rack to cool completely.