Sweet Caramel Popcorn Balls How to Make Them
There’s something truly comforting about slicing into a warm loaf of banana bread, especially when it’s packed with surprises like zucchini, swirls of rich chocolate, and crunchy nuts. I remember my grandma making banana bread almost every Sunday, filling the house with that irresistible aroma that makes everything seem right in the world. Over the years, I’ve played around with her recipe, adding my own twists, and honestly, this zucchini banana bread with a luscious swirl has become a family favorite. It’s one of those baked goods that tastes bakery-worthy but is actually so simple to put together, especially on those busy days when I just need something sweet and satisfying without turning on the oven for hours. Plus, the zucchini keeps the bread wonderfully moist, and the chocolate swirl? Well, it’s like a little secret — a surprise for anyone lucky enough to get a bite. Trust me, once you try this, it’ll be on rotation in your kitchen too!
What is Zucchini Banana Bread with a Chocolate & Nut Swirl?
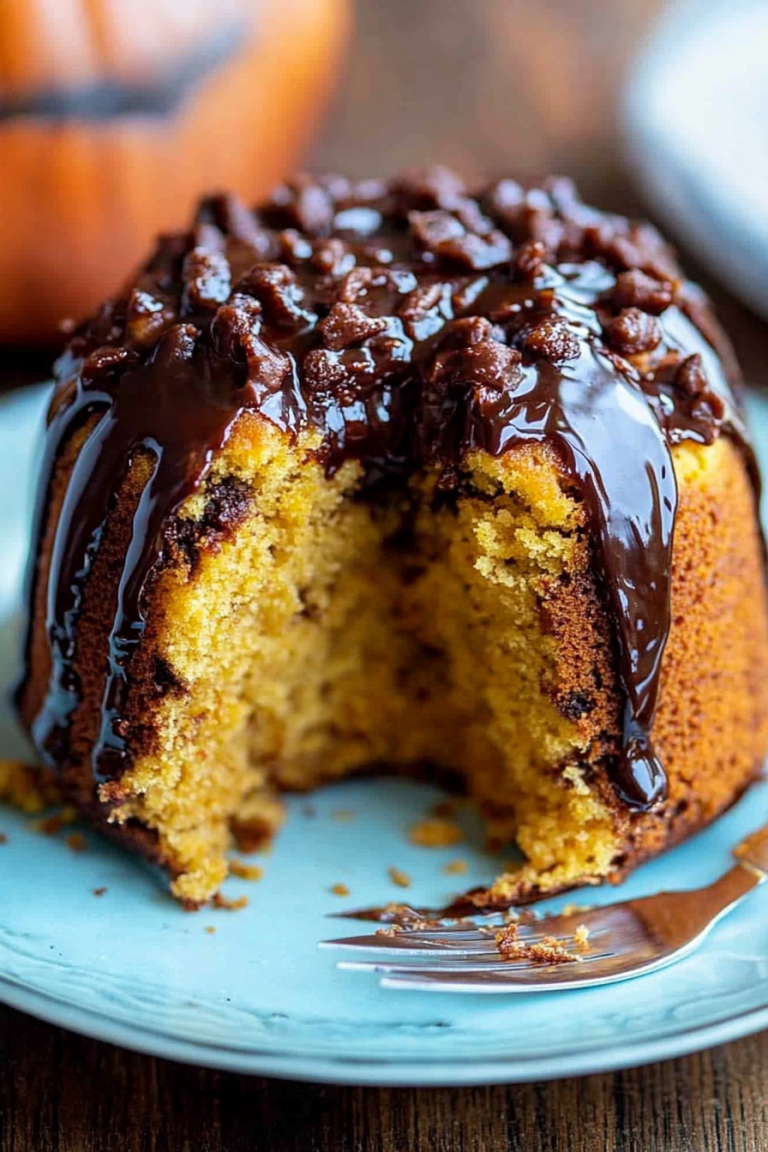
Think of this as a cozy twist on classic banana bread, but with a hidden veggie boost. The zucchini gets grated into the batter — it’s essentially sneaking extra moisture and nutrients while keeping the bread tender and light. The name might sound fancy, but it’s really just a luscious loaf that combines ripe bananas, fresh zucchini, and a few pantry staples. The “swirl” part comes from mixing melted chocolate with a touch of cream or butter, then swirling it into the batter before baking. Topped with crunchy nuts like walnuts or pecans, this bread hits all the right notes — sweet, nutty, slightly fudgy, and moist as can be. It’s called banana bread, but honestly, the zucchini and chocolate elevate it into something a little more indulgent and special. Think of it as the grown-up cousin of your usual banana bread — but still totally approachable for home cooks of all levels.
Why you’ll love this recipe?
What I love most about this zucchini banana bread with a chocolate and nut swirl is how effortlessly it combines comfort and elegance. The flavor profile is simply divine — the sweetness of ripe bananas, the subtle earthiness of zucchini, and that intense swirl of chocolate make each bite a little celebration. It’s honestly a lifesaver on busy nights, because once you’ve got all the ingredients prepped, it comes together in no time. Plus, the ingredients are budget-friendly — you probably have most of them in your pantry already. And the best part? It’s versatile. Want to switch the nuts for dried fruit? That works. Prefer a dairy-free version? Swap in almond milk and vegan chocolate. My kids ask for this all the time, sometimes for breakfast, sometimes as an after-dinner treat, and I’ve even served slices at brunch with fresh berries and whipped cream.
What truly makes this recipe special is that it’s not just about great taste — it’s about those cozy, everyday moments. Nothing beats sharing slices of warm banana bread with family or friends, especially when they’re surprised by the little chocolate swirl or the crunch of nuts with each bite. It’s homey, wholesome, and just fancy enough to feel like a treat. Honestly, I could go on about how many times I’ve baked this — every single time it’s a hit. It’s one of those recipes that never fails, and I always do this when I want to bring a little love to the kitchen.
How do you make Zucchini Banana Bread with a Chocolate & Nut Swirl?
Quick Overview
This zucchini banana bread is all about simplicity. You’ll start by grating the zucchini and mashing the bananas, then mixing dry and wet ingredients separately. After combining everything into a smooth batter, you’ll prepare a luscious chocolate swirl and gently fold it into the batter, swirling it to create beautiful marbling. The final step is layering in some chopped nuts, pouring everything into a loaf pan, and baking until golden and fragrant. What makes this recipe special is how forgiving it is — you can customize the swirl or nuts, and it still turns out amazing every time. It’s perfect for busy mornings, relaxed weekend baking, or when you just need a little bit of sweetness in your day.
Ingredients
For the Main Batter:
– 3 ripe bananas, mashed (the riper, the better — they give the bread such natural sweetness)
– 1 medium zucchini, grated (about 1 cup, squeezed dry)
– 2 eggs (preferably at room temperature)
– 1/3 cup vegetable oil or melted butter
– 1/2 cup honey or maple syrup (adjust to taste if you like it sweeter)
– 1 teaspoon vanilla extract
– 1 3/4 cups all-purpose flour (or a blend of whole wheat and white for more healthfulness)
– 1 teaspoon baking soda
– 1 teaspoon baking powder
– 1/2 teaspoon salt
For the Filling:
– 1/2 cup good quality semi-sweet chocolate chips or chopped chocolate
– 2 tablespoons heavy cream or coconut cream (for smoother swirl)
– 1/2 cup chopped nuts (walnuts, pecans, or your favorite)
For the Glaze:
– 1/4 cup melted chocolate or a simple dusting of powdered sugar (optional, for finishing)
Step-by-Step Instructions
Step 1: Preheat & Prep Pan
Preheat your oven to 350°F (175°C). Grease a standard loaf pan with butter or line it with parchment paper. I always do this first because I find it makes the whole baking process smoother and less stressful. Also, grab a box grater for the zucchini and a fork for peeling and mashing the bananas — multitasking makes everything faster.
Step 2: Mix Dry Ingredients
In a medium bowl, whisk together the flour, baking soda, baking powder, and salt. This helps ensure the leavening agents are evenly distributed, which is key for a fluffy loaf. I learned this the hard way — uneven rising can turn your bread dense and sad-looking.
Step 3: Mix Wet Ingredients
In a large bowl, mash the bananas until smooth. I always clap a little extra love into this step because really ripe bananas make all the difference. Add the eggs, oil, honey, and vanilla, then whisk until everything’s combined and slightly frothy. It’s wild how fragrant it smells at this stage — bananas and vanilla always make my kitchen smell like childhood.
Step 4: Combine
Pour the dry ingredients into the wet and gently fold with a spatula until just combined. Be careful not to overmix — I’ve learned that overworking the batter risks a dense loaf. A few lumps are totally fine here. Also, squeeze out excess moisture from the grated zucchini before folding it in — this keeps the bread from becoming too soggy.
Step 5: Prepare Filling
Heat the chocolate chips with cream until melted, stirring until smooth. If you prefer, you can microwave in short bursts or use a double boiler. The goal is to get a glossy, pourable chocolate mixture — trust me, the swirl you create here is pure luxury. Chop your nuts and set aside — I like a mix of crunchy and earthy but feel free to customize.
Step 6: Layer & Swirl
Pour about half the batter into your prepared loaf pan. Spread evenly, then pour the melted chocolate over the center. Using a knife or skewer, swirl the chocolate into the batter — go slow and aim for a marbled effect. Add the rest of the batter on top, then swirl again gently. This layered technique creates those beautiful ribbon effects when sliced.
Step 7: Bake
Bake for about 55-65 minutes, or until a toothpick inserted in the center comes out clean. Every oven varies, so I start checking at 55 minutes. The top should be golden and slightly cracked — that’s how I tell it’s done. If you notice the edges browning too quickly, tent it with foil to keep it moist inside.
Step 8: Cool & Glaze
Let the bread cool in the pan for about 10 minutes, then transfer to a wire rack. I always wait until it’s just warm because that’s when slicing is easiest. If you want to add a drizzle of melted chocolate or powdered sugar dusting, do so once it’s fully cooled. This is when the bread truly shines and the flavors meld perfectly.
Step 9: Slice & Serve
Use a serrated knife to cut along the swirled pattern — slow and steady wins the race here. Serve slices slightly warm or at room temperature, with a cup of coffee or tea. Honestly, I love it best with a smear of butter or a dollop of Greek yogurt for an extra treat. It’s impressive but also so forgiving — I’ve made this with cracks, and it still tastes just as good.
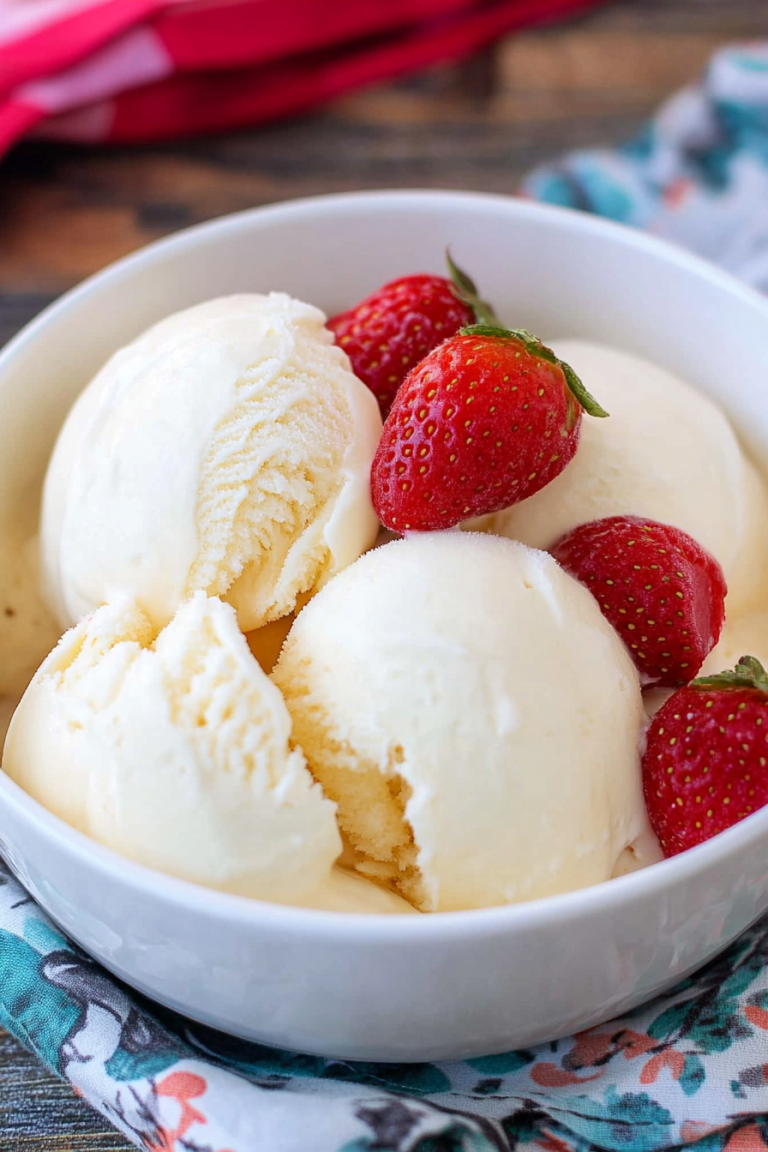
What to Serve It With
This loaf is versatile enough to shine in many scenarios. In the morning, serve it with a strong cup of coffee, a little butter, and fresh fruit — it’s practically a breakfast cake. On a lazy weekend brunch, pair slices with a dollop of mascarpone or ricotta, a handful of berries, and a splash of maple syrup. As a dessert, serve warm slices topped with whipped cream or a scoop of vanilla ice cream — the chocolate swirl just melts in your mouth. For a cozy snack, it’s perfect on its own, or cut into thick slices for packed lunches or picnics. I often keep a loaf in the freezer, wrapped tightly, so I can grab a slice whenever a craving hits. It defrosts quickly at room temp and still tastes fresh. When I do that, I always add a fresh drizzle of chocolate or a sprinkle of nuts after thawing to bring it back to life.
Top Tips for Perfecting Your Zucchini Banana Bread with Swirl
Over the years, I’ve picked up some tricks that make this bread turn out even better every time. First, make sure to squeeze out excess moisture from the zucchini — if it’s too wet, the bread can turn dense or soggy. I learned this after my first batch came out a little too moist. Also, don’t overmix the batter after adding the dry ingredients — it can lead to a heavy loaf. Gently fold until just combined. When creating the swirl, use a toothpick or skewer to drag through the batter in figure-eight patterns — it distributes the chocolate evenly and makes the marbling look gorgeous.
If you want a richer, fudgier chocolate swirl, add a touch more cream or butter. I tested this with almond milk and the flavor was even better — plus, it made the chocolate slightly more decadent. To keep the nuts crunchy, sprinkle them on top of the batter before baking, rather than mixing them into the batter. Otherwise, they’ll soften too much. For the perfect crust, position your oven rack in the middle and bake at a consistent temperature. My trick is to check the loaf a few minutes early, as ovens vary; I never want to overbake and risk dryness.
Lastly, I’ve swapped out some of the flour with whole wheat or spelt for a little extra fiber, and it still comes out moist and flavorful. Trust me on this — small tweaks make this recipe uniquely yours!
Storing and Reheating Tips
This zucchini banana bread keeps beautifully if stored properly. At room temperature, I like to keep slices wrapped in plastic or stored in an airtight container — it stays fresh for about 2 days, especially if the weather’s warm. For longer storage, pop slices into a sealed container or zip-top bag and refrigerate for up to a week. The cold makes the flavors really meld, and it’s perfect for grab-and-go mornings. To keep it even longer, freeze individual slices wrapped tightly in plastic wrap and then foil — they keep well for up to 3 months. Just thaw at room temperature or warm up in the microwave for a few seconds.
If you plan to add glaze or more chocolate drizzle after refrigerating or freezing, do so while the bread is still a bit warm or at room temperature. This helps the toppings adhere better and gives a glossy, irresistible finish. I’ve found that wrapped well, the bread won’t dry out or lose flavor — it just gets even better with age.
Frequently Asked Questions
Final Thoughts
Really, there’s a reason I keep coming back to this zucchini banana bread with its swirl of chocolate and nuts. It’s comforting, versatile, and just a little indulgent without feeling heavy. Every batch I bake seems to get better — I’ve tested different fillings, swapped ingredients, and even added a hint of cinnamon for extra warmth. It’s become a symbol of cozy weekends and quick mornings, a treat I look forward to sharing with friends and family. If you try this, I’d love to hear what you swapped in or how your loaf turned out. This recipe is a beautiful blank canvas — a little bit rustic, a little bit fancy, and always made with love. Happy baking — and don’t forget to share a slice with someone you love!
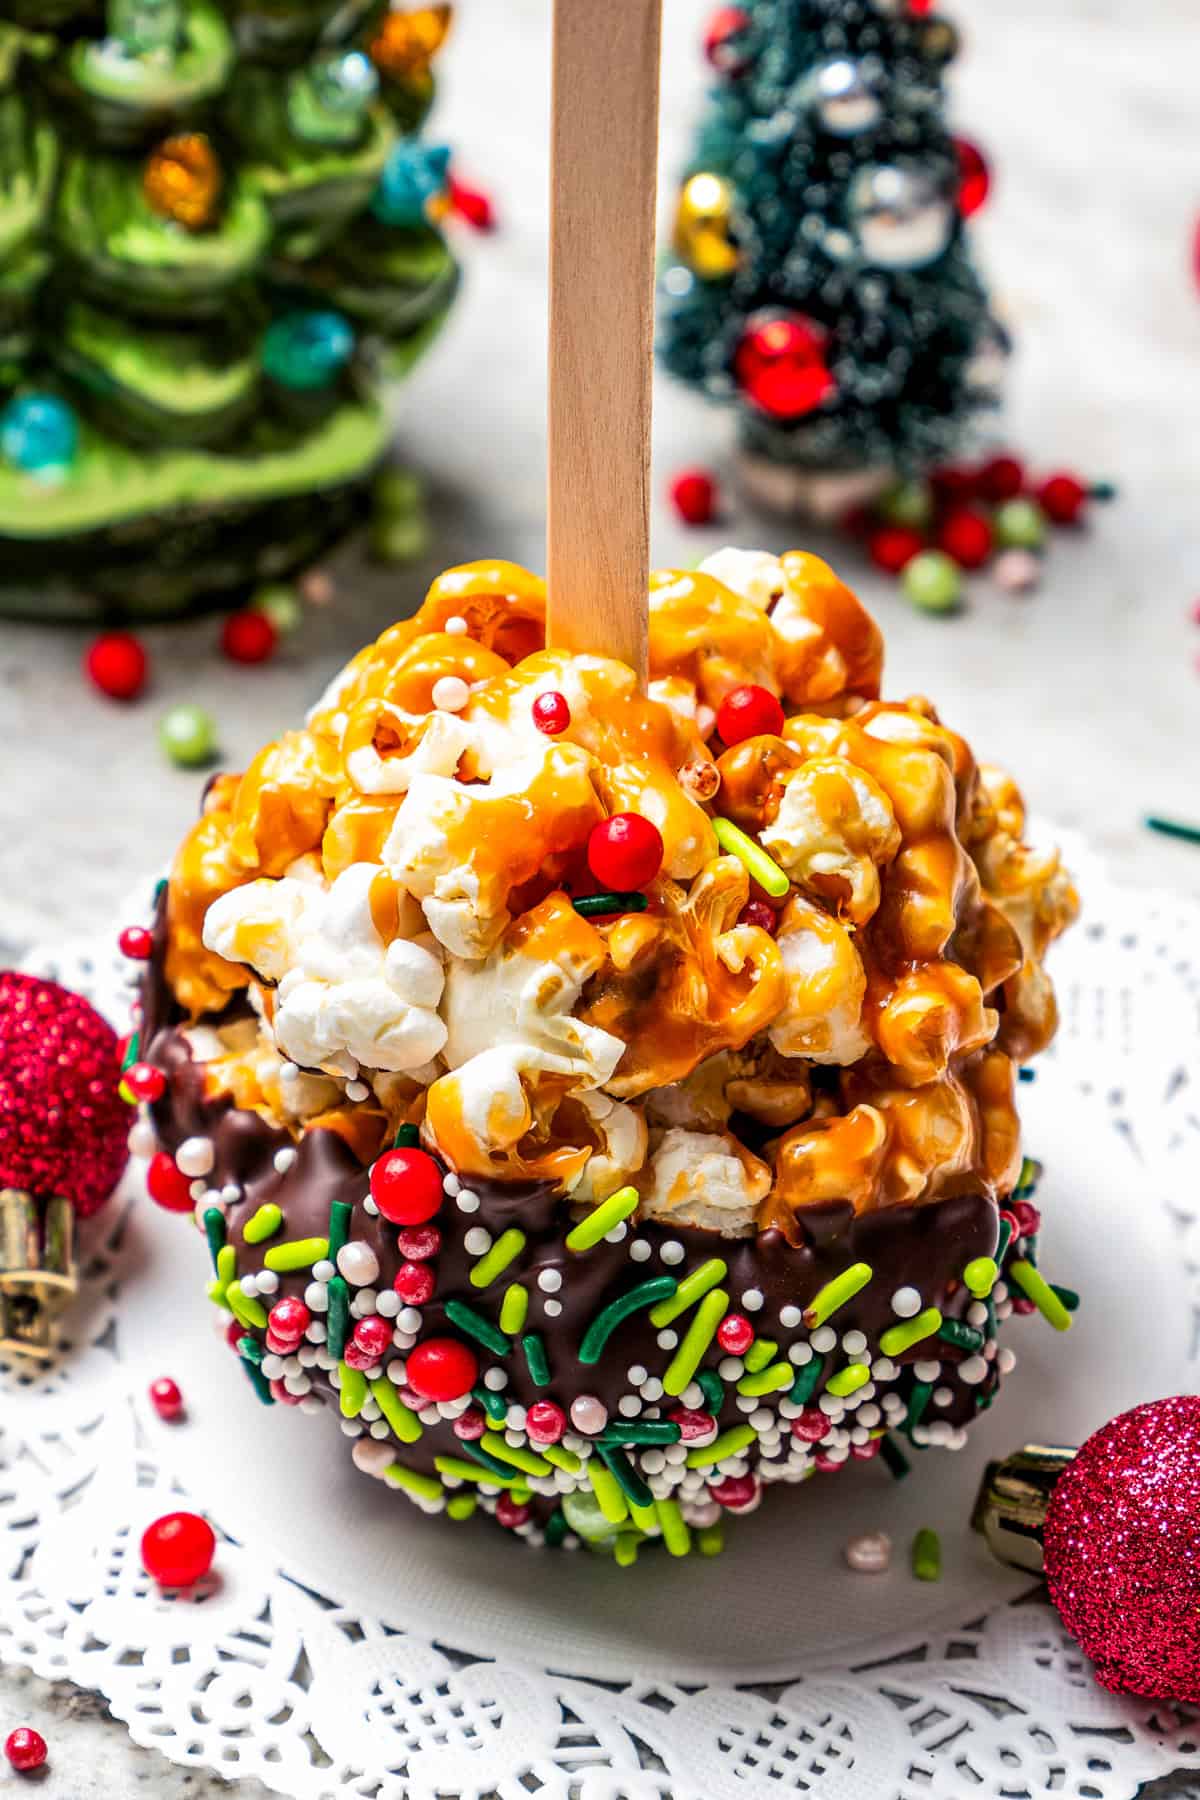
caramel popcorn
Ingredients
Method
- Pop the popcorn. Pop the popcorn according to the directions on the package. Place the popped popcorn in a large bowl. Set aside.
- Melt the caramel. Put the unwrapped caramel candies and butter in a medium-sized saucepan; cook over medium-low heat and stir until melted and smooth.
- Combine. Remove the caramel from the heat and pour it over the popcorn. Mix until all the popcorn is well coated. Let stand for a couple of minutes to cool.
- Melt the chocolate. Melt the chocolate chips either in the microwave or over a double boiler until smooth.
- Shape the popcorn balls. Grease your hands with butter and shape the popcorn into the size of a softball.
- Dip! Insert a popsicle stick into each popcorn ball and dip into melted chocolate, then sprinkle with decorations. Place on wax paper until the chocolate is set. Serve.