Soft Sugar Cookies How to Roll & Frost
There’s just something about a warm slice of coffee cake that instantly makes my house feel cosier. I remember the smell wafting out of my grandma’s kitchen on chilly mornings—cinnamon, butter, a hint of vanilla—completely filling the space and waking everyone up with a smile. Over the years, I’ve tweaked her classic recipe, adding subtle twists that make it feel lighter, more adaptable, and a little more modern. One thing I love about this zucchini swirl coffee cake is how sneaky it is—no one guesses there’s zucchini hiding inside until they take that first bite. It’s incredibly moist, tender, and perfectly sweet without being over the top. Plus, it’s a lifesaver on busy mornings or lazy Sunday brunches when you want something that feels indulgent but still practical. Trust me, this disappears in minutes at my house and my kids actually ask for seconds. I tested this with almond milk and it actually made it even creamier. I always do this when I want something cozy but slightly healthier—an all-around crowd-pleaser that tastes like a warm hug in every bite.
What is Zucchini Swirl Coffee Cake?
This zucchini swirl coffee cake is basically a tender, sweet cake filled with a cinnamon-spiced zucchini mixture, then swirled with a generous ribbon of cream cheese or buttery filling before baking. Think of it as a delightful hybrid—part loaf, part crumb-topped breakfast treat—perfect for mornings when you want the cozy flavors of coffee cake but with a little veggie boost. The name “swirl” comes from the beautiful marbled pattern that the zucchini mixture creates as you layer it into the batter, giving it that stunning look when sliced. It’s essentially a baked good that combines the best of both worlds: a little bit of sneaky health (thanks, zucchini!) and a whole lot of comforting, melt-in-your-mouth goodness. What I love most about this is how versatile it is—serve it with coffee, tea, or a glass of cold milk, and it always feels special. Plus, it’s surprisingly easy to whip up even on a busy weekday morning or while you’re entertaining guests.
Why you’ll love this recipe?
This zucchini swirl coffee cake is one of those recipes that instantly makes everyone’s day better. The flavor profile is warm and inviting, thanks to the cinnamon and vanilla, with just a hint of sweetness that’s balanced by the richness of the filling. It’s so easy to make—I’ve made this countless times, and it never fails. The batter comes together quickly, and the swirling part is oddly satisfying—like a little art project in your mixing bowl. What I really love about this is how budget-friendly it is; you probably have everything you need right now, especially if you keep a stash of zucchini in your fridge or freezer. It’s great for breakfast, brunch, or even a cozy dessert after dinner. My kids ask for this all the time, and I don’t mind because I know I’m sneaking in some nutritious goodness, even if they don’t realize it. Plus, the crumb topping is a total game-changer—crunchy, buttery, sweet—and adds a beautiful finishing touch. Honestly, I think what makes this recipe stand out is how it feels like a special treat but is actually super straightforward. Perfect for when you want to wow your family but don’t want to spend hours in the kitchen.
How do I make Zucchini Swirl Coffee Cake?
Quick Overview
This recipe is all about layering, swirling, and baking to perfection. You start by preparing your zucchini mixture infused with cinnamon and sugar, then whip up a simple batter—creamy, tender, and slightly sweet. After pouring the batter into your prepared pan, you dollop or swirl the zucchini filling on top, creating a pretty marbled effect. A quick swirl with a knife or toothpick, and into the oven it goes. Once baked, you cool it briefly, then drizzle with a simple glaze or dust with powdered sugar. The magic is in how effortlessly it all comes together—no fancy equipment needed—and the end result is an absolute showstopper. The best part? It’s adaptable—add your favorite nuts, swap the filling, or experiment with different sweeteners—making it truly your own. This is the kind of recipe I keep coming back to because it’s so reliable, cozy, and downright delicious.
Ingredients
For the Main Batter:
- 1 1/2 cups all-purpose flour (or almond flour for a gluten-free twist)
- 1/2 cup granulated sugar
- 1 teaspoon baking powder
- 1/2 teaspoon baking soda
- 1/2 teaspoon salt
- 1 teaspoon cinnamon
- 1/2 cup milk (dairy or almond milk)
- 1/3 cup melted butter or coconut oil
- 2 large eggs
- 1 teaspoon vanilla extract
For the Filling:
- 1 cup grated zucchini (squeezed dry to remove excess moisture)
- 2 tablespoons brown sugar
- 1 teaspoon cinnamon
- Optional: 1/4 cup chopped walnuts or pecans
For the Glaze:
- 1/2 cup powdered sugar
- 1 tablespoon milk or lemon juice
- 1/4 teaspoon vanilla (optional)
Step-by-Step Instructions
Step 1: Preheat & Prep Pan
I always start by heating my oven to 350°F (180°C) and greasing my 9-inch square or round baking pan. Lining it with parchment paper makes removal so much easier. Trust me, it saves a lot of frustration when you’re ready to serve. And if your zucchini has extra moisture, I like to sprinkle it with a little salt then squeeze out the juice—this keeps the cake from getting soggy, a trick I learned after some trial and error.
Step 2: Mix Dry Ingredients
In a large bowl, I whisk together the flour, sugar, baking powder, baking soda, salt, and cinnamon. Doing this first ensures everything’s evenly distributed, which is super important for a light, fluffy texture. I’ve made the mistake in the past of skipping this step—trust me, lumpy batter isn’t the vibe you’re going for.
Step 3: Mix Wet Ingredients
In another bowl, I combine the eggs, milk, melted butter, and vanilla. I beat these together until smooth—about 30 seconds. It’s quick, and this way, my batter turns out nice and creamy, like a rich pancake mix. I tested this with almond milk, and honestly, it made it even silkier—plus, it’s dairy-free, which my sister-appreciates.
Step 4: Combine
Pour the wet mixture into the dry ingredients and gently fold until just combined. I try not to overmix because that can make the cake dense. The batter should be thick but pourable—if it’s too stiff, I add a splash more milk. It’s all about watching for that smooth but slightly sticky consistency.
Step 5: Prepare Filling
While the batter rests for a few minutes, I toss the grated zucchini with brown sugar and cinnamon. If I want extra texture and flavor, I sprinkle in nuts here. I then set this aside—waiting for as long as I can resist—the smell of cinnamon alone is worth it!
Step 6: Layer & Swirl
Pour about half the batter into your pan, spreading it out evenly here and there. Then dollop spoonfuls of the zucchini mixture on top, using all of it. Cover with the remaining batter, then use a butter knife or toothpick to swirl around gently—creating those beautiful marbled patterns. Don’t overdo the swirling; you want distinct ribbons of zucchini inside.
Step 7: Bake
Pop it into your preheated oven and bake for about 40-45 minutes. The top should be golden, and a toothpick inserted in the center should come out clean. I always check around 38 minutes because ovens vary. If the top browns too quickly, I cover it loosely with foil and finish baking—it’s better to be safe than sorry with burnt edges!
Step 8: Cool & Glaze
Let it cool in the pan for about 15 minutes—this helps it set. Then, transfer to a wire rack, and drizzle your simple glaze over the top while it’s still a little warm. The glaze adds that perfect touch of sweetness and makes it look even more irresistible. I like to keep things simple with powdered sugar and a splash of lemon juice—it’s fresh and bright.
Step 9: Slice & Serve
This cake is best served warm or at room temperature. Use a serrated knife for neat slices, and enjoy with a steaming cup of coffee or tea. I love pairing it with a smear of butter or a dollop of Greek yogurt on the side. Sometimes, I dust it with extra cinnamon or sprinkle chopped nuts over the glaze for added crunch. No matter how you serve it, one thing’s for sure—this zucchini swirl coffee cake is a hug on a plate that everyone will cherish.
What to Serve It With
Honestly, this cake makes any meal feel special. At breakfast, I love serving it with a strong cup of coffee or a warm mug of chai—something cozy to start your day. When I make it for brunch, I add fresh berries on the side and maybe a dollop of whipped cream or vanilla yogurt. It’s also a fantastic afternoon snack—pair a slice with a glass of cold milk or iced coffee to cool down on warmer days. And as a dessert, it’s perfect on its own, but I sometimes drizzle honey or caramel sauce over it for extra indulgence. My family’s tradition is to have a slice with tea while we chat about the day—this cake’s the star of those moments. It’s surprisingly versatile, and honestly, it just feels like you’re sharing a little love in every bite. Plus, it keeps well in the fridge—just warm it up for 10-15 seconds, and it’s as good as fresh. I love that I can make a batch on Sunday and stretch out the love all week long!
Top Tips for Perfecting Your Zucchini Swirl Coffee Cake
Over the years, I’ve picked up a few tricks that make this recipe even better. First, always squeeze out excess moisture from your zucchini—wet zucchini makes the batter too loose, and you’ll end up with a soggy bottom. Use a clean kitchen towel or cheesecloth to wring it out well. Second, don’t overmix your batter—stir just until combined to keep it light and fluffy. Overmixing can develop gluten and lead to a dense cake, and nobody wants that. For the swirl, if you want more dramatic ribbons, add a little more zucchini in dollops and use a skewer to create swirling patterns—trust me, it’s surprisingly fun to play with! Also, feel free to swap the filling spices—cardamom, nutmeg, or even ginger add a nice twist if you’re feeling adventurous. I’ve tested adding chopped walnuts, and they add a lovely crunch, but roasted pecans make it feel extra special. When baking, my oven tends to brown the edges first; I lower the temperature slightly or cover the top to prevent burning but still get a nice rise. As for glazing, if you want it more glossy, just add a touch of corn syrup or honey. The key is adjusting to your oven’s quirks—the more you bake, the more confident you get. And honestly, make sure to give it a good sniff and watch for that beautiful golden color—that’s your cue it’s done. After trying different variations, I’ve learned that a little experimentation goes a long way in perfecting that balance between moist, sweet, and crunchy.
Storing and Reheating Tips
This cake is pretty forgiving when it comes to leftovers. If you’re not devouring the entire loaf right away, I recommend storing it in an airtight container at room temperature for up to 2 days—cover it loosely with foil to keep it fresh. After that, it’s best to refrigerate it—wrapped tightly or in a container—for up to 4 days. I love reheating slices in the microwave for about 10-15 seconds, which brings back that just-baked warmth and aroma. If you need to keep it longer, the freezer is your friend. Wrap individual slices well in plastic wrap, then in foil, and freeze for up to 3 months. To reheat from frozen, thaw overnight in the fridge, then warm in the microwave or oven. A quick hit in the oven at 350°F for 10 minutes keeps the texture nice and moist. If you love the glaze (who doesn’t?), I recommend adding it just before serving, especially if stored in the fridge—it’s more vibrant when fresh. The key is not to overexpose it to moisture, which can make the glaze slide off or make the cake soggy. Trust me, a little planning and these simple storage tricks will keep your cake tasting heavenly every time.
Frequently Asked Questions
Final Thoughts
If you’re hunting for a cozy, homey baked good that sneaks in a little veggie goodness and still feels like a treat, this zucchini swirl coffee cake is your new best friend. Every time I make it, I think about the aroma filling my kitchen and the delighted smiles when I cut the first slice. It’s a versatile recipe that suits lazy weekends, hectic mornings, or even to impress guests unexpectedly. I love how forgiving it is, and honestly, once you get the hang of swirling the filling, it’s almost therapeutic. My advice? Keep experimenting—try different nuts, swap spices, or add a splash of citrus to customize it to your mood. Most of all, have fun with it. This cake isn’t just about the ingredients but about those warm, imperfect moments in the kitchen that turn into cherished memories. I’d love for you to give it a try and tell me how yours turns out! Happy baking, and don’t forget to share your masterpiece!
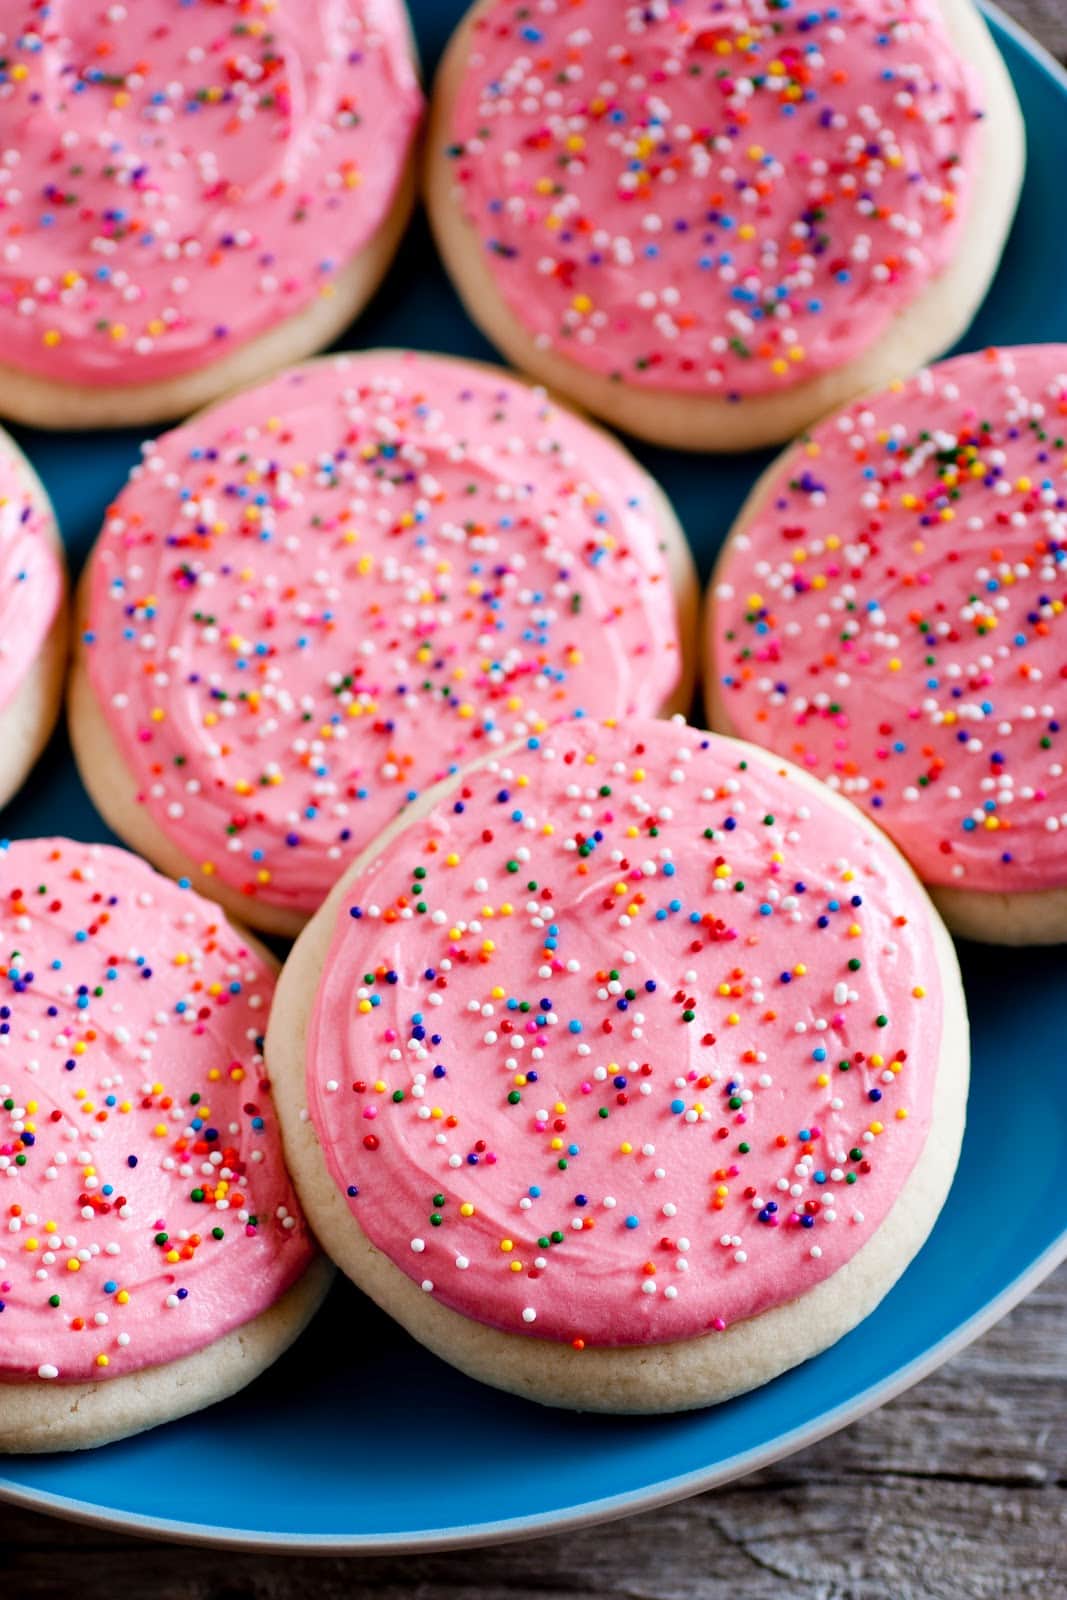
Frosted Sugar Cookies
Ingredients
Method
- Sift flour, cornstarch, baking powder, and salt into a large bowl. Whisk briefly and set aside. In the bowl of an electric stand mixer, whip together butter, shortening, and sugar on medium speed until very pale and fluffy, about 4 minutes, scraping down the sides of the bowl as needed.
- Add egg and mix until combined. Then add egg white, vanilla, and almond extract and mix until combined. With the mixer running, slowly add the dry ingredients and mix just until combined. Transfer dough to an airtight container and refrigerate for 2 hours. Preheat oven to 375°F during the last 10 minutes of refrigeration.
- Scoop dough out a scant 1/4 cup at a time and roll into a ball. Place dough ball on a lightly floured surface, sprinkle top lightly with flour, then using something flat and smooth (such as a container lid), press and evenly flatten dough to 1/2" thick (this should result in about a 2 2/3" - 2 3/4" circular cookie).
- Transfer flattened dough to a Silpat or buttered cookie sheet and repeat with remaining dough (you'll need 2 cookie sheets). Bake in preheated oven for 9-11 minutes. Allow to cool for 5 minutes on the baking sheet before transferring to a wire rack to cool completely.
- Once cookies are completely cool, frost them with the Vanilla Frosting. Note that the frosting begins to set quickly, so if you are adding sprinkles, sprinkle each cookie immediately after frosting it. Don't frost the whole batch of cookies and then try to sprinkle them, as the sprinkles won't stick.
- Combine all ingredients for the frosting in a large mixing bowl. Using an electric hand mixer, whip until the frosting is smooth and fluffy. Mix in food coloring if desired.