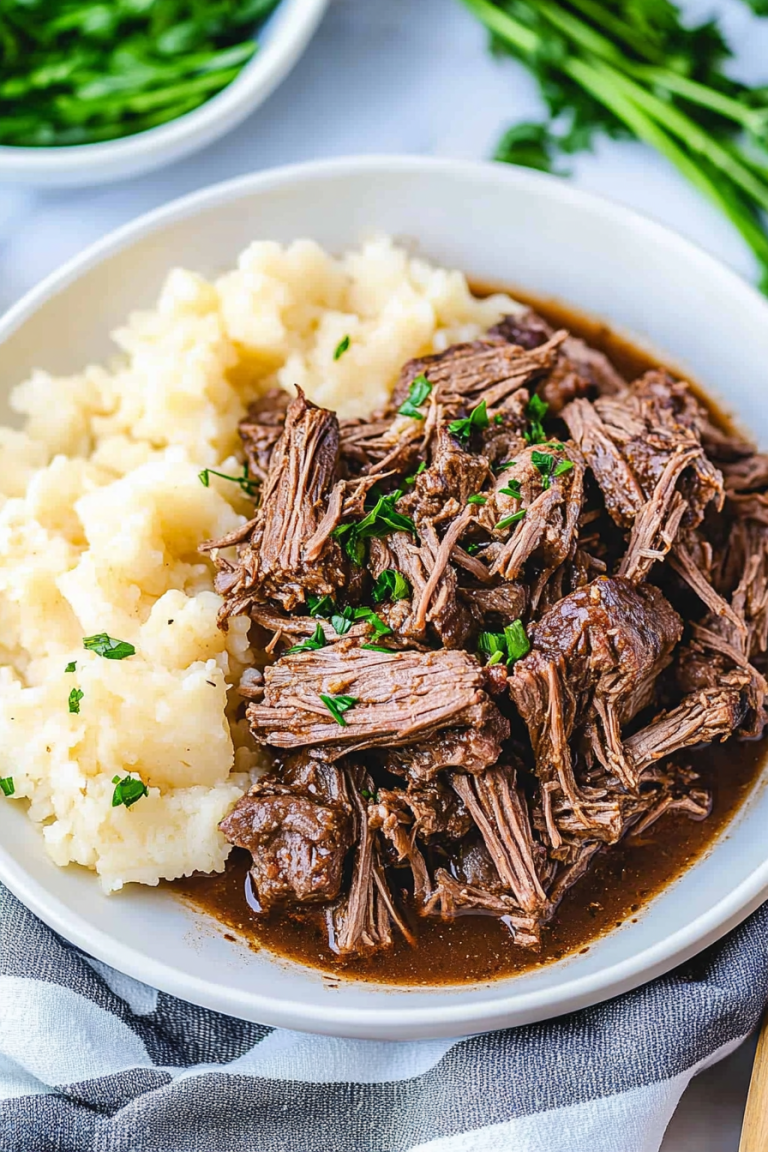
Savory Pork Chops with Caramelized Onions
There’s something about the smell of fresh zucchini baking that instantly takes me back to lazy Sunday mornings at my grandma’s house. Maybe it’s the warmth of the oven, or the faint hint of cinnamon and whispered promises of sweet comfort—whatever it is, this zucchini swirl coffee cake has become my go-to whenever I want a little piece of home. It’s honestly one of those recipes I’ve made a hundred times, tweaking here and there, trying to find the perfect balance of moistness, flavor, and that beautiful swirl of filling. And trust me, it’s so much easier than it looks. My kids ask for this all the time, especially with a hefty mug of coffee or a big glass of cold milk on the side. It’s perfect for brunch, a cozy afternoon snack, or even that sneaky dessert when you’re craving something sweet at 10 pm but don’t want to turn on the oven for a cake. You’re gonna love how simple, budget-friendly, and downright delicious this one is—promise!
What is Zucchini Swirl Coffee Cake?
This zucchini swirl coffee cake is like a soft, tender loaf layered with a cinnamon-spiced zucchini filling and topped with a light glaze that drapes over each slice. Think of it as a mashup between your favorite breakfast bread and a cozy dessert, all rolled into one. The name “swirl” comes from that gorgeous marbled effect you get when you gently spoon the zucchini mixture into the batter and swirl it around beautifully—no fancy tools needed, just a butter knife and a little patience. The zucchini itself gets shredded, then drained just enough to avoid excess moisture, ensuring the cake stays moist but not soggy. It’s essentially a moist, fluffy cake with a surprise hidden inside—a bit like a vegetable cake that’s secretly healthy and a lot indulgent at the same time. It’s perfect for when you want something comforting andaaa, a little fancier than your usual banana bread.
Why you’ll love this recipe?
Honestly, what I love most about this zucchini swirl coffee cake is how versatile and forgiving it is. The flavor profile is just right—warm cinnamon, sweet zucchini, with hints of vanilla and nutty undertones from the batter. It’s sweet enough to satisfy that dessert craving but wholesome enough to pass as a breakfast treat. Plus, it’s super easy—no complicated ingredients, no fancy techniques, just good old-fashioned mixing and layering. And let’s talk about cost—basic pantry staples make this budget-friendly, especially since zucchini is so in-season and cheap! Another thing I adore? You can personalize it endlessly. Swap out the nuts or add some blueberries, drizzle it with lemon glaze instead of the traditional vanilla, or even make mini muffins if you’re short on time. It’s a recipe that’s as flexible as your imagination and always a crowd-pleaser. I’ve tested this with almond milk, and honestly, it made it even creamier without changing the flavor—trust me on that little tweak!
How do I make Zucchini Swirl Coffee Cake?
Quick Overview
This coffee cake comes together in just a few simple steps. First, you prepare the zucchini filling, which is just shredded zucchini mixed with a bit of sugar, cinnamon, and a touch of lemon zest if you’re feeling fancy. Then, you whip up the batter—creamy, fluffy, and buttery, with just enough sugar to keep it tender. After pouring the batter into your prepared pan, dollop the zucchini mixture on top and swirl with a skewer or knife to create that signature marbling. A quick bake in the oven until golden around the edges and a toothpick inserted comes out clean, and you’re almost there. Once out of the oven, I love to let it cool just a bit before drizzling with glaze—I use powdered sugar mixed with a tiny splash of milk, but lemon juice or vanilla extract work beautifully too. The finished cake is a golden, fragrant slice of comfort that smells like heaven and tastes even better.
Ingredients
For the Main Batter:
- 1 ½ cups all-purpose flour (I always do this with unbleached because it gives it a lovely texture, but regular works fine too)
- ¾ cup granulated sugar
- ½ teaspoon baking soda
- 1 teaspoon cinnamon
- ½ teaspoon salt
- ½ cup unsalted butter, melted (optional swap: coconut oil for a dairy-free version)
- 2 large eggs
- ½ cup sour cream or Greek yogurt (I tested this with almond milk, and it made it even creamier!)
- 1 teaspoon vanilla extract
For the Zucchini Filling:
- 1 large zucchini, grated (about 1 cup shredded, I do this with a box grater)
- 2 tablespoons brown sugar or honey
- 1 teaspoon cinnamon
- ½ teaspoon lemon zest (optional but adds a nice brightness)
For the Glaze:
- ½ cup powdered sugar
- 1-2 teaspoons milk or lemon juice
- Optional: vanilla extract or a splash of almond extract
Step-by-Step Instructions
Step 1: Preheat & Prep Pan
Set your oven to 350°F (180°C), and line a 9-inch round cake pan or square baking dish with parchment paper—or just grease it well. This way, nothing sticks, and clean-up’s a breeze. I always do this early on because it’s the kind of step I forget, then end up chipping my cake trying to get it out!
Step 2: Mix Dry Ingredients
In a large bowl, whisk together the flour, sugar, baking soda, cinnamon, and salt. Mixing those dry ingredients first ensures the baking soda distributes evenly and gives your cake that perfect rise. I’ve learned the hard way that skipping this step sometimes leads to uneven texture, and nobody wants that.
Step 3: Mix Wet Ingredients
In a separate bowl, beat the eggs, then stir in the melted butter, sour cream, and vanilla. I find it easiest to use a whisk here; the mixture should look creamy and smooth. I’ve tested this with almond milk instead of sour cream, and honestly, it made the batter even silkier—so don’t be afraid to experiment!
Step 4: Combine
Pour the wet ingredients into the dry and gently fold until just combined. Don’t overmix—nobody likes a dense cake. The batter should be thick but still pourable. If it feels too stiff, just add a splash more milk or almond milk until it flows gently.
Step 5: Prepare Filling
In a small bowl, mix the shredded zucchini with brown sugar, cinnamon, and lemon zest if you’re using it. I always squeeze out a little excess moisture from the zucchini after shredding; otherwise, the swirl can turn a little too wet and sink to the bottom. This zucchini filling is what makes this cake special—it’s sweet, spicy, and adds that veggie boost I love.
Step 6: Layer & Swirl
Pour the batter into your prepared pan, smoothing the top lightly. Drop spoonfuls of the zucchini mixture over the top and use a butter knife or skewer to swirl it gently into the batter. Don’t overdo it—you want a marbled look, not a muddy mess. Think of it as painting a little pattern—each swirl adds character!
Step 7: Bake
Bake for about 40-45 minutes, or until the top is golden and a toothpick inserted in the center comes out clean. Oven temperatures can vary, so I always start checking at 38 minutes. When I first made this, I learned the hard way that overbaking dries it out—the perfect cake should still be tender and moist. Sometimes, my oven runs hot, so I place a foil tent over the top if it’s browning too quickly.
Step 8: Cool & Glaze
Let your cake cool in the pan for about 15 minutes, then transfer to a wire rack. While it’s still warm, drizzle with your glaze. I often whisk powdered sugar with a splash of milk and a drop of vanilla or lemon extract; you want it thick butpourable. If it’s too runny, add a bit more sugar, if too thick, a tiny splash of milk will do the trick.
Step 9: Slice & Serve
Once cooled, slice with a serrated knife for clean cuts. I love serving this slightly warm, with a dollop of whipped cream or a side of fresh berries. It looks gorgeous on a platter, and the aroma alone will have everyone asking for a second slice!
What to Serve It With
This zucchini swirl coffee cake pairs beautifully with a hot cup of coffee or tea in the morning. I often serve it with a buttery latte or a splash of cold milk for the kids. For brunch, add some fresh fruit on the side—think sliced strawberries or blueberries—and maybe a dollop of yogurt or mascarpone. My family loves it as a light dessert too—just warm with an extra drizzle of glaze and a sprinkle of chopped nuts on top. You can even turn it into a snack by cutting it into smaller pieces and wrapping them for lunchboxes or a quick treat on the go. Honestly, I’ve made this so many times, I can’t help but sneak a piece anytime it’s fresh out of the oven. It’s become a little tradition, and I love how it reminds me that simple pleasures often taste the best.
Top Tips for Perfecting Your Zucchini Swirl Coffee Cake
Over the years, I’ve picked up a few tricks that make this already wonderful recipe even better. First, always grate your zucchini finely and squeeze out excess moisture—otherwise, the swirl tends to sink or make the cake denser than I like. I’ve tested this with zucchini that’s a little wetter, and it still works, but the drier it is, the better the swirl stays suspended and looks gorgeous.
When mixing the batter, be gentle. Overmixing leads to a tougher cake, and nobody wants that. Fold until just combined—trust me, that’s the secret to a tender crumb. As for the swirl, I find it easiest to drop spoonfuls evenly over the batter and swirl softly—don’t go crazy or you’ll lose that beautiful marbled look. Personal tip? I sometimes add a few chopped walnuts or pecans to the zucchini mixture for added crunch—I promise, the texture contrast is divine.
In terms of baking, oven placement matters. Always put your cake on the middle rack and check for doneness early if your oven runs hot. If I notice my cake browning too fast, I tent it with foil to keep that perfect golden color without burning. For the glaze, I love a simple powdered sugar drizzle, but you can also add a splash of lemon juice or vanilla to change it up. I’ve even experimented with cream cheese frosting for a richer finish—delicious!
Most importantly, don’t rush the cooling stage. Let it rest at least 15 minutes before slicing—this helps the filling set and makes cutting cleaner. And honestly, whether you serve it warm or at room temperature, it’s going to be a hit in your house. I’ve learned that less is more when it comes to decorating because the swirl itself is so pretty—let the cake shine!
Storing and Reheating Tips
Once your zucchini swirl coffee cake has cooled completely, store it properly to keep that moist texture. I usually cover the leftovers with a plate or store slices in an airtight container. At room temperature, it stays fresh for about 1-2 days—just enough time to savor each bite. If you’re planning to keep it longer, pop it into the fridge in an airtight container; it will last up to 5 days, and I find it still tastes lovely. Just give it a few minutes to come back to room temp before serving for the best flavor.
If you want to enjoy it later in the week, the freezer is your friend. Wrap individual slices tightly in plastic wrap, then place in a resealable bag. It’ll keep well for up to 3 months. To reheat, simply microwave for about 20-30 seconds or warm in a low oven until just heated through. I recommend adding a fresh drizzle of glaze after reheating if needed—nothing beats that fresh-from-the-oven feeling!
And a quick note about the glaze: if you’ve stored the cake in the fridge, you might want to give it an extra light glaze once it’s plated. It adds moisture and that glossy finishing touch. If you want to get really fancy, try drizzling some melted white chocolate or topping it with whipped cream—divine!
Frequently Asked Questions
Final Thoughts
There’s something so nourishing about this zucchini swirl coffee cake—it’s like a warm hug you can enjoy any time of day. I love how the zucchini keeps it moist without weighing it down, and the swirl makes every bite feel special. Whether I’m sneaking a piece mid-morning or sharing it at a family brunch, it never fails to bring smiles around the table. It’s a recipe I’ve tested and perfected over the years, and I genuinely believe you’re going to love how easy it is to make, how adaptable it can be, and, of course, how utterly delicious it tastes. So go ahead—grab some zucchini, and let’s get baking. Can’t wait to hear how yours turns out! Drop a comment, share your tweaks, and enjoy every moist, cinnamon-spiced bite!
French Onion Pork Chops
Ingredients
Method
- To a large, heavy-bottom skillet or braising pan, add the onions, butter, and cook over medium heat for about 5 minutes to melt the butter; stir nearly constantly until butter melts.
- Reduce the heat to medium-low and add 0.25 cup reduced sodium beef broth.
- Evenly season the pork chops on both sides with the salt, pepper, garlic powder, dried thyme, and dried rosemary.
- Cook the onions for about 30 to 45 minutes over medium-low to low heat, or until the onions have caramelized and are a nice, deep brown color; stir intermittently. When the onions are done and have caramelized, remove them from the skillet, and set them aside on a plate. To the skillet, add the olive oil, pork chops, and sear over medium-high heat for about 3 minutes per side. Take them out and set them aside on a plate. They will not be done at this point.
- Add the flour to the pan juices and cook over medium-high heat for 1 minute; whisking nearly constantly.
- Add the remaining 1 cup beef broth and the dry white wine, and whisk to combine. Use caution when you add the liquids as they will have a tendency to produce a lot of steam and bubble up vigorously for a few seconds.
- Add the onions back into the skillet and stir to combine and coat with the broth-wine mixture.
- Turn the heat to medium-low, add the pork chops back in, evenly distribute and sprinkle both cheeses over the top of all the pork chops, and nestle the chops in the onions, creating space for them as needed, and simmer for another 10 minutes, or until pork is done. You can put the lid on at this point to encourage the cheese to melt a bit faster.
- Pork is done when the thickest part of the pork chop reads 145F according to a digital thermometer. Remove the pork from the skillet at about 140F, and allow it to rest on a platter covered with foil. The internal temperature will rise to 145F.