Nutty Oatmeal Cookies A Simple Treat
There’s something magical about biting into a warm, flaky croissant or savoring the first bite of a perfectly balanced cake. It’s not just the taste that hits our senses, but the emotions and memories that come flooding back. For me, baking is more than just following a recipe – it’s an act of love, a way to connect with loved ones, and a source of comfort in the midst of chaos. In this post, I’ll share with you my favorite recipe for a classic dessert that’s sure to become a staple in your household, and I’ll let you in on the secrets that make it truly special.
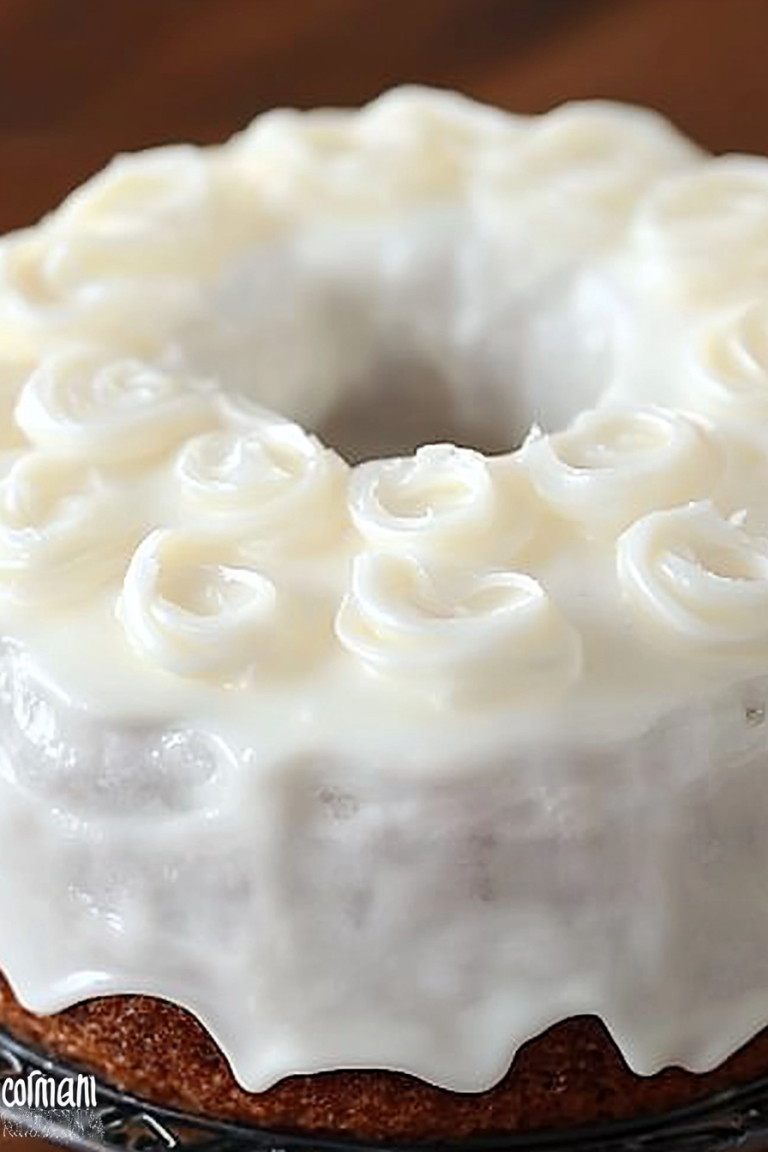
What is perfectly imperfect cake?
What is perfect imperfect cake?
Think of this recipe as a hug in cake form – it’s a reminder that perfection is overrated, and that it’s the imperfections that make something truly special. It’s a cake that’s been perfected over years of trial and error, with each batch yielding a slightly different result. And that, my friends, is the beauty of it.
Why you’ll love this recipe?
Why you’ll love this recipe?
This cake is more than just a delicious treat – it’s a game-changer for busy weeknights, a showstopper for special occasions, and a comforting companion for those late-night cravings. It’s a recipe that’s been tested and refined to perfection, with a secret ingredient that’ll make you wonder how you ever lived without it. Trust me, this is one cake that’ll become a family favorite in no time.
### 4. How to Make a Perfectly Imperfect Cake
How to Make a Perfectly Imperfect Cake
Quick Overview
Don’t worry, this cake isn’t as complicated as it sounds. In fact, it’s surprisingly easy to make, with a few simple ingredients and a handful of steps. Just remember to take your time, and don’t be afraid to get a little creative along the way.
Ingredients
For the Main Batter:
2 1/4 cups all-purpose flour
1 1/2 cups granulated sugar
3 large eggs, at room temperature
2 teaspoons baking powder
1 teaspoon salt
1 cup unsalted butter, softened
2 teaspoons pure vanilla extract
For the Filling:
1 cup heavy cream
1 cup granulated sugar
2 large eggs, at room temperature
2 teaspoons pure vanilla extract
For the Glaze:
1 cup powdered sugar
2 tablespoons unsalted butter, softened
2 teaspoons pure vanilla extract
Step-by-Step Instructions
Step 1: Preheat & Prep Pan
Preheat your oven to 350°F (180°C). Grease two 9-inch (23cm) round cake pans and line the bottoms with parchment paper.
Step 2: Mix Dry Ingredients
In a medium bowl, whisk together the flour, sugar, baking powder, and salt. Set aside.
Step 3: Mix Wet Ingredients
In a large mixing bowl, whisk together the eggs, butter, and vanilla extract. Add the dry ingredients and mix until just combined.
Step 4: Combine
Divide the batter evenly between the prepared pans and smooth the tops.
Step 5: Prepare Filling
In a small bowl, whisk together the heavy cream, sugar, eggs, and vanilla extract. Pour the filling over the batter in each pan.
Step 6: Layer & Swirl
Use a spatula to create a marbled effect by gently swirling the filling and batter together.
Step 7: Bake
Bake for 35-40 minutes, or until a toothpick inserted into the center of each cake comes out clean.
Step 8: Cool & Glaze
Allow the cakes to cool in the pans for 10 minutes before transferring them to a wire rack to cool completely. Once the cakes are cool, drizzle with the glaze.
Step 9: Slice & Serve
Slice the cakes into thick pieces and serve immediately. Enjoy!
### 5. What to Serve It With
What to Serve It With
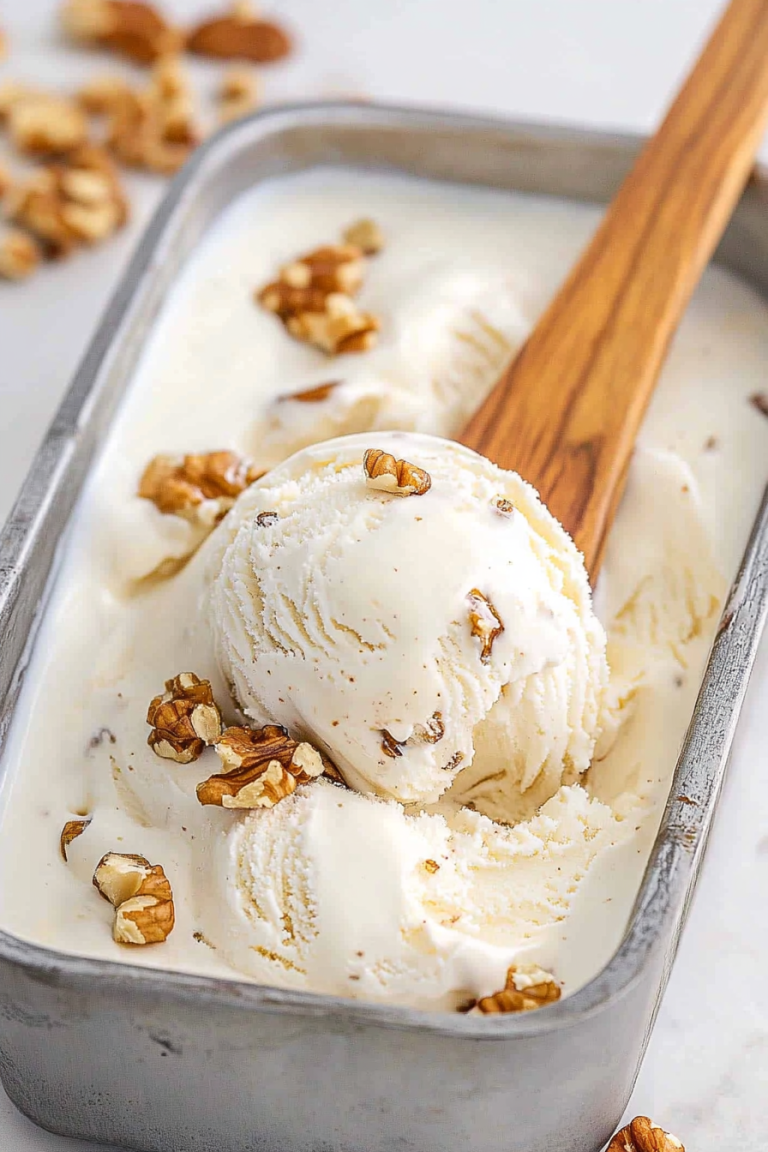
This cake is the perfect companion for a cup of coffee, a glass of cold milk, or a scoop of creamy ice cream. It’s also a great base for a dessert bar, topped with fresh fruit, whipped cream, or chopped nuts.
### 6. Top Tips for Perfecting Your Cake
Top Tips for Perfecting Your Cake
Here are a few expert tips to help you take your cake to the next level:
Zucchini Prep: Make sure to grate the zucchini just before using it, as it will release its moisture and create a more tender crumb.
Mixing Advice: Don’t overmix the batter, as this will result in a dense cake. Mix just until the ingredients are combined, then stop.
Swirl Customization: Experiment with different swirl patterns and fillings to create a unique cake that’s all your own.
Ingredient Swaps: Try substituting the heavy cream with almond milk or coconut cream for a dairy-free version of the cake.
Baking Tips: Make sure to adjust the oven temperature and baking time based on your oven’s performance.
Glaze Variations: Experiment with different glaze flavors and textures to create a unique look and taste.
### 7. Storing and Reheating Tips
Storing and Reheating Tips
Here are a few tips for storing and reheating your cake:
Room Temperature: Store the cake at room temperature for up to 2 days. Wrap it tightly in plastic wrap or aluminum foil to prevent drying out.
Refrigerator Storage: Store the cake in the refrigerator for up to 5 days. Wrap it tightly in plastic wrap or aluminum foil to prevent drying out.
Freezer Instructions: Store the cake in the freezer for up to 2 months. Wrap it tightly in plastic wrap or aluminum foil and place it in a freezer-safe bag.
Glaze Timing Advice: Apply the glaze to the cake just before serving, as it will set quickly and create a sticky texture.
### 8. Frequently Asked Questions
Frequently Asked Questions
### 9. Final Thoughts & Conclusion
Final Thoughts
There you have it – a recipe for a perfectly imperfect cake that’s sure to become a family favorite. Don’t be afraid to get creative and experiment with different flavors and textures. And most importantly, remember that it’s the imperfections that make something truly special. Happy baking!
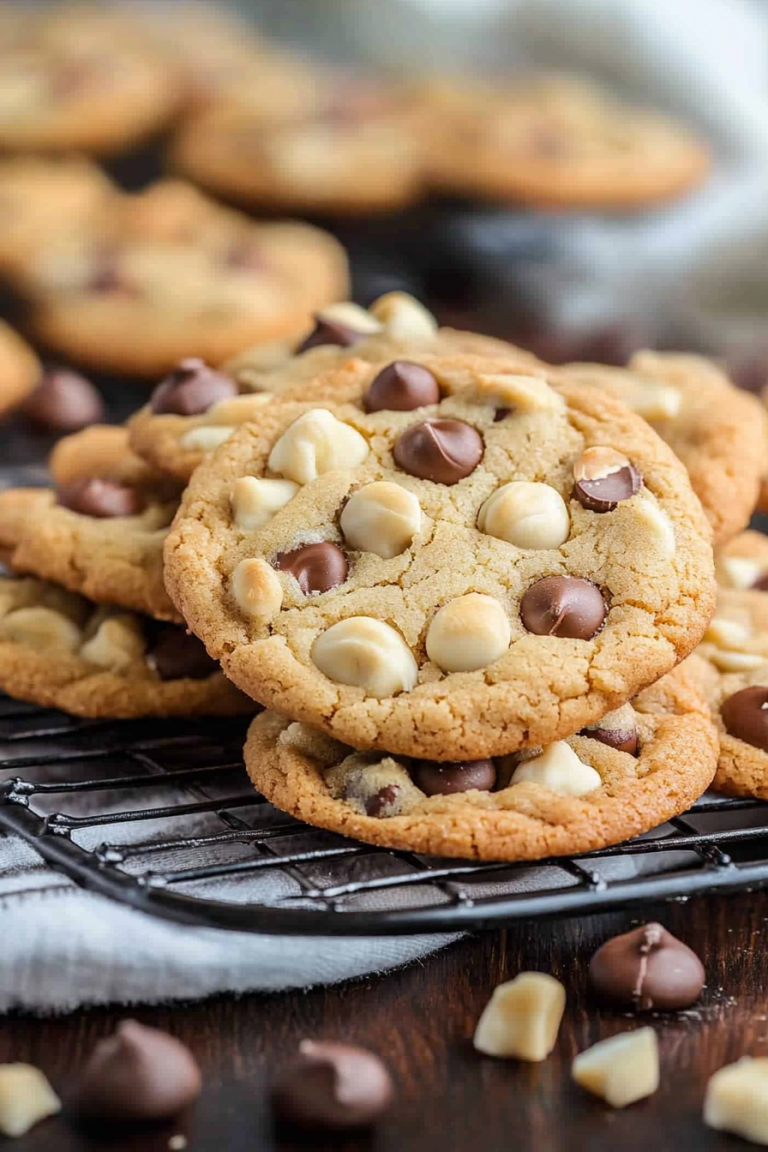
Peanut Butter Oatmeal Cookies
Ingredients
Method
- First, preheat the oven to 350ºF and spray a baking sheet with nonstick cooking spray.
- Next, combine melted butter and brown sugar until there are no lumps. Then, add maple syrup, egg, peanut butter, and vanilla and mix again.
- Add salt, quick-cooking oats, and baking soda and mix until everything is combined. Add in optional chocolate chips and mix again.
- Refrigerate dough for 20 minutes to set.
- Scoop 2 tablespoons of batter into your hands and form it into a ball. Place it onto the cookie sheet and slightly press down to form a cookie shape. The batter will feel a bit wet, but they will be so soft and chewy when done baking!*
- Repeat the process above until you've fit 12 cookies on the baking sheet.
- Bake cookies at 350ºF for 11-14 minutes or until they begin to turn golden brown.
- Remove cookies and let cool for a couple of minutes on the baking sheet before transferring to a wire rack to continue cooling for at least 20 minutes to firm up.