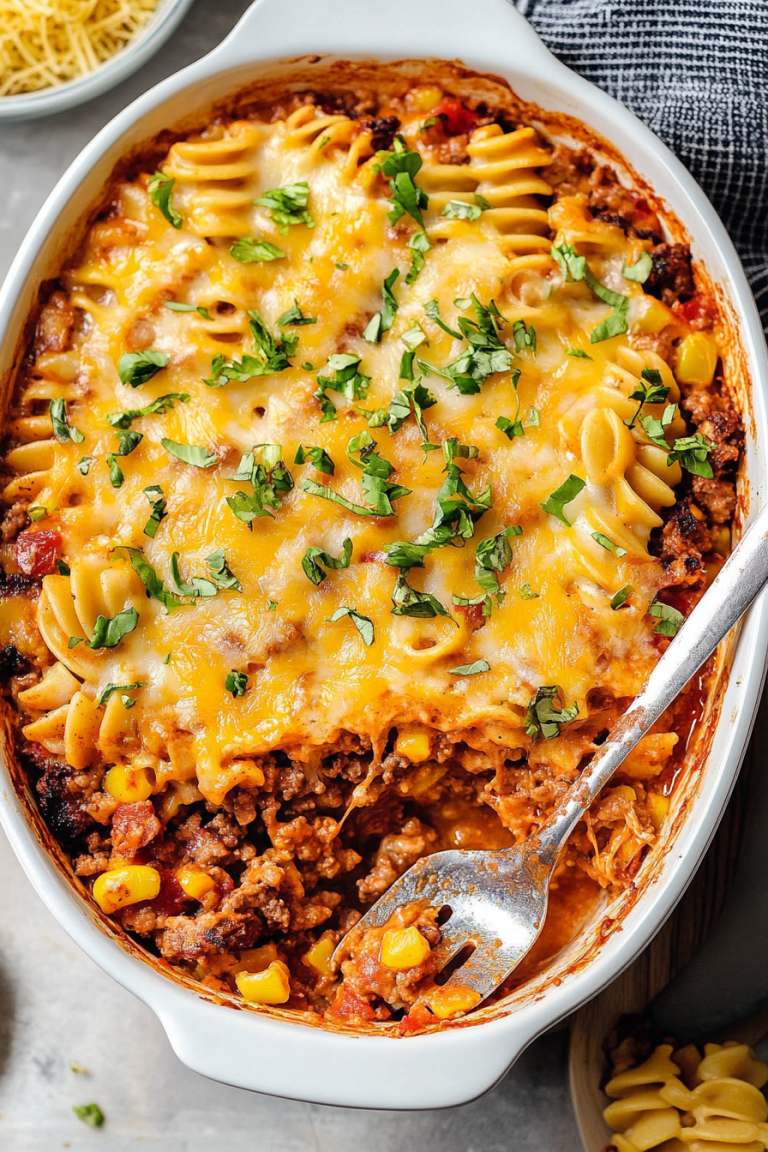
Easy Sweet Pea Bacon Risotto Delight
Okay, so confession time. I’m not always the most patient baker. Sometimes, when that craving for something sweet hits at 10 pm, the idea of creaming butter and sugar for an hour just… isn’t happening. That’s where this zucchini bread comes in. It’s my absolute favorite, hands-down, no-contest winner for a few reasons. First, it’s ridiculously easy. Second, it tastes SO good, like a warm hug in loaf form. And third? It uses up that zucchini that seems to spontaneously generate in my garden (or at the farmer’s market!) like magic. It’s got that perfect balance of moist, tender crumb and a subtly sweet, comforting flavor that reminds me of my grandma’s kitchen. If you’ve ever had a good zucchini bread, you know what I’m talking about, but if you haven’t, prepare to have your mind blown. It’s leagues better than those dry, crumbly excuses for zucchini bread you might have encountered. This one’s a lifesaver on busy nights and a guaranteed crowd-pleaser.
What is Zucchini bread?
So, what exactly *is* zucchini bread? At its heart, it’s a quick bread – meaning it uses chemical leaveners like baking soda and baking powder instead of yeast, which makes it super fast to whip up. The star ingredient, zucchini, might sound a little strange in a sweet bread, but trust me on this one. When you shred it and bake it, it becomes practically undetectable, adding incredible moisture and a tender texture without any discernible veggie flavor. Think of it like adding a secret weapon for supreme moistness. It’s essentially a cake-like quick bread that’s perfect for breakfast, a snack, or even dessert. The name itself is pretty straightforward – it’s a bread that features zucchini! Some people add nuts, chocolate chips, or even a simple glaze on top, and I’ll share my favorite variations, but the base recipe is pure comfort.
Why you’ll love this recipe?
Why is this zucchini bread recipe on my recipe binder?flavor is just out of this world. It’s not overly sweet, but it has this lovely warmth from the cinnamon and vanilla that’s just perfect. The zucchini makes it incredibly moist, so you never have to worry about it being dry. And the texture? Oh my gosh, it’s like biting into a soft, fluffy cloud. It’s surprisingly simpleWhat are some easy ways to make this in the oven?cost-efficient. Zucchini is usually pretty affordable, and the other ingredients are pantry staples. This is a budget-friendly way to get a delicious homemade treat. What I love most, though, is its versatility. I’ve made this countless times, and it never fails. It’s perfect for a quick breakfast on the go, a lovely addition to a brunch spread, or even a satisfying dessert when you want something sweet but not too heavy. If you’re a fan of my Double Chocolate Banana Bread, you’ll appreciate the moist, tender crumb this recipe achieves, but with a totally different flavor profile.
How to Make Zucchini Bread
Quick Overview
This recipe is all about simplicity and delicious results. We’ll whisk together our dry ingredients, combine our wet ingredients, then gently bring them together. The grated zucchini gets mixed in, and then, if you’re feeling fancy (and I usually am!), we’ll add a swirl of something delightful. Bake until golden brown and a tester comes out clean, then top with a simple glaze. It’s really that easy, and I promise, even if you’re new to baking, you’ll nail this one. This method ensures maximum moisture and a perfectly tender crumb every single time.
Ingredients
For the Main Batter:
Here’s what you’ll need for the base of our delicious zucchini bread. I always opt for medium-sized zucchini; they have a good moisture balance. Make sure they’re fresh – you can usually tell by their firm skin and bright green color. Grating them is key! I use the large holes on my box grater. If you’re buying zucchini, aim for about 2 cups of grated zucchini. This recipe is so forgiving, I’ve even made it with a mix of zucchini and yellow squash, and it was still fantastic.
* 2 cups all-purpose flour
* 1 teaspoon baking soda
* ½ teaspoon baking powder
* ½ teaspoon salt
* 1 teaspoon ground cinnamon (or more, I love cinnamon!)
* ½ teaspoon ground nutmeg (optional, but it adds a lovely warmth)
* 1 ½ cups granulated sugar (you can reduce this slightly if you prefer it less sweet, but it does contribute to moisture!)
* 2 large eggs, at room temperature
* ½ cup vegetable oil or melted unsalted butter (melted butter adds a richer flavor, but oil keeps it extra moist)
* ¼ cup milk (I’ve tested this with almond milk and it actually made it even creamier!)
* 1 teaspoon vanilla extract
* 2 cups grated zucchini (from about 2 medium zucchini, squeezed lightly to remove excess water)
For the Filling (Optional, but highly recommended!):
This is where you can really have some fun! My go-to is a simple cinnamon-sugar swirl, but chocolate chips are a close second. For the cinnamon swirl, it’s just brown sugar, cinnamon, and a tiny bit of flour to help it hold its shape. If you’re adding chocolate chips, about 1 cup of semi-sweet or dark chocolate chips is perfect. I love using mini chocolate chips because they distribute more evenly. You can also stir in chopped nuts like walnuts or pecans for added crunch.
* ½ cup packed brown sugar
* 1 tablespoon ground cinnamon
* 1 tablespoon all-purpose flour
* Optional: 1 cup chocolate chips, chopped nuts, or a combination!
For the Glaze:
This is the crowning glory for me! It’s super simple and adds that extra touch of sweetness and visual appeal. You want the glaze to be thick enough to coat, but thin enough to drizzle easily. If it’s too thick, a tiny splash of milk or water will do the trick. If it’s too thin, add a little more powdered sugar. I sometimes add a pinch of lemon zest to the glaze for a bright contrast.
* 1 ½ cups powdered sugar
* 2-3 tablespoons milk or cream
* ½ teaspoon vanilla extract
Step-by-Step Instructions
Step 1: Preheat & Prep Pan
First things first, get that oven preheating to 350°F (175°C). Grab a standard 9×5 inch loaf pan. I like to grease it really well with butter or cooking spray, and then I dust it lightly with flour. Sometimes, I even line the bottom and sides with parchment paper, leaving an overhang on the sides. This makes lifting the bread out a breeze and ensures no sticky bits get stuck to the pan. I learned this trick after a few loaves got stubbornly attached to the pan years ago!
Step 2: Mix Dry Ingredients
In a large bowl, whisk together the all-purpose flour, baking soda, baking powder, salt, cinnamon, and nutmeg (if you’re using it). Give it a good whisk to make sure everything is evenly distributed. This step is important because it ensures your leavening agents are spread out, so you get a nice, even rise. Nobody wants a sunken spot in their beautiful loaf!
Step 3: Mix Wet Ingredients
In a separate medium bowl, whisk together the granulated sugar, eggs, oil (or melted butter), milk, and vanilla extract until well combined. The mixture should look smooth and a little frothy. Make sure your eggs are at room temperature; they incorporate much better this way.
Step 4: Combine
Now, pour the wet ingredients into the dry ingredients. Use a spatula or wooden spoon to gently fold everything together. Mix *just* until there are no dry streaks of flour visible. It’s crucial not to overmix quick bread batter, or you’ll end up with a tough loaf. A few lumps are perfectly fine! Then, gently fold in the grated zucchini. Again, don’t overdo it; just get it incorporated.
Step 5: Prepare Filling
If you’re adding a swirl, this is the time to make it. In a small bowl, combine the brown sugar, cinnamon, and flour. Mix until it looks like coarse crumbs. If you’re adding chocolate chips or nuts, you’ll stir them into the main batter right after combining the wet and dry ingredients, before adding the zucchini.
Step 6: Layer & Swirl
Pour about half of the batter into your prepared loaf pan. Sprinkle the brown sugar-cinnamon mixture evenly over the top. If you’re using chocolate chips or nuts and didn’t mix them in earlier, sprinkle them now. Pour the remaining batter over the top, trying to cover the filling mixture. Now for the swirl! You can use a knife or a skewer to gently swirl the filling into the batter. Don’t over-swirl, or the layers will just blend together. You want distinct ribbons of flavor!
Step 7: Bake
Pop that beautiful loaf into your preheated oven. Bake for about 55-65 minutes. The exact time can vary depending on your oven, so start checking around the 50-minute mark. The best way to tell if it’s done is to insert a toothpick or a thin knife into the center. If it comes out clean (or with just a few moist crumbs attached, but no wet batter), it’s ready. If it’s still wet, give it another 5-10 minutes and check again. The top should be golden brown and look beautifully domed.
Step 8: Cool & Glaze
Once it’s baked, let the zucchini bread cool in the pan for about 10-15 minutes. This allows it to set up properly. Then, carefully invert it onto a wire rack to cool completely. Don’t try to glaze it while it’s warm, or the glaze will just melt right off. Once it’s totally cool, whisk together the powdered sugar, vanilla extract, and 2 tablespoons of milk until smooth. Add more milk, a teaspoon at a time, if needed to reach your desired drizzling consistency. Drizzle it generously over the top of the cooled loaf. Let the glaze set for about 15-20 minutes before slicing.
Step 9: Slice & Serve
And there you have it! The most perfect, moist, delicious zucchini bread. I like to slice it with a serrated knife for clean cuts. It’s best served at room temperature, but honestly, I’ve been known to sneak a warm piece right out of the oven (glaze and all!). Enjoy every single bite!
What to Serve It With
This zucchini bread is so versatile, it’s welcome at almost any meal or occasion. For Breakfast, it’s an absolute dream with a hot cup of coffee. I love a slice with a dollop of cream cheese or a smear of butter. It’s so satisfying and a nice change from my usual toast. For Brunch, it adds a wonderful touch of homemade goodness. I like to serve it alongside fresh fruit salad and maybe some scrambled eggs or quiche. It looks so elegant when cut into neat slices and arranged on a platter. As Dessert, it’s perfect when you’re craving something sweet but don’t want to bake a whole cake. A warm slice, perhaps with a scoop of vanilla ice cream or a drizzle of caramel sauce, is pure bliss after dinner. And for Cozy Snacks? This is it. I often cut off a thick slice in the afternoon when I need a little pick-me-up. It pairs wonderfully with a glass of milk or a warm cup of tea. My kids ask for this all the time as an after-school snack, and I never feel bad about giving it to them because it’s got real ingredients!
Top Tips for Perfecting Your Zucchini Bread
I’ve made this zucchini bread more times than I can count, and I’ve picked up a few tricks along the way that I swear by. These tips will help you achieve that bakery-worthy texture and flavor every single time. First, regarding Zucchini Prep: don’t skip squeezing out some of the moisture! Zucchinis are packed with water, and if you don’t remove some of it, your bread can turn out gummy or soggy. I usually grate my zucchini, then place it in a fine-mesh sieve over a bowl for about 15-20 minutes. You’ll be amazed at how much liquid comes out. Then, give it a gentle squeeze with your hands or a clean kitchen towel before adding it to the batter. For Mixing Advice: remember what I said about not overmixing? This is probably the most crucial tip for a tender quick bread. Mix the wet and dry ingredients *just* until combined. A few little lumps of flour are okay; they’ll disappear during baking. Overmixing develops the gluten too much, leading to a tough texture. When it comes to Swirl Customization: if you’re doing a swirl, don’t go crazy with it! A few gentle passes with a knife or skewer are enough to create beautiful ribbons of flavor. If you overdo it, the colors and flavors will just muddy together. Experiment with different fillings too! A jam swirl or even a cheesecake swirl could be amazing. For Ingredient Swaps: I’ve tested this recipe with different types of oil and milk. As I mentioned, almond milk made it incredibly creamy, and I’ve used coconut oil (melted) with great success, giving it a subtle tropical note. You can also use a gluten-free all-purpose flour blend, but I recommend using one that contains xanthan gum, and you might need to adjust the liquid slightly – it can sometimes make GF baked goods a bit drier. For Baking Tips: always know your oven! Ovens can be tricky. If yours tends to run hot, you might need to reduce the temperature slightly or shorten the baking time. If it runs cool, you’ll need to bake it longer. Placing the loaf pan in the center of the oven ensures even cooking. For Glaze Variations: if you’re not a fan of the sweet glaze, you can simply dust the cooled loaf with powdered sugar through a sieve, or serve it plain. Another favorite is a cream cheese frosting, similar to what I use on my Carrot Cake. Just whip softened cream cheese with a little butter, powdered sugar, and vanilla.
Storing and Reheating Tips
One of the best things about this zucchini bread is how well it stores. It actually gets even more moist and flavorful after a day or two! For Room Temperature storage, once the loaf is completely cool and the glaze has set, you can wrap it tightly in plastic wrap or store it in an airtight container. It will stay fresh on the counter for about 2-3 days. Just make sure your kitchen isn’t too warm, as that can affect the glaze. For Refrigerator Storage, if you know you won’t finish it within a few days, or if your house is warm, pop it into the fridge. Store it in an airtight container, and it should last for up to a week. The texture might firm up a bit in the fridge, but it’s easily fixed. For Freezer Instructions, this zucchini bread freezes beautifully! Wrap the cooled, unfrosted loaf tightly in plastic wrap, then in aluminum foil, or place it in a freezer-safe bag. It can be stored in the freezer for up to 3 months. To thaw, simply remove it from the freezer the night before and let it thaw on the counter. If you froze it before glazing, you can glaze it once it’s thawed. If you froze it with the glaze, you might want to let it thaw in the fridge overnight and then bring it to room temperature for the best texture. For Glaze Timing Advice: I always recommend glazing the bread *after* it’s completely cooled. If you’re freezing a glazed loaf, ensure the glaze is fully set before wrapping and freezing. You can also freeze the loaf plain and glaze it after thawing and bringing it to room temperature, which often yields the best results for the glaze’s texture.
Frequently Asked Questions
Final Thoughts
There you have it – my absolute favorite zucchini bread recipe! It’s proof that sometimes the simplest things are the most rewarding. This loaf is more than just a sweet treat; it’s a little piece of comfort, a way to use up garden abundance, and a recipe that consistently brings smiles to faces. I truly believe that everyone should have a go-to recipe like this, one that you can whip up without a fuss and know it’s going to be a hit. The perfect balance of moistness, spice, and subtle sweetness, topped with that lovely glaze, just makes it irresistible. If you’re looking for other moist and delicious baked goods, be sure to check out my {link to another recipe, e.g., “Moist Blueberry Muffin Recipe”}. I can’t wait to hear how your zucchini bread turns out! Don’t be shy about sharing your variations or any tips you discover in the comments below. Happy baking!

sweet pea bacon risotto
Ingredients
Method
- Place the bacon in a large frying pan and cook over medium-high heat for 5 minutes or until as crispy as desired, turning once.
- Remove bacon, drain on paper towels, and crumble it; set aside. Do not discard bacon drippings.
- Add the chopped onions to the same frying pan and cook them in the bacon grease until softened, stirring occasionally, about 3 minutes.
- Add the garlic and rice; continue to cook until the rice is translucent, stirring frequently.
- Pour in one cup of the chicken broth; stir and cook until almost all the liquid is absorbed.
- Pour in one more cup of the broth and continue to stir and cook until all liquid is absorbed.
- Repeat the same process with the remaining chicken broth while continuously stirring.
- Once the liquid has been absorbed, pour in half of the heavy cream and continue to cook, stirring frequently until all the liquid is absorbed.
- Pour in the rest of the cream, stir until two-thirds of the liquid is absorbed.
- Stir in the peas and continue to cook for another 2 to 3 minutes or until heated through.
- Remove from heat and season generously with salt and pepper. Taste and adjust if needed.
- Stir in the shredded cheese and crumbled bacon, and serve.