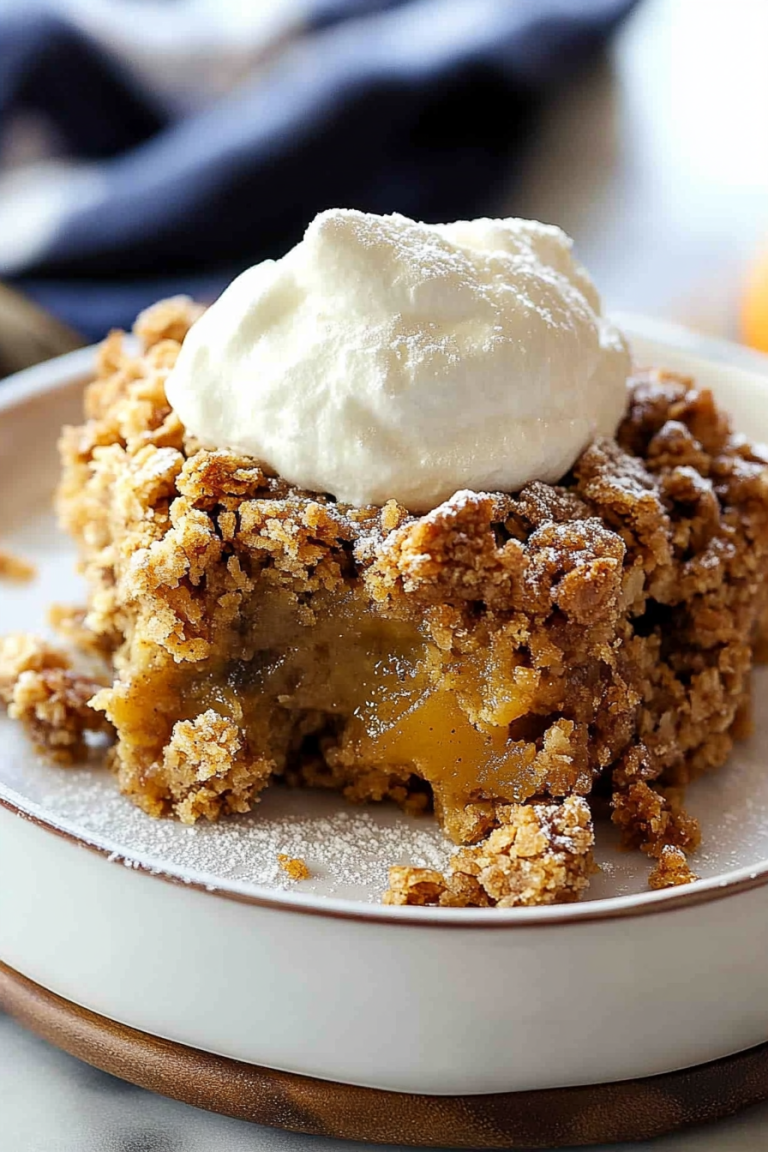
Easy Peach Skillet Cake Recipe You’ll Love
You know those recipes that just feel like a warm hug? The ones you come back to again and again, not just because they taste amazing, but because they’re woven into the fabric of your memories? This zucchini bread is one of those for me. It’s the kind of thing I whip up when I’ve got a little too much zucchini from the garden, or when a craving for something sweet hits but I don’t want to deal with a fussy cake. My kids, bless their hearts, actually ask for this by name, and honestly, it’s one of my proudest baking achievements! It’s not just *any* zucchini bread; this one has a special moistness and a depth of flavor that sets it apart. It’s like the comforting, slightly spiced cousin to a classic chocolate chip cookie, but somehow even more satisfying.
What is Zucchini bread?
So, what exactly *is* zucchini bread? Well, at its heart, it’s a quick bread, meaning it uses a chemical leavener like baking soda or baking powder instead of yeast, so you don’t have to wait around for dough to rise. The star ingredient, of course, is zucchini! Don’t let that scare you; you won’t taste the zucchini itself. What it *does* do is lend an incredible amount of moisture to the batter, resulting in a super tender crumb that stays delicious for days. Think of it as a secret weapon for moist baked goods. This recipe takes that basic idea and elevates it with just the right balance of spices and a hint of sweetness. It’s essentially a vehicle for pure comfort, perfect for any time of day.
Why you’ll love this recipe?
Okay, so why should you add *this* particular zucchini bread recipe to your baking repertoire? Let me count the ways! First off, the flavor. It’s not just sweet; it’s got this warm, inviting spice blend – cinnamon, nutmeg, a touch of clove – that just screams cozy. And the texture? Oh my goodness, it’s unbelievably moist. I’ve tried other zucchini bread recipes that end up dry or crumbly, but this one? It’s tender and almost melt-in-your-mouth. My secret is a combination of oil and eggs, plus of course, the star: zucchini! It’s also surprisingly simple to make. You don’t need any fancy equipment, just a couple of bowls and a whisk. I can literally have this in the oven in about 15 minutes from start to finish, which is a lifesaver on busy weeknights when I need a quick dessert or a tasty snack for school lunches. And let’s talk about cost-effectiveness – it uses pantry staples, and if you’re growing zucchini, it’s practically free! Plus, it’s so versatile. I love it plain, but adding chocolate chips or walnuts takes it to a whole new level of deliciousness. It’s just… a winner. It’s honestly better than any store-bought version you could ever find, and the smell that fills your kitchen while it bakes? Pure magic.
How do you make Zucchini bread?
Quick Overview
The process is wonderfully straightforward. You’ll basically whisk together your dry ingredients, whisk together your wet ingredients, then combine them gently. Fold in that grated zucchini, pour it into a prepared loaf pan, and bake until golden and a tester comes out clean. The hardest part is waiting for it to cool just enough so you don’t burn your tongue!
Ingredients
For the Main Batter:
2 cups all-purpose flour (I always use unbleached, I find it makes a difference in texture)
1 teaspoon baking soda
½ teaspoon salt
1 teaspoon ground cinnamon (use a good quality one, it’s key!)
½ teaspoon ground nutmeg
¼ teaspoon ground cloves (optional, but I love the warmth it adds)
1 ½ cups granulated sugar (you can reduce this slightly if you prefer, but I find this is the sweet spot)
2 large eggs, at room temperature (this helps them incorporate better)
1 cup vegetable oil (or any neutral-flavored oil like canola or even melted coconut oil)
1 teaspoon vanilla extract (pure vanilla extract, always!)
2 cups grated zucchini (about 2 medium zucchinis), squeezed dry
For the Filling:
(This is optional, but I highly recommend it!)
½ cup chopped walnuts or pecans (toasted for extra flavor, if you have time)
½ cup chocolate chips (semi-sweet or dark work best!)
For the Glaze:
(Another optional but oh-so-worth-it step!)
1 cup powdered sugar
2-3 tablespoons milk (dairy or non-dairy, like almond or oat milk)
½ teaspoon vanilla extract
Step-by-Step Instructions
Step 1: Preheat & Prep Pan
First things first, get your oven preheating to 350 degrees Fahrenheit (175 degrees Celsius). You’ll want a standard 9×5 inch loaf pan. Grease it really well with butter or cooking spray, and then I like to give it a light dusting of flour. Some people even like to line it with parchment paper, leaving an overhang on the sides so you can easily lift the bread out later. This is a trick I learned after one too many loaves got stuck!
Step 2: Mix Dry Ingredients
In a large bowl, whisk together the flour, baking soda, salt, cinnamon, nutmeg, and cloves (if you’re using them). Give it a good whisk to make sure everything is evenly distributed. You want to avoid any pockets of baking soda or spice later on. This step ensures a uniform flavor and texture throughout the bread.
Step 3: Mix Wet Ingredients
In a separate medium bowl, whisk together the granulated sugar and the eggs until they’re well combined and slightly lighter in color. Then, slowly drizzle in the vegetable oil while whisking continuously. Stir in the vanilla extract. Make sure it’s all emulsified and smooth.
Step 4: Combine
Now, pour the wet ingredients into the bowl with the dry ingredients. Using a spatula or a wooden spoon, gently fold everything together until *just* combined. It’s super important not to overmix here! A few streaks of flour are okay; they’ll disappear as you add the zucchini. Overmixing develops the gluten too much, which can lead to a tough bread.
Step 5: Prepare Filling
If you’re adding nuts or chocolate chips, this is when you’ll gently fold them into the batter. I usually do about half of the batter, sprinkle in the chips or nuts, then add the rest of the batter and swirl them in a little. This helps ensure you get them distributed throughout the loaf, not just at the bottom.
Step 6: Layer & Swirl
Spoon about half of the batter into your prepared loaf pan. If you’re adding a swirl element (like a cinnamon-sugar mix or a chocolate hazelnut spread, though I haven’t detailed that here), this is where you’d add that layer. Then, add the remaining batter on top, spreading it evenly. For this particular recipe, we’re folding the zucchini directly into the batter. So, you’ll have a wonderfully moist batter. Gently spread the batter into the pan. You’re not really “swirling” in this recipe, but you are ensuring the zucchini is incorporated well.
Step 7: Bake
Pop that pan into your preheated oven. Bake for about 50-65 minutes. Now, ovens can be finicky, so start checking around the 50-minute mark. The bread is done when a wooden skewer or toothpick inserted into the center comes out clean, or with just a few moist crumbs attached (no wet batter!). If the top is browning too quickly before the center is cooked, you can loosely tent it with aluminum foil.
Step 8: Cool & Glaze
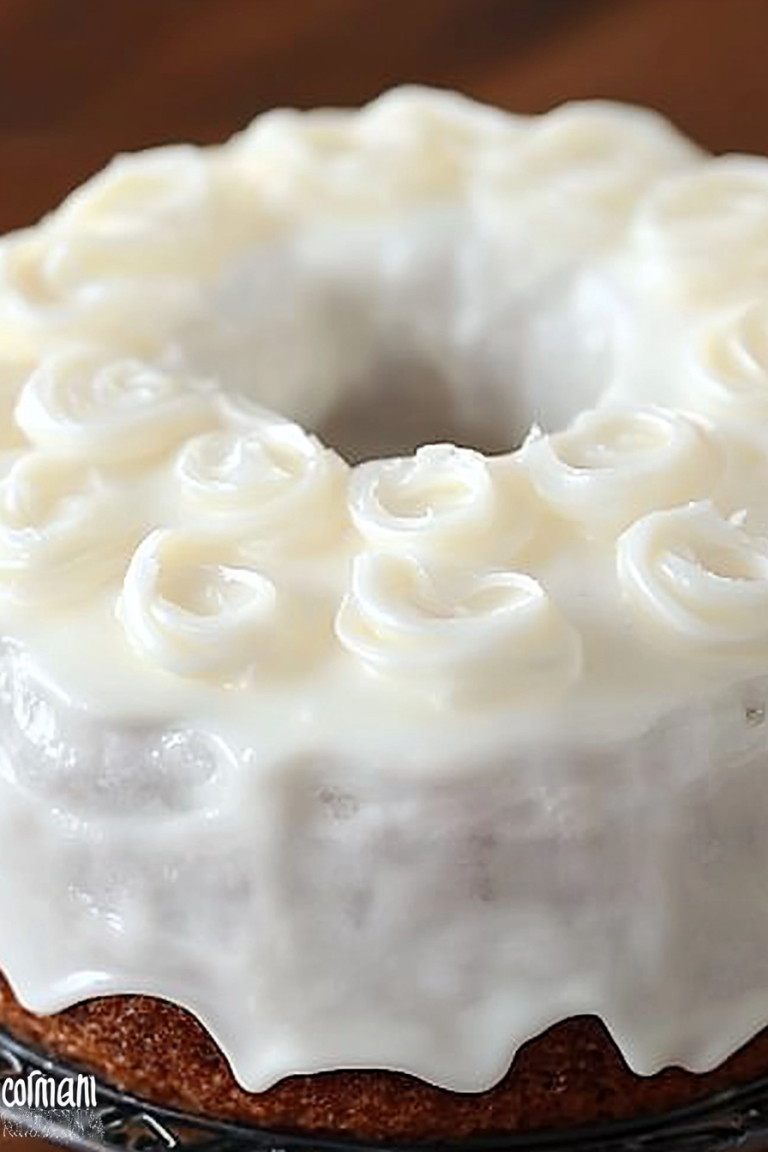
Once it’s out of the oven, let the zucchini bread cool in the pan for about 10-15 minutes. This is crucial! It helps the bread firm up. Then, carefully invert it onto a wire rack to cool completely. Once it’s totally cool, you can whip up the glaze. Whisk together the powdered sugar, a couple of tablespoons of milk, and the vanilla extract until you have a smooth, pourable glaze. Add more milk if it’s too thick, or more powdered sugar if it’s too thin. Drizzle it over the cooled bread.
Step 9: Slice & Serve
Once the glaze has set a little, slice into generous portions. The aroma alone is enough to make your mouth water! Serve it at room temperature. It’s honestly perfect on its own, but a little butter on the side never hurt anyone.
What to Serve It With
This zucchini bread is so wonderfully versatile, it can genuinely fit into almost any meal or snack occasion. For a simple breakfast, I love a thick slice with a smear of cream cheese or a dollop of Greek yogurt. It’s also fantastic alongside a hot cup of coffee – that slightly sweet, spiced bread and bold coffee is a match made in heaven. When we’re doing brunch, it makes a lovely addition to a more elaborate spread. I’ll sometimes serve it with a side of fresh berries or a light fruit salad to add a pop of color and freshness. And as a dessert? Oh boy. It’s perfect after a hearty meal. I’ll often warm up a slice slightly and serve it with a scoop of vanilla bean ice cream or a drizzle of caramel sauce. For those cozy snacks when you just need a little something comforting, a slice of this with a glass of cold milk is pure bliss. My family also loves it as an after-school treat, and it holds up really well for packed lunches!
Top Tips for Perfecting Your Zucchini Bread
I’ve made this recipe more times than I can count, and over the years, I’ve picked up a few tricks that I think really make a difference. For zucchini prep, you absolutely MUST squeeze out the excess moisture. I’m talking about grating it (use the medium holes on your grater), then putting it in a clean kitchen towel or cheesecloth and wringing out as much liquid as humanly possible. This is the secret to avoiding a gummy, dense bread. If you don’t do this, you’ll end up with a soggy loaf. Regarding mixing advice, remember that gentle is key. Overmixing develops gluten, and we want tender, not tough, bread. Stop mixing as soon as you don’t see huge streaks of dry flour. For swirl customization, while this recipe doesn’t have a built-in swirl, if you *wanted* to add one, a simple mix of cinnamon, sugar, and a tablespoon of melted butter or oil can be drizzled between layers of batter. Just don’t overdo it, or you might make the bread too dense. When it comes to ingredient swaps, I’ve experimented a lot! You can use whole wheat flour for half of the all-purpose flour for a nuttier flavor and more fiber, but it might make it a bit denser. For sugar, you can substitute some of it with brown sugar for a caramel note, or even use a sugar substitute if you’re looking to reduce sugar, though it might affect texture slightly. I’ve even tested this with almond milk in the glaze, and it turned out wonderfully creamy! For baking tips, always use the middle rack of your oven for even heating. If your oven tends to run hot, you might need to reduce the temperature slightly or shorten the baking time. The toothpick test is your best friend for checking doneness. And for glaze variations, if you’re not a fan of powdered sugar, a simple dusting of powdered sugar once cooled works beautifully, or you can even skip the glaze altogether. A bit of melted dark chocolate drizzled over is also divine!
Storing and Reheating Tips
One of the best things about this zucchini bread is how well it keeps! If you’re storing it at room temperature, it’s best to keep it in an airtight container or well-wrapped in plastic wrap and then foil. It should stay wonderfully moist for about 2-3 days. For refrigerator storage, wrap it tightly and it can last for up to a week. The texture might firm up a bit in the fridge, but it’s still delicious. To revive it, just let it sit at room temperature for a bit. If you’re planning to freeze, this recipe is a champion. Let it cool completely, then wrap it very tightly in plastic wrap, followed by a layer of aluminum foil or a freezer-safe bag. It can be frozen for up to 3 months. Thaw it overnight in the refrigerator, or at room temperature for a few hours. If it has the glaze on it, I tend to freeze it without the glaze and add it fresh after thawing. For glaze timing advice, always apply the glaze only after the bread has cooled down completely. If the bread is warm, the glaze will melt and slide right off, making a mess!
Frequently Asked Questions
Final Thoughts
Honestly, this zucchini bread recipe is a true gem. It’s the kind of bake that makes your home smell incredible and your family happy. It’s proof that simple ingredients can create something truly magical. The moistness, the perfect spice balance, and the sheer ease of making it are what make it a staple in my kitchen. If you love a good quick bread, or if you’re just looking for a fantastic way to use up some zucchini, I genuinely can’t recommend this enough. It’s the perfect sweet treat for any time of day. I hope you love it as much as my family does! If you give this a try, please let me know how it turns out in the comments below, or share your favorite variations! Happy baking!
peach skillet cake
Ingredients
Method
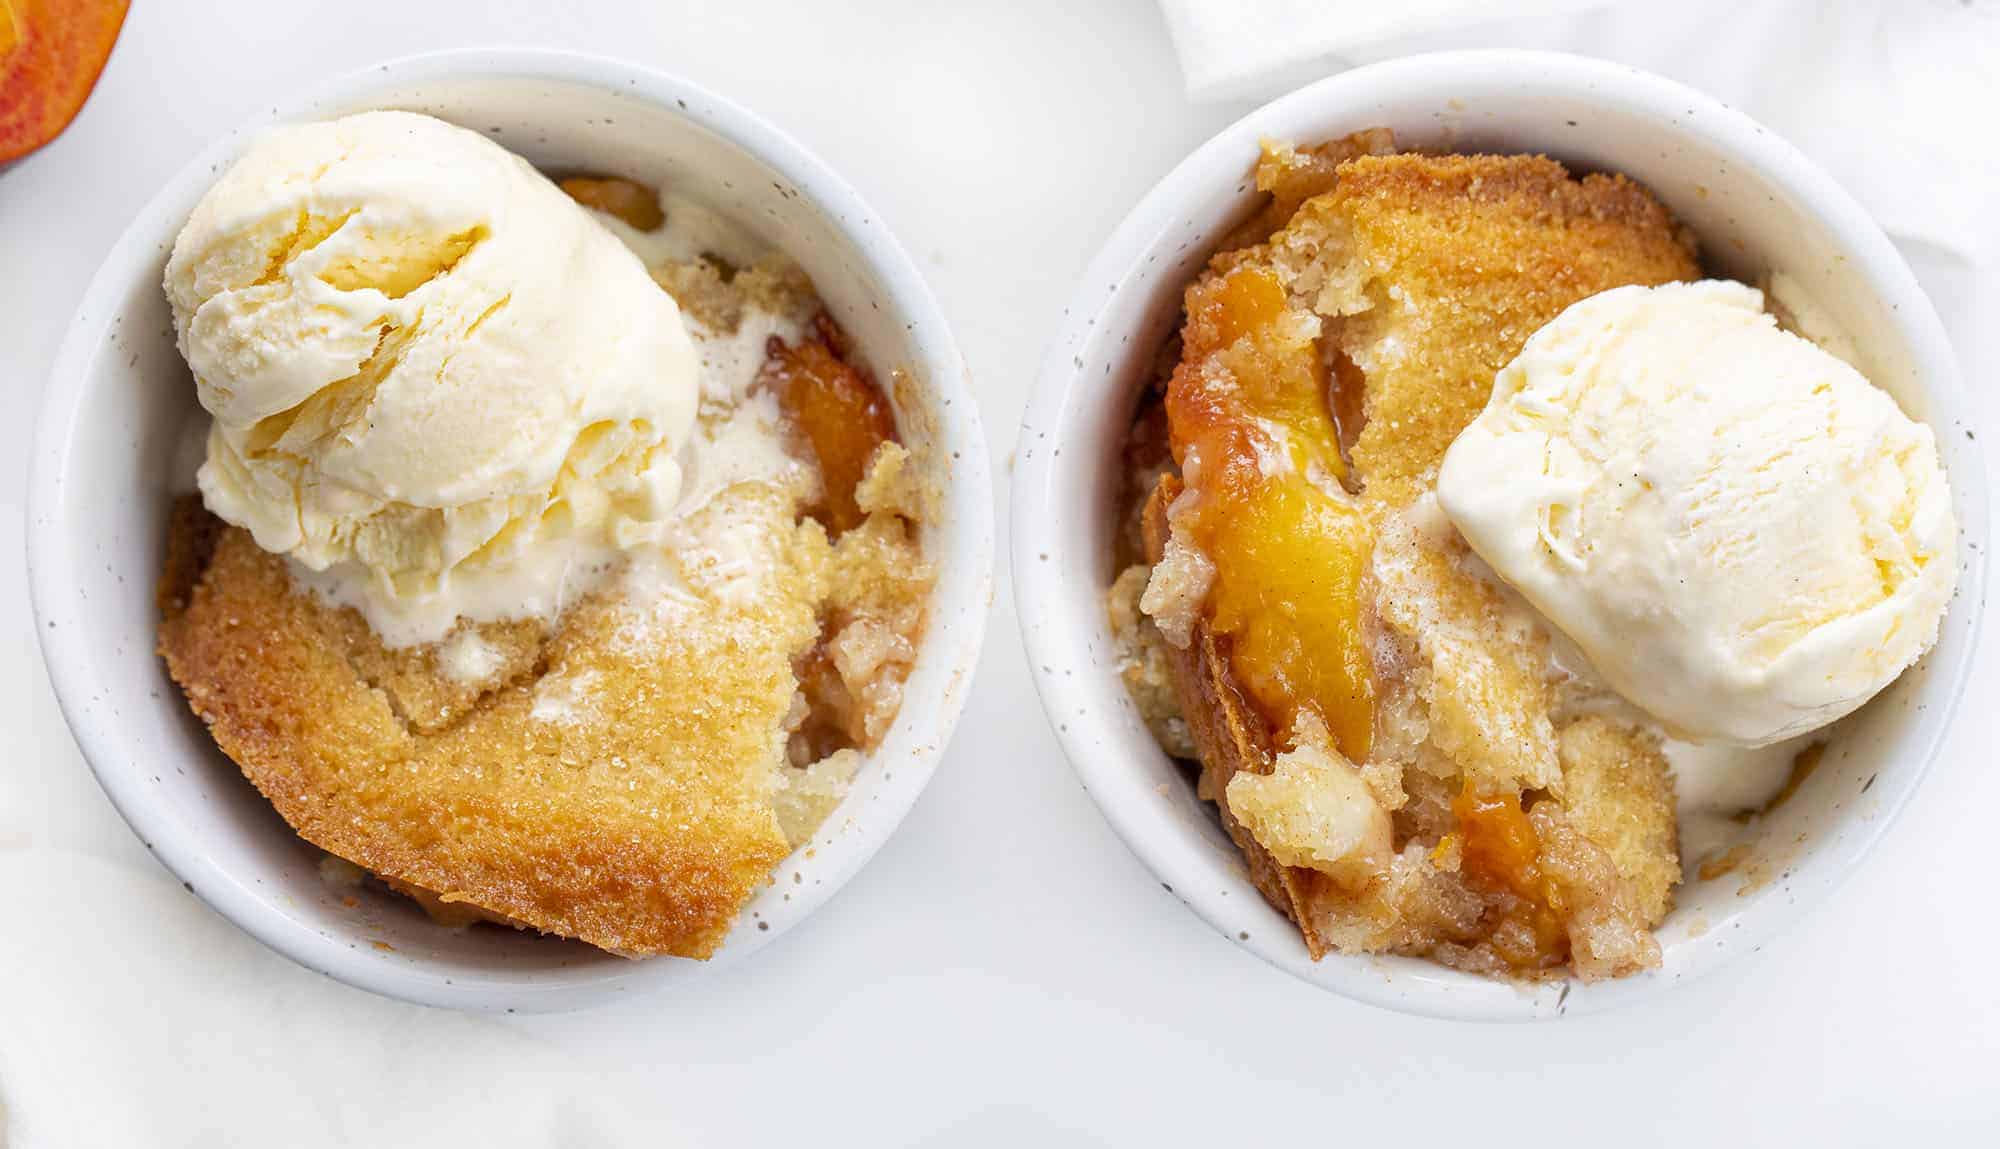
- Preheat the oven to 350°F and spray a 10-inch cast-iron skillet with nonstick cooking spray. (You could also use a 9x13-inch baking dish.)
- In a medium bowl, combine granulated sugar, all-purpose flour, baking powder, kosher salt, and milk. Slowly whisk in the melted butter. Pour the batter into the skillet.
- Add the sliced peaches, brown sugar, cornstarch, and cinnamon to a saucepan over medium heat and stir to combine, simmering for 2-3 minutes until sugar is dissolved and peaches are softened slightly. Add the peach mixture evenly over the top of the batter.
- Bake for 45 minutes. (Line a baking sheet with aluminum foil and place it on the bottom of the oven to catch any drips.)
- After 45 minutes, sprinkle the turbinado sugar over the top and return to oven. Bake an additional 10-15 minutes, or until golden brown.
- Serve topped with ice cream or whipped topping.