Easy Marshmallow Rice Treats Recipe
There’s something about the smell of warm cinnamon and baked goods that instantly takes me back to lazy weekend mornings at my grandma’s house. I remember sneaking a piece of her coffee cake, still warm, with a generous smear of butter melting into the crumb. It’s one of those recipes that feels like a warm hug—sweet, a little nutty, packed with that cozy aroma that makes your entire house feel inviting. And the best part? It’s surprisingly simple to make, so it’s become my go-to whenever I want to treat myself or impress friends with a homemade baked good that actually looks fancy but is totally doable. I’ve made this countless times now, tweaking the ingredients just enough to get that perfect balance of moistness, flavor, and crumbly topping. Trust me on this one—your kitchen will smell divine, and your family or guests will ask for seconds. Plus, I’ll share a little tip—try adding chopped cherries or blueberries in the filling; it’s like a burst of fruity surprise inside! This one’s a lifesaver on busy nights or when you just need a little sweetness to brighten your day.
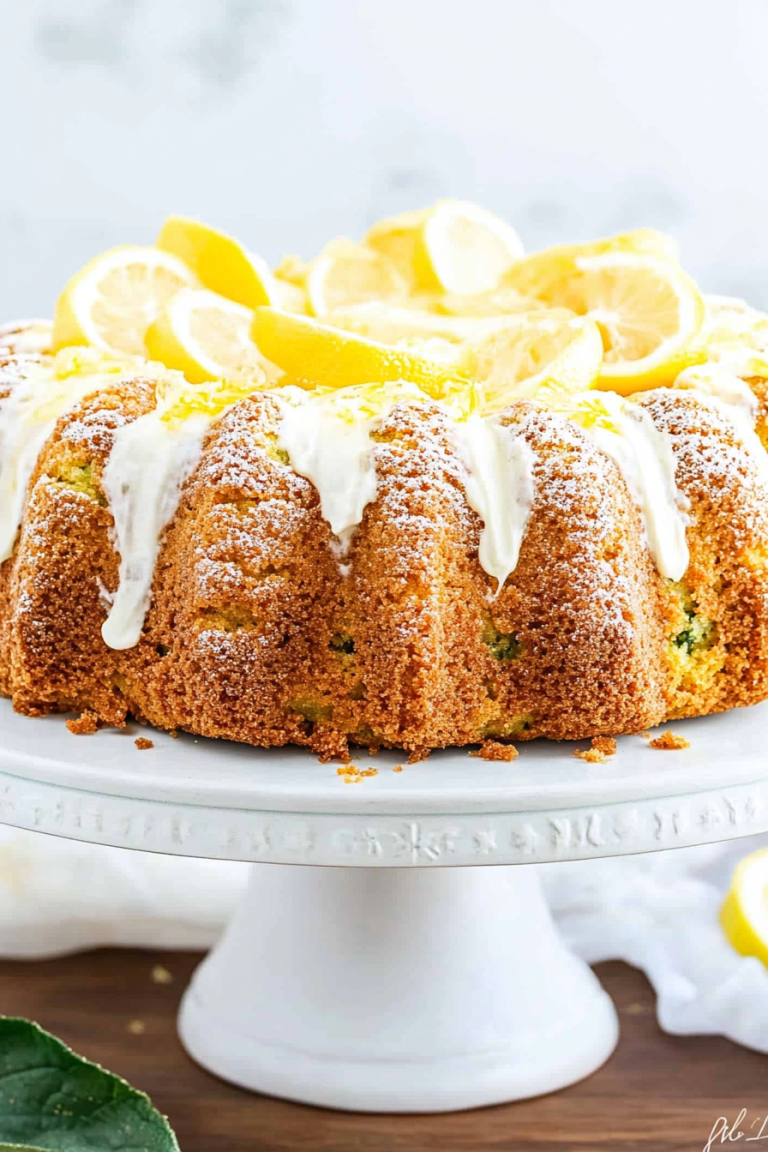
What is Zucchini Walnut Coffee Cake?
Think of this zucchini walnut coffee cake as the lovechild of a classic crumb cake and a muffin stuffed with hidden greens. It’s essentially a moist, tender cake infused with shredded zucchini, which might sound a bit odd at first—trust me, it works! The zucchini adds moisture without making it heavy, and it turns out to be the perfect way to sneak in a veggie (because you know, my kids ask for this all the time, and they never suspect a thing). The name “coffee cake” comes from its bakery-style crumb topping and the fact that it’s perfect with a cup of coffee or tea, whether for breakfast, brunch, or an afternoon snack. It’s not overly sweet, so it pairs beautifully with a hot cup of coffee or even a dollop of yogurt on the side. The swirl of cream cheese in the middle gives it a touch of richness that balances the nutty walnuts and cinnamon-spiced crumb topping. If you’re into layered, textured desserts with a homey twist, this one’s just the thing for you.
Why you’ll love this recipe?
Honestly, what I love most about this zucchini walnut coffee cake is how versatile and forgiving it is. It’s the type of baked good that tastes like you fussed over it for hours, but in reality, it takes about an hour from start to finish. The flavor is just divine—moist, with a gentle sweetness, punctuated by the crunch of toasted walnuts and the luscious cream cheese swirl at the center. I’ve tested this with almond milk and it actually made it even creamier—plus, it’s just a little healthier that way, if you’re into that. And let’s talk about how adaptable it is: you can swap out the walnuts for pecans or add dried cherries for a fruity twist. It’s budget-friendly, too—just basic pantry ingredients, and you’re good to go. The fact that it keeps well for days means I often bake this on a Sunday and enjoy slices all week long. My kids ask for this all the time, especially when they want something sweet but want to skip the usual cake or cookies. And honestly, it’s almost impossible to mess up. Once you master the swirl and the crumb topping, you’re golden. Plus, it’s just soooo good straight out of the oven, warm and fragrant—my absolute favorite way to enjoy it.
How do you make Zucchini Walnut Cake?
Quick Overview
This zucchini walnut coffee cake is a simple assembly job: mix a tender batter, swirl in a creamy cheese filling, sprinkle with a crumbly topping, and bake. What sets this apart is the ease of layering—just pour the batter, add the swirl in the middle, sprinkle the crumbs on top, and bake until golden. It’s one of those recipes where you get a little bit of everything in every bite—moist cake, crunchy topping, and melty cream cheese. No fancy techniques required, just some patience to wait for it to bake. And let me tell you, the smell alone makes everyone in the house come running. It’s perfect when you want a homemade treat but don’t have hours to fuss. Plus, it’s great for weekend brunch or even meal prepping for the week ahead. Trust me, once you try it, you’ll see just how easy and satisfying baking with zucchini can be.
Ingredients
For the Main Batter:
– 2 cups all-purpose flour (or a 1:1 gluten-free blend if you prefer)
– 1 cup granulated sugar
– 1 teaspoon baking powder
– ½ teaspoon baking soda
– 1 teaspoon ground cinnamon
– ½ teaspoon salt
– 1 cup shredded zucchini (water squeezed out well)
– ¾ cup vegetable oil or melted coconut oil
– 3 large eggs
– 1 teaspoon vanilla extract
For the Filling:
– 4 oz cream cheese, softened
– ¼ cup powdered sugar
– 1 teaspoon vanilla extract
– Optional: a splash of milk or almond milk to loosen
For the Crumb Topping:
– ½ cup all-purpose flour
– ½ cup packed brown sugar
– ¼ cup cold unsalted butter, cubed
– ½ teaspoon ground cinnamon
– Handful of chopped walnuts, toasted if you like
Step-by-Step Instructions
Step 1: Preheat & Prep Pan
Preheat your oven to 350°F (175°C). Grease a 9-inch square or round baking pan with butter or line it with parchment paper. I find that a springform pan makes it easier to serve, but a simple cake pan works perfectly too. Make sure your oven rack is in the middle so the cake bakes evenly. Ready your ingredients and utensils—this cake comes together pretty fast once the batter is mixed.
Step 2: Mix Dry Ingredients
In a large bowl, whisk together the flour, sugar, baking powder, baking soda, cinnamon, and salt. This step ensures all the leavening agents and spices are evenly distributed, yielding a fluffy, consistent crumb. I always do this first—makes the next steps smoother and guarantees no clumps or uneven bites.
Step 3: Mix Wet Ingredients
In a separate bowl, whisk together the eggs, oil, vanilla, and shredded zucchini. At this point, my kitchen smells amazing—the zucchini’s mild flavor and freshness really shine through. If the eggs are cold, I like to warm the oil just a tad so everything mixes smoothly. I tested this with almond milk once, and it actually made the batter even silkier, which is a nice option if you’re dairy-free.
Step 4: Combine
Pour the wet mixture into the dry ingredients and gently fold until just combined—don’t overmix, or the cake can get dense. It should be thick but smooth, with no streaks of flour. The key is to fold it carefully, just enough to incorporate everything and keep it tender.
Step 5: Prepare Filling
In a small bowl, beat the softened cream cheese, powdered sugar, and vanilla until smooth. If it’s too thick, just add a teaspoon or two of milk to loosen it up a little. This creamy swirl is what makes this cake special—you’ll want to spread it gently in the middle of the batter without disturbing the layers too much.
Step 6: Layer & Swirl
Pour half of the batter into your prepared pan. Spread the cream cheese mixture evenly on top, then pour the remaining batter over. Use a knife or skewer to gently swirl the cream cheese into the batter—think of it as gentle marbling, creating beautiful ribbons that will melt into the cake as it bakes.
Step 7: Bake
Sprinkle the crumb topping evenly over the batter. Bake for about 40-45 minutes, or until a toothpick inserted in the center comes out clean. I always start checking around 38 minutes—every oven is a little different. The house will smell like cinnamon and toasted walnuts, and your kitchen counter will be filled with anticipation!
Step 8: Cool & Glaze
Let the cake cool in the pan for about 15 minutes, then transfer to a wire rack. If you’re going to glaze it, wait until it’s mostly cool so the glaze doesn’t melt too quickly. I love drizzling a simple glaze made of powdered sugar and a splash of milk over the top—nothing fancy, but it adds a lovely shine and extra sweetness. Honestly, I think next time I want to try a lemon glaze—imagine that citrus zing with the cozy spice. Yum!
Step 9: Slice & Serve
Use a sharp knife to cut clean slices—warming the knife first helps if the cake is particularly moist. My favorite way to serve it is slightly warmed, with a dollop of whipped cream or a side of fresh berries. It’s perfect for breakfast, a coffee break, or dessert. And leftovers keep well in an airtight container for a couple of days—if they last that long!
What to Serve It With
This zucchini walnut coffee cake is incredibly versatile. For breakfast, pair it with a strong cup of coffee or a lightly brewed tea—maybe a chai or Earl Grey. My family loves it with a smear of butter or a little jam on the side, especially if it’s still warm. For brunch, serve slices on beautiful plates with a small side salad—maybe some fresh fruit and yogurt? It’s fancy enough to wow guests but simple enough to whip up on a lazy Sunday morning.
As a dessert, it’s just divine with a dusting of powdered sugar or a drizzle of honey. If you’re feeling a bit more decadent, top it with a dollop of whipped cream or vanilla ice cream. And don’t forget, it’s perfect as a snack anytime—you can make it ahead and just enjoy it whenever the craving hits. My kids actually ask for this all the time, especially when they’re craving something sweet but don’t want a heavy cupcake or cookie. Plus, I love how the zucchini makes it feel a little healthier without sacrificing any flavor. Trust me, it’s a crowd-pleaser that disappears in minutes at my house!
Top Tips for Perfecting Your Zucchini Walnut Coffee Cake
Over the years, I’ve learned a few tricks that make this cake come out picture-perfect every time. First, squeezing out excess moisture from the zucchini is a game-changer. I grate and then press it in a clean kitchen towel—this stops your batter from becoming too watery and ensuring a tender crumb. Second, when mixing the wet and dry ingredients, fold gently—you want to keep as much air in the batter as possible. Overmixing leads to dense, heavy cake, and nobody wants that!
For the swirl, I’ve experimented with different techniques, and I find using a skewer or a butter knife to swirl gently creates those beautiful ribbons inside the cake without mixing everything together into one uniform color. If you want an extra nutty flavor, toast your walnuts beforehand—they smell incredible and add depth.
Trying different ingredient swaps can be fun too. I’ve tested using coconut sugar instead of white sugar—results are slightly darker, but still delicious. If you’re allergic to nuts, chopped crystallized ginger or dried apricots work nicely as a filling substitute. The glaze can also be jazzed up with lemon or orange zest for a bright contrast to the warm spices.
Remember, every oven is different. Keep an eye on your cake and use a toothpick to test doneness—biting into a slightly moist crumb is just right. And if your top gets a little too brown before the center is baked through, tent it with foil and keep going—that’s a trick I learned after a few over-baked tops. Patience and gentle handling are key, but I promise, the payoff is soooo worth it.
Storing and Reheating Tips
This cake is best enjoyed within the first couple of days, but I’ve found that with proper storage, it stays delicious longer. If you’re not serving it immediately, let it cool completely and store in an airtight container. At room temperature, it’s good for about 2 days; after that, it’s best to pop it in the fridge if you want to keep it fresh. Just cover it tightly with plastic wrap or store in an airtight container to prevent it from drying out.
Reheating slices in the microwave for about 10-15 seconds restores some of that fresh-baked fluffiness. I also like to warm a slice briefly in the oven at 350°F for about 5 minutes—it makes it taste just baked again. As for the glaze, if you’re making it ahead of time, keep it refrigerated and add it just before serving to keep that shiny look and fresh flavor. If you’re freezing the whole cake, wrap it tightly in plastic wrap, then foil, and it will keep for up to 3 months. Thaw at room temperature before serving, and consider giving it a quick warm-up to bring back the aroma and cozy texture.
Frequently Asked Questions
Final Thoughts
This zucchini walnut coffee cake is quickly becoming a staple in my kitchen, partly because it’s so forgiving but mostly because it delivers on flavor and comfort every single time. It’s the kind of dessert or breakfast that invites a slow morning, fills the house with warmth, and brings everyone around the table. The hidden zucchini not only keeps it moist but adds a subtle, earthy note that balances the sweetness perfectly. I love how easy it is to customize—adding different nuts, fruits, or even swapping in different flours—making it feel like my own special creation every time. If you’re looking for a cozy, delicious treat that’s perfect for sharing or just indulging on a quiet weekend, give this a try. I promise you’ll be making it again and again. Happy baking—and I’d love to hear how yours turns out! Drop a comment or share a photo—I always get a little giddy watching my recipes come to life in other kitchens.
rice krispy treats
Ingredients
Method
- Spray an 8x8-inch baking dish with nonstick cooking spray. Set aside.
- In a large pot over medium heat, melt butter. Add sweetened condensed milk and stir to combine. Bring the mixture to a simmer, stirring constantly to prevent burning.
- Add marshmallows, stirring frequently until melted.
- Remove the pot from heat and fold in the rice cereal with a clean spatula. Stir until well coated.
- Transfer mixture into the prepared baking dish and press into an even layer.
- Allow the bars to cool to room temperature before cutting and serving.