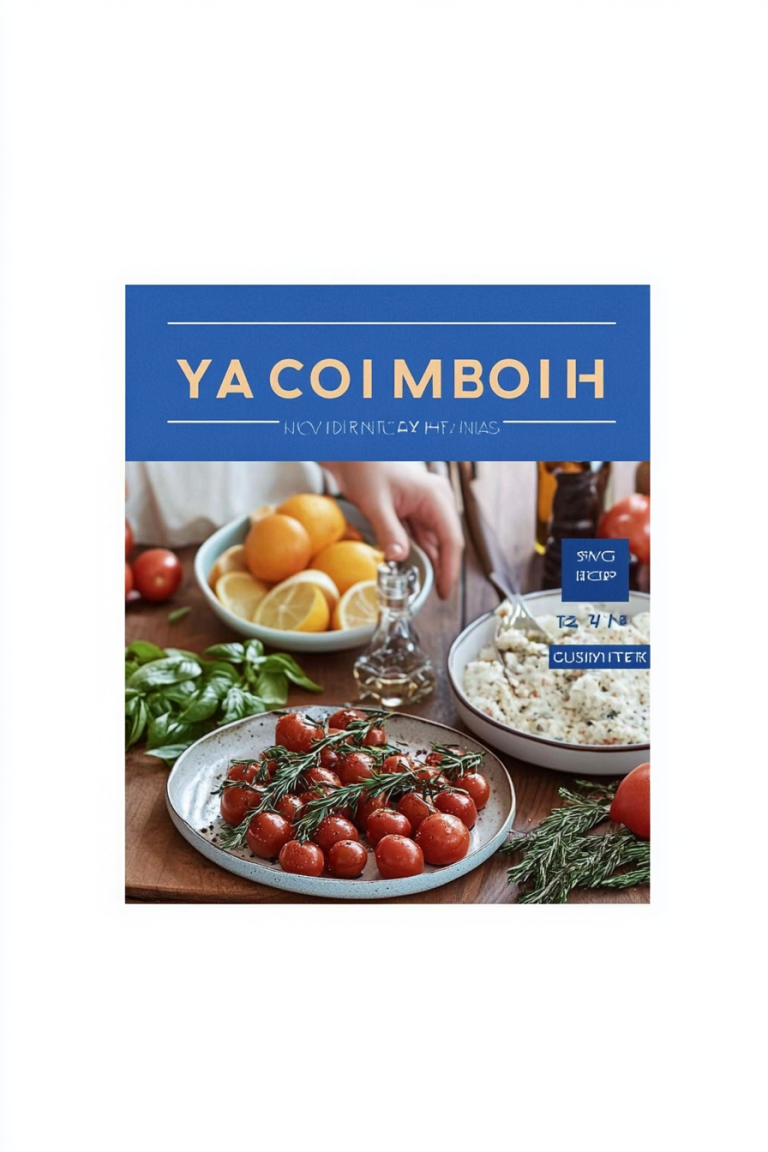
Easy Enchilada Chicken Bake Delicious
You know those recipes that just feel like sunshine on a cloudy day? The ones you make when you need a little comfort, or when unexpected guests pop over and you want to impress them without breaking a sweat? This chocolate zucchini bread is exactly that for me. It’s my absolute go-to, the one I’ve been tweaking and perfecting for years, and honestly, it’s pure magic. It’s not just a quick bread; it’s like a warm hug in every single slice, bursting with rich chocolate flavor and that secret hint of moisture from the zucchini that you’d never guess was there. If you’ve ever loved a good chocolate chip cookie or a moist chocolate cake, you are going to adore this. It’s honestly one of the best ways to use up that garden zucchini before it gets too big, and the kids ask for this chocolate zucchini bread all the time – seriously, it disappears faster than I can bake it!
What is chocolate Zucchini bread?
So, what exactly is chocolate zucchini bread? At its heart, it’s a quick bread, which means you don’t need any fancy yeast or complicated rising times. It’s basically a cake-like batter, but baked in a loaf pan, and loaded with shredded zucchini and, of course, plenty of delicious chocolate. Think of it as the most comforting chocolate cake’s cool, slightly healthier cousin who still knows how to party. The zucchini is the real unsung hero here. It sounds a bit strange, I know, but it’s not about the zucchini flavor at all. Instead, it lends an incredible moistness and tender crumb that you just can’t achieve with other ingredients. It’s my secret weapon for making sure every slice is perfectly soft and never dry, making it a true lifesaver on busy weeknights or weekend mornings when you want something special but don’t have hours to spare.
Why you’ll love this recipe?
Oh, where do I even begin with why this chocolate zucchini bread is so darn special? First off, the flavor is just out of this world. It’s intensely chocolatey, but not overwhelmingly sweet. The zucchini works its magic, creating this incredibly moist, tender crumb that’s just divine. It’s the kind of bread that makes your kitchen smell absolutely amazing while it’s baking – a warm, chocolatey aroma that will have everyone wandering in to see what’s going on! Beyond the taste, the simplicity is a huge win. You just mix everything in a couple of bowls and bake. It’s foolproof, even for beginners. And let’s talk about cost-efficiency; it uses common pantry staples plus that humble zucchini, making it a wonderfully budget-friendly treat. I also love its versatility. You can enjoy it warm with a smear of butter, or just as is. It’s fantastic for breakfast, a mid-afternoon snack, or even a light dessert. What I love most, though, is the sheer comfort it brings. It reminds me of my grandma’s baking, that feeling of home and warmth. It’s seriously a crowd-pleaser, and I haven’t met anyone who doesn’t devour this chocolate zucchini bread. It’s even better than my attempts at a classic chocolate loaf cake, and that’s saying something!
How do I make Zucchini bread?
Quick Overview
Making this chocolate zucchini bread is a breeze! You’ll simply whisk together your dry ingredients, then your wet ingredients, fold them together gently, and finally, stir in the chocolate chips. The shredded zucchini goes right into the wet ingredients, doing its magic to ensure supreme moistness. Pour it all into a prepared loaf pan and bake until a toothpick comes out clean. It’s seriously that straightforward. The best part? You get a wonderfully moist, deeply chocolatey loaf with minimal fuss. It’s a lifesaver when you need a delicious treat in under an hour and a half, including baking time!
Ingredients
For the Main Batter:
Here’s what you’ll need for the heart of our bread. I always try to use good quality unsalted butter; it really makes a difference in flavor. For the flour, all-purpose is perfect, but if you’re feeling adventurous, I’ve had success with a good 1:1 gluten-free baking blend too. Make sure your baking soda and baking powder are fresh – that’s key to getting that nice rise!
* 2 cups all-purpose flour
* 1 ½ teaspoons baking soda
* ½ teaspoon baking powder
* ½ teaspoon salt
* ¾ cup unsalted butter, softened
* 1 ½ cups granulated sugar
* 2 large eggs, at room temperature
* 1 teaspoon vanilla extract
* 1 cup grated zucchini (about 1 medium zucchini), squeezed dry
* ½ cup buttermilk (or milk with ½ tsp lemon juice/vinegar, let sit 5 mins)
For the Chocolatey Goodness:
This is where the magic happens! I love using a mix of semi-sweet and dark chocolate chips for a really rich flavor. Don’t be shy with the chocolate; it’s what makes this bread truly special. I find that semi-sweet are usually the best balance, not too sweet, not too bitter. You can also use chocolate chunks if you have them! Make sure they’re good quality; they’ll melt beautifully.
* ¾ cup unsweetened cocoa powder
* 1 cup semi-sweet chocolate chips (plus extra for topping)
For the Optional Glaze:
This glaze is totally optional, but I’m telling you, it takes this chocolate zucchini bread to a whole new level of decadent. It adds a lovely sheen and an extra layer of chocolatey sweetness. For the best consistency, make sure your powdered sugar is sifted to avoid lumps. If it’s too thick, a tiny splash more milk; too thin, a bit more powdered sugar. It should be pourable but not runny.
* 1 cup powdered sugar, sifted
* 2 tablespoons unsweetened cocoa powder, sifted
* 2-3 tablespoons milk
Step-by-Step Instructions
Step 1: Preheat & Prep Pan
First things first, get that oven preheating to 350°F (175°C). It’s super important to have your oven at the right temperature before your batter goes in. While that’s happening, grab a standard 9×5 inch loaf pan. I like to grease it really well with butter or cooking spray, and then line it with parchment paper, leaving an overhang on the sides. This makes lifting the loaf out so much easier, and trust me, no one wants a stuck loaf! You can also just grease and flour it well if you don’t have parchment.
Step 2: Mix Dry Ingredients
In a medium bowl, whisk together your flour, baking soda, baking powder, salt, and cocoa powder. Give it a good whisk to make sure everything is evenly distributed. This is a crucial step to ensure your leavening agents are mixed in properly, which helps the bread rise evenly. You don’t want any surprise bites of baking soda!
Step 3: Mix Wet Ingredients
In a large bowl, cream together your softened butter and granulated sugar until light and fluffy. This usually takes a few minutes with an electric mixer. Beat in the eggs one at a time, making sure each is fully incorporated before adding the next. Then, stir in the vanilla extract. Now comes the zucchini – add your squeezed-dry grated zucchini and stir it in. Finally, pour in your buttermilk and give it a gentle mix until just combined. I tested this with almond milk once and it actually made it even creamier, but regular buttermilk is my favorite!
Step 4: Combine
Now, it’s time to bring the wet and dry ingredients together. Pour the dry ingredients into the wet ingredients bowl. Using a spatula or a wooden spoon, gently fold them together until *just* combined. I always tell people not to overmix here. A few streaks of flour are okay; they’ll disappear during baking. Overmixing develops the gluten too much, which can lead to a tough bread, and we want this to be super tender! Stir in your chocolate chips now, again, just until they’re evenly distributed.
Step 5: Prepare Filling
This step is about the zucchini itself, which we’ve already incorporated into the batter! But it’s worth emphasizing how important it is to squeeze out the excess moisture from your grated zucchini. You can do this by placing the grated zucchini in a clean kitchen towel or cheesecloth and wringing it out really well. This step prevents the bread from becoming too dense and soggy. If you skip this, you might end up with a bread that’s a little too wet.
Step 6: Layer & Swirl
This step isn’t really about layering or swirling in the traditional sense for this recipe, as the zucchini and chocolate chips are mixed directly into the batter. However, if you wanted to add a swirl effect, you could reserve about 1/3 of the batter, mix in a little extra cocoa powder and a tablespoon of melted chocolate into that reserved portion, and then layer it in the pan with the main batter, swirling gently with a knife or skewer. For this straightforward version, just pour the entire batter evenly into your prepared loaf pan. If you like, sprinkle a few extra chocolate chips on top for that tempting finish.
Step 7: Bake
Pop that beautiful batter into your preheated oven. Bake for about 50-60 minutes. The exact time will depend on your oven, of course. You’ll know it’s done when a wooden skewer or toothpick inserted into the center comes out clean, or with just a few moist crumbs attached (but no wet batter). If the top starts to brown too quickly, you can loosely tent it with foil for the last 15-20 minutes of baking.
Step 8: Cool & Glaze
Once it’s done, take the loaf pan out of the oven and let it cool in the pan for about 10-15 minutes. This allows it to set up a bit. Then, carefully lift it out using the parchment paper overhang and transfer it to a wire rack to cool completely. This is crucial! Don’t try to glaze a warm loaf; the glaze will just melt and slide off. Once it’s completely cool, you can whip up the glaze by whisking together the sifted powdered sugar and cocoa powder, then adding milk a tablespoon at a time until you reach your desired drizzle consistency. Drizzle it all over the top. It looks so pretty!
Step 9: Slice & Serve
Once the glaze has set slightly (or if you skipped the glaze), it’s time to slice into this masterpiece! Use a serrated knife for clean cuts. I love serving this chocolate zucchini bread slightly warm, especially if it’s got the glaze on it. It’s perfect on its own, but a little pat of butter is never a bad idea. If you’re feeling extra decadent, a dollop of whipped cream or a scoop of vanilla ice cream makes it a fantastic dessert!
What to Serve It With
This chocolate zucchini bread is so incredibly versatile, it fits into almost any meal or snack occasion. For a cozy **Breakfast**, I love slicing it thick and toasting it lightly, then spreading with a little cream cheese or butter. It pairs perfectly with a strong cup of coffee or a glass of cold milk. If you’re planning a **Brunch**, this bread is a definite showstopper. I usually serve it as part of a larger spread, perhaps alongside some fresh fruit salad, scrambled eggs, and maybe even some crispy bacon. For an elegant presentation, I’ll dust the top with a little extra powdered sugar before slicing. And as a **Dessert**? Oh, it’s divine! Serve a warm slice with a scoop of good quality vanilla bean ice cream, or maybe a drizzle of raspberry sauce for a lovely contrast. It’s perfect when you’re craving something sweet at 10pm but don’t want to bake a whole cake. For those **Cozy Snacks** during a movie night or a quiet afternoon, it’s simply unbeatable. Just grab a slice (or two!) and enjoy. My family also loves having this for after-school snacks, and I feel good knowing it has some goodness from the zucchini in there!
Top Tips for Perfecting Your Chocolate Zucchini Bread
I’ve made this chocolate zucchini bread more times than I can count, and along the way, I’ve picked up a few tricks that I think make all the difference. First, regarding the zucchini prep: really, truly squeeze out as much moisture as you can. I can’t stress this enough! It’s the difference between a moist, tender crumb and a dense, gummy loaf. Using a fine grater will give you the best texture, as the shreds will almost disappear into the batter. For mixing, remember the golden rule: don’t overmix! Just fold until the dry ingredients are incorporated. It’s better to have a few tiny flour streaks than a tough loaf. When it comes to the chocolate swirl option I mentioned earlier, don’t go crazy with the swirling; you want distinct layers, not a muddy mess. Just a few passes with a knife are enough. For ingredient swaps, if you don’t have buttermilk, the milk and lemon juice trick is a lifesaver; it adds that necessary acidity for tenderizing the crumb. I’ve also tried it with Greek yogurt mixed with a little milk, and it was surprisingly good! Baking can be tricky, so always do the toothpick test. Every oven is different, so learn your oven’s quirks. If you find your loaf is browning too quickly on top, cover it loosely with foil. And for the glaze variations, if you’re not a fan of chocolate glaze, a simple vanilla glaze or even just a dusting of powdered sugar is beautiful. Sometimes, I’ll even add a little espresso powder to the glaze to deepen the chocolate flavor. It’s these little adjustments that make it truly your own!
Storing and Reheating Tips
Keeping this chocolate zucchini bread fresh is pretty simple, but there are a few things that help maintain its wonderful moistness. At **Room Temperature**, it’s best stored in an airtight container or tightly wrapped in plastic wrap. It will stay deliciously fresh for about 2-3 days. If it’s very warm in your house, or if you’ve added the glaze, it might be better to refrigerate it after the first day. For **Refrigerator Storage**, I like to wrap the cooled loaf (without glaze, if you want to re-glaze later) tightly in plastic wrap, then a layer of foil, or place it in an airtight container. It should keep well for up to a week. When you’re ready to enjoy a slice, you can eat it cold, or let it sit at room temperature for about 20-30 minutes to soften up. For **Freezer Instructions**, this bread freezes beautifully, which is fantastic if you want to bake a double batch! Wrap the completely cooled loaf (again, best without glaze if freezing long-term) tightly in a double layer of plastic wrap, then in a layer of aluminum foil, or place it in a freezer-safe bag. It can be stored in the freezer for up to 3 months. To thaw, simply unwrap it and let it come to room temperature on a wire rack. If you want to serve it warm, you can slice it and gently reheat individual slices in a toaster oven or microwave. For the glaze, I usually recommend adding it *after* reheating if you’ve frozen the un-glazed loaf, just to keep it looking its best. If you plan to eat it within a few days, glazing before refrigerating is usually fine!
Frequently Asked Questions
Final Thoughts
So there you have it – my absolute favorite chocolate zucchini bread recipe. It’s more than just a recipe to me; it’s a little slice of comfort, a guaranteed win whenever I bake it, and a fantastic way to use up those summer zucchinis. The combination of rich chocolate and incredibly moist crumb is just irresistible, and the fact that it’s so easy to make makes it that much better. If you love a good chocolate baked good that’s got that perfect tender texture, you absolutely have to give this one a try. It’s been a staple in my kitchen for years, and I have a feeling it might become one in yours too! For those of you who enjoy this recipe, you might also want to check out my Fudgy Brownies or my Lemon Blueberry Scones for more delightful baking adventures. I can’t wait to hear how your chocolate zucchini bread turns out! Please leave a comment below with your thoughts, or share any variations you’ve tried. Happy baking!

chicken enchilada casserole
Ingredients
Method
- Preheat your oven to 375 degrees F (190 degrees C).
- Spread a few spoonfuls of enchilada sauce in the bottom of a 9x9 inch (or similar square) glass baking dish to prevent sticking.
- Place 2 tortillas in the bottom of the dish, overlapping them as needed to cover the entire surface.
- Layer approximately 0.33 cup of refried beans, 1 cup of the shredded chicken, 0.5 cup of shredded cheese, and 0.75 cup of enchilada sauce over the tortillas. Repeat this layering process once more to create a total of 2 full layers of filling.
- Cover the top of the casserole with the remaining enchilada sauce and 1 cup of shredded cheese. Cover the baking dish tightly with well-oiled aluminum foil and bake for about 30 minutes. Remove the foil and bake uncovered for an additional 5 minutes, or until the cheese is bubbling and lightly browned.
- Allow the casserole to rest for at least 15 minutes before cutting and serving. This resting period helps it firm up. Garnish with fresh cilantro, lime wedges, sour cream, or sliced avocado, if desired.