Easy Creamy Chicken Marsala Slow Cooker Recipe
Honestly, who doesn’t love a good batch of fudgy brownies? But let’s be real, sometimes they can feel a bit… heavy or overly sweet, especially when I’m craving something a little healthier but still comforting. That’s when I reach for these zucchini brownies. They’re slightly sneaky because you get that tender, moist texture—plus, you’re sneaking in a vegetable—without sacrificing the decadent chocolate flavor. My kids ask for these all the time, and my husband actually teases me that I’ve made them my “secret weapon,” because they disappear faster than I can say “pair of pants.” They’re perfect on busy weeknights when I want something comforting but don’t want to fuss with complicated baking. Plus, I swear, I tested this recipe with almond milk once, and it made the brownies even creamier. Trust me, once you try these, you’ll wonder how you ever made brownies without zucchini. They’re a cozy, guilt-free treat you’ll come back to again and again. Now, grab that zucchini and let’s get baking—your taste buds will thank you!
What is Zucchini Brownies?
Think of zucchini brownies as a little miracle of baking magic—basically, classic fudgy brownies with a healthy twist. It’s a recipe that’s been around my family forever, but I reinvented it a few years ago when I was trying to find a way to make my kids’s favorite treat a little more nutritious. The idea is simple: grated zucchini is mixed into a rich chocolate batter, adding moisture and a subtle vegetable note that’s almost undetectable once baked. It’s essentially a cross between a decadent dessert and a sneaky way to get some greens into your kids’ diet. The name “zucchini brownies” might sound a little unusual at first, but once you taste that moist crumb and deep chocolate flavor, you’ll forget all about the vegetables, I promise. Think of these as comfort food with a little extra love and a secret step for extra tenderness.
Why you’ll love this recipe?
What I love most about these zucchini brownies is how they prove that you don’t need complicated ingredients or fancy equipment to make something truly delicious. The flavor? Pure, intense chocolate. The secret? That zucchini, which adds incredible moisture, making every bite melt-in-your-mouth soft. These are my go-to on busy nights because I almost always have a zucchini laying around and some cocoa powder in the pantry—hello, budget-friendly! Plus, they’re super versatile. Want to make them vegan? Swap the butter for coconut oil, and use a plant-based chocolate. Craving something more decadent? Mix in chopped nuts or swirl in some peanut butter. They’re a crowd-pleaser and, honestly, a total lifesaver when I need a quick, satisfying dessert without much fuss. My kids actually ask for seconds, and I feel good knowing they’re eating something wholesome—well, as wholesome as a chocolate brownie can be! This one’s a recipe I’ve made countless times, and it never fails to bring me happiness in every forkful.
How do I make Zucchini Brownies?
Quick Overview
This recipe comes together surprisingly quickly, especially once you get your zucchini grated and ready. The trick is to squeeze out excess moisture so the batter stays thick and dense, not watery. You mix the dry ingredients separately, then whisk the wet ingredients—eggs, melted butter, vanilla—before gently folding everything together. The grated zucchini gets incorporated last, adding moisture without making the brownies heavy. Pour the batter into a pan, swirl in your favorite add-ins or toppings if you like, then bake until just fudgy in the middle. I love how the smell alone pulls everyone into the kitchen. Trust me, once these are baked, they make the perfect cozy treat—rich, chocolatey, and satisfying without feeling overly indulgent.
Ingredients
For the Main Batter:
– 1 ½ cups grated zucchini (about 1 medium zucchini)
– ½ cup melted unsalted butter or coconut oil
– 1 cup granulated sugar (or coconut sugar for a less processed option)
– 2 large eggs
– 1 teaspoon vanilla extract
– ¾ cup unsweetened cocoa powder
– 1 cup all-purpose flour (I tested this with gluten-free flour too—works great!)
– ½ teaspoon baking powder
– ¼ teaspoon salt
For the Filling (Optional):
– Chopped nuts, chocolate chips, or swirl of nut butter (whatever tickles your fancy!)
For the Glaze (Optional):
– ½ cup powdered sugar mixed with a teaspoon of milk or plant-based milk, or simply a dusting of cocoa powder for a more rustic look.
Step-by-Step Instructions
Step 1: Preheat & Prep Pan
I always start by preheating my oven to 350°F (175°C). Line a 9×9-inch baking pan with parchment paper or lightly grease it with butter or oil—trust me, this makes cleanup way easier and prevents sticking. If you’re not into parchment, a simple spray of cooking spray will do the trick. Make sure the oven hits the right temperature before you start mixing; I learned this the hard way—cold oven, sad brownies.
Step 2: Mix Dry Ingredients
In a small bowl, whisk together the cocoa powder, flour, baking powder, and salt. This step helps evenly distribute the leavening and prevents clumping later. Set aside, and try not to skip this step—it’s the secret to a uniform crumb.
Step 3: Mix Wet Ingredients
In a large mixing bowl, whisk the eggs, melted butter, sugar, and vanilla until smooth. It should look glossy and well combined. I always do this a few minutes longer to make sure everything’s nice and integrated—it makes the batter extra tender.
Step 4: Combine
Gradually add the dry ingredients to the wet, folding gently with a spatula. Be careful not to overmix—just fold until you don’t see dry flour anymore. Overmixing can make the brownies tough, and nobody wants that, right?
Step 5: Prepare Filling
If you’re adding chocolate chips or nuts, fold them in now. For a swirl of peanut butter or jam, gently drop spoonfuls on top and use a skewer or toothpick to swirl through the batter.
Step 6: Layer & Swirl
Pour the batter into your prepared pan, spreading it evenly. Then, if you’re doing any swirling, gently drag a toothpick through the batter in a swirling motion to create pretty marble effects.
Step 7: Bake
Bake for 20-25 minutes, or until a toothpick inserted in the center comes out with moist crumbs—be careful not to overbake, or they’ll lose that fudgy texture. I like to start checking at 20 minutes; every oven is a little different.
Step 8: Cool & Glaze
Let the brownies cool in the pan for at least 15 minutes before lifting them out. Patience is key here, or they’ll fall apart. Once cool, drizzle with your glaze or dust with cocoa powder for a rustic look. I swear, the smell alone is worth the wait.
Step 9: Slice & Serve
Use a serrated knife for clean cuts, and always wipe the blade between slices. These brownies are best served slightly warm or at room temperature. I sometimes sprinkle a tiny pinch of sea salt on top—divine! Serve them with a glass of cold milk or a cup of coffee for that perfect, cozy moment.
What to Serve It With
These zucchini brownies are so versatile—you might just find yourself sneaking one for breakfast (yes, I do!) or enjoying them as an afternoon pick-me-up. For breakfast, pair a warm brownie with a dollop of Greek yogurt or a cup of espresso—trust me, it’s a surprisingly perfect combo. In brunch settings, slice them into smaller squares and serve with fresh fruit and a drizzle of honey or caramel sauce for an elegant touch. As a dessert, I love serving a warm brownie topped with vanilla ice cream or whipped cream—they’re just indulgent enough without feeling heavy. And for a casual snack, these are perfect with a cold glass of milk or a cup of tea. Over the years, I’ve experimented with adding a few chopped walnuts or a splash of peppermint extract—both turned out fabulous and added a personal twist! They’re my family’s favorite, and I bet they’ll become yours too.
Top Tips for Perfecting Your Zucchini Brownies
Since I’ve made these countless times, I’ve picked up a few tricks that make all the difference. First, when grating zucchini, I always squeeze out as much moisture as possible—that extra water can ruin the texture. I’ve learned to use a clean dish towel or cheesecloth for this step—super effective! Keep in mind, the wetter the zucchini, the brunchier your brownies can turn out soggy or dense. Also, I test the batter by tasting a tiny spoon—yes, before baking—just to make sure the sweetness level is right for me. When it comes to swirling toppings, I like to visualize the pattern I want; a gentle, swirling motion gives a beautiful marbled effect that’s almost too pretty to eat. If you prefer extra chocolate flavor, fold in a handful of chocolate chips, but be careful not to overmix—they tend to sink, and that’s okay, as more chocolate bits are never a bad thing! For baking, I recommend placing the rack in the middle of the oven to promote even cooking. Sometimes, I’ll tent the brownies lightly with foil if I see they’re browning too fast on top but need more time in the middle. And, finally, I’ve tried replacing sugar with honey or maple syrup — it adds a lovely subtle change, though I reduce the other liquid slightly to keep the batter firm. Every little tweak gets me closer to perfection in my cozy kitchen.
Storing and Reheating Tips
These brownies are best eaten within a day or two, but if you’re like me and want to make them last, storage is key. For short-term, keep them in an airtight container at room temperature for up to 2 days—cover loosely with foil or a clean towel to prevent them from drying out. If you want them to stay fresher longer, pop them into the refrigerator in a sealed container for up to 4 days. Be aware they might dry out a tiny bit, so I often warm them slightly in the microwave for about 10-15 seconds—just enough to revive that soft, fudgy texture. For longer storage, freezing is your friend. Wrap individual portions tightly with plastic wrap, then place in an airtight freezer bag. They’ll stay good for 3 months. Thaw at room temperature for a few minutes or heat briefly in the microwave. I like to add a fresh drizzle of glaze after reheating—adds extra moisture and flavor, and makes them taste almost like freshly baked. Honestly, these brownies reheat beautifully, and I often find myself sneaking a piece straight from the freezer at midnight, guilt-free.
Frequently Asked Questions
Final Thoughts
There’s something truly magical about turning humble ingredients into a treat that tastes like a special occasion—especially when it’s healthy enough to enjoy guilt-free. These zucchini brownies remind me that baking can be both comforting and nourishing, a little act of love for myself and my family. Every time I make them, I get nostalgic thinking about how my grandma used to whip up chocolate squares, but I love that I’ve been able to put my own spin on a classic. They’re so forgiving—the texture is perfect, the chocolate flavor rich, and the zucchini adds just the right amount of moisture and nutrition. Honestly, once you make these, you might just find yourself hiding a batch in the freezer for those late-night cravings. If you try this recipe, I’d love to hear how it turned out—tag me on social media or drop a comment below! Happy baking, and may your kitchen always be filled with love, laughter, and the smell of good food.
Chicken Marsala
Ingredients
Method
- In a shallow bowl, combine flour, paprika, salt, and pepper. Toss chicken breasts in the mixture to coat evenly.
- Heat olive oil in a skillet over medium-high heat. Sear chicken for 3-4 minutes per side until golden. Transfer to slow cooker.
- Add sliced mushrooms and minced garlic to the skillet. Cook for 2-3 minutes until mushrooms soften. Transfer to slow cooker.
- Pour Marsala wine and chicken broth over the ingredients in the slow cooker. Sprinkle thyme and oregano on top.
- Cover and cook on LOW for 6 hours or on HIGH for 4 hours until chicken is cooked through.
- Remove chicken from the slow cooker. Whisk cornstarch with water to make a slurry, then stir into the slow cooker to thicken the sauce.
- Stir in heavy cream and return chicken to the slow cooker. Turn to HIGH and cook for an additional 30 minutes or until sauce thickens.
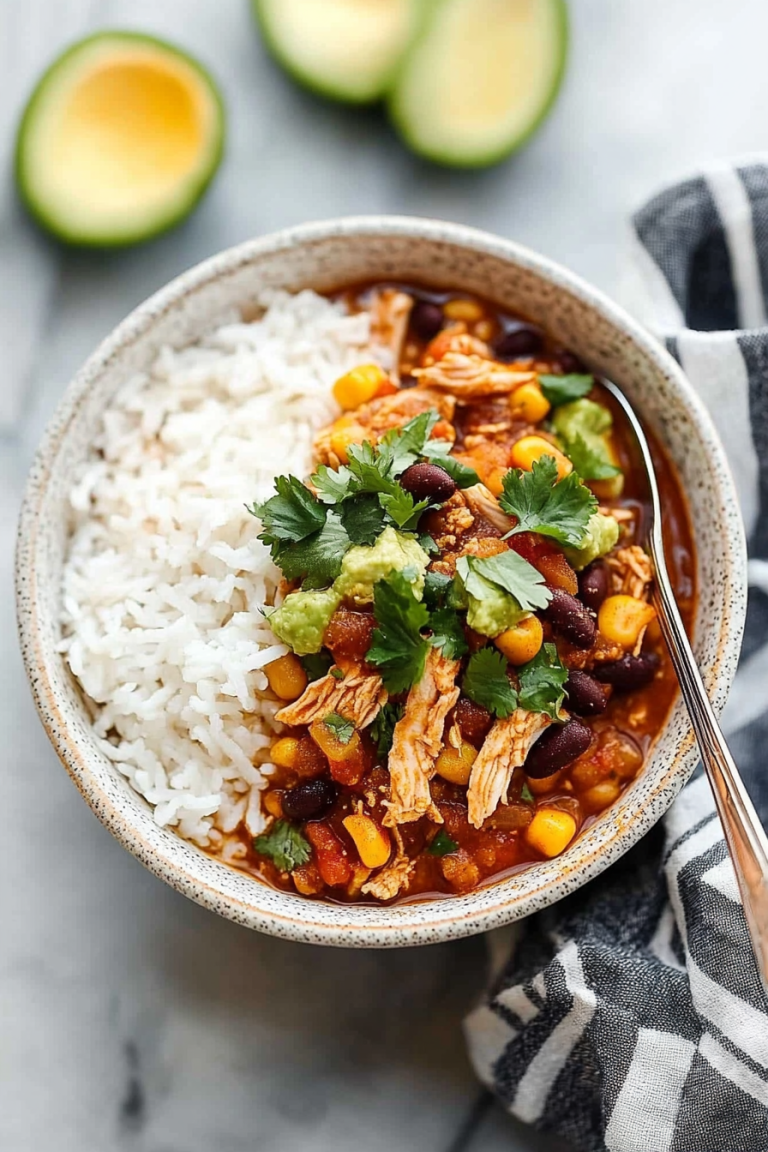
- Garnish with chopped parsley and serve hot over rice or mashed potatoes.