Easy Banana Chocolate Chip Cookies Delight
There’s something about mornings in my house that turn magical with the smell of freshly baked muffins wafting from the oven. I remember my grandma making these zucchini cinnamon swirl muffins during the fall—her kitchen always smelled like warm spices and sweet zucchini. It sounds almost funny at first—who would think zucchini could be party to a muffin that’s so indulgent? But trust me, this one’s a lifesaver on busy nights or lazy weekends when you want something comforting but don’t want to mess around with complicated recipes. My kids ask for these all the time, and I love seeing their little faces light up when they smell that cinnamon-y goodness. I’ve made this countless times, tweaking ingredients here and there, and it never fails to make everyone happy. Plus, the secret ingredient (yep, zucchini!) adds moisture and keeps these muffins tender, even when you sneak in extra bits of healthy. Honestly, I think they taste even better than some store-bought muffins—and I know every ingredient that went into each bite.
What is Cinnamon Swirl Muffins?
Think of these as cozy little bites of fall brought into your day. Zucchini cinnamon swirl muffins are soft, moist muffins layered with a swirl of cinnamon-spiced sugar that’s reminiscent of a cinnamon roll, but in a muffin form. They’re essentially a delightful blend of healthy and indulgent—zucchini adds moisture without overpowering the flavor, so you get that perfect balance of sweetness and earthiness. The name might sound fancy or intimidating, but it’s just a simple batter with grated zucchini folded in, topped or swirled with cinnamon sugar, then baked until golden. This recipe is a real classic I grew up with, and it’s become a staple in my kitchen. It’s perfect for breakfast, a snack, or even a sweet little treat for pals coming over. Think of it as a cross between a comforting cinnamon roll and your favorite muffin—easy, homey, and deeply satisfying.
Why you’ll love this recipe?
What I love most about these zucchini cinnamon swirl muffins is how surprisingly versatile and forgiving they are. They pack so much flavor—warm cinnamon, a hint of vanilla, and a touch of sweetness—yet they’re not overly sugary. The zucchini keeps them moist and tender, making each bite melt in your mouth. And trust me, I’ve tested this with different varieties of zucchini, even grated carrots, and they all work beautifully. These muffins are also budget-friendly—just simple pantry ingredients—and you probably already have everything you need. Plus, the whole process is effortless: no complicated frosting or fancy techniques, just mixing, layering, and baking. My favorite part? The swirl. It’s like a cinnamon ribbon wrapped around each muffin—pretty enough for guests, but so easy to do that I do it all the time for my kids’ school lunches. They freeze well, too, so I usually double the batch to have a quick, wholesome snack on hand. What’s not to love?
Another thing I adore about this recipe is its flexibility. Want to make them gluten-free? Swap in almond or oat flour. Prefer a less sweet muffin? Just cut back on the sugar. Feeling more decadent? Add nuts or chocolate chips! The key is to keep that cinnamon swirl and moist crumb—trust me, once you get the hang of swirling, you’ll be hooked. These muffins have helped me get my kids to eat zucchini without a fuss, and they’re perfect when I need something quick but satisfying. Plus, the smell alone will make your whole house feel like a warm hug. It’s one of those recipes that feels like a little bit of magic every time I bake it.
How do you make Zucchini Cinnamon Swirl Muffins?
Quick Overview
This recipe starts with a simple batter—just whisk your dry ingredients and combine them with the wet, fold in grated zucchini, then layer the cinnamon sugar mixture inside. The swirl is what makes these muffins special, giving them that beautiful spiral and irresistible aroma. The key? Don’t overmix once you combine everything; that’s how you get light, fluffy muffins. After pouring the batter into your muffin tins, dollop or swirl that cinnamon filling on top and swirl it with a toothpick or skewer for that gorgeous pattern. Then, into a preheated oven it goes. In about 20-25 minutes, you’ll have a batch of golden, fragrant muffins ready to enjoy. This method is so straightforward—you’ll feel like a pro in no time!
Ingredients
For the Main Batter:
- 1 ½ cups all-purpose flour (or gluten-free blend, if preferred)
- ½ cup granulated sugar (feel free to reduce for less sweetness)
- 1 teaspoon baking powder
- ½ teaspoon baking soda
- ¼ teaspoon salt
- 1 teaspoon ground cinnamon
- ⅓ cup vegetable oil (or melted coconut oil for richer flavor)
- 2 large eggs
- 1 teaspoon vanilla extract
- 1 cup grated zucchini (squeeze out excess moisture)
For the Filling:
- ¼ cup granulated sugar
- 1 teaspoon ground cinnamon
For the Glaze (optional):
- ½ cup powdered sugar
- 1-2 teaspoons milk or cream
- ½ teaspoon vanilla (for flavor)
Step-by-Step Instructions
Step 1: Preheat & Prep Pan
Kick off by preheating your oven to 350°F (175°C). Line a muffin tin with paper liners or grease it well—don’t skip this step, trust me, nothing worse than muffins sticking. Grate your zucchini now—it’s easiest if you use a box grater and then squeeze out as much moisture as possible with a clean kitchen towel or paper towels. Moisture is the enemy here, as too much will make the batter runny and affect the rise. Set aside while you prepare your dry ingredients.
Step 2: Mix Dry Ingredients
In a large bowl, whisk together the flour, sugar, baking powder, baking soda, salt, and cinnamon. Mixing these well ensures your muffins rise evenly and get that lovely cinnamon-spiced flavor throughout. I always do this first—I found that it prevents clumping and gives my muffins a uniform texture.
Step 3: Mix Wet Ingredients
In a separate bowl, beat the eggs, then add the oil and vanilla. Whisk until smooth—no streaks. Add the grated zucchini and fold in gently. I’ve tested this with almond milk instead of oil, and honestly, it made the muffins even a tad creamier, so feel free to experiment if you’re looking for dairy-free options. Just be sure to keep the batter moist but not watery.
Step 4: Combine
Pour the wet ingredients into the dry ones and stir gently until just combined. Do not overmix—this is the cardinal rule for light muffins. A few lumps are totally okay! Overmixing can make the muffins dense. When the batter looks somewhat thick but spreadable, you’re good to go.
Step 5: Prepare Filling
Mix the cinnamon and sugar for the swirl. It’s simple but adds so much flavor and visual charm. If you’re feeling adventurous, toss in chopped nuts or mini chocolate chips here—my kids love when I do that.
Step 6: Layer & Swirl
Now, fill each muffin cup about one-third full with batter. Then, sprinkle some cinnamon sugar mixture on top—about a teaspoon for each. Using a toothpick or skewer, swirl the cinnamon into the batter to create beautiful ribbons. Repeat with the rest of the batter and filling. I’ve found that swirling in a figure-eight pattern gives the most even distribution without sinking to the bottom.
Step 7: Bake
Pop into the oven and bake for 20-25 minutes. Keep an eye on them—they’re done when a toothpick inserted into the center comes out clean and the tops are golden. If your oven runs hot, start checking at 20 minutes. Every oven is different, so don’t rely solely on time. I’ve had some muffins finish earlier and some needing the full baking time.
Step 8: Cool & Glaze
Let the muffins cool in the pan for about 5 minutes, then transfer to a wire rack. If you’re adding glaze, mix powdered sugar, vanilla, and enough milk to make a pourable consistency. Drizzle over the slightly warm muffins—this helps the glaze seep into the swirls, making them even more irresistible. I love doing this while they’re still warm—makes the glaze melt just right.
Step 9: Slice & Serve
Once completely cooled, enjoy these muffins warm or at room temperature. They slice beautifully, revealing those stunning cinnamon ribbons. I like serving them with a dollop of butter or a smear of cream cheese, but honestly, they’re sweet enough on their own for a little morning treat or afternoon snack. These muffins keep well in an airtight container for a few days, or you can freeze them individually and reheat—trust me, they’re just as good that way!
What to Serve It With
These muffins are pretty versatile and loved in my family whether for breakfast, brunch, or a cozy snack. Here are some ideas:
- For Breakfast: Pair with a steaming cup of coffee or tea, maybe some Greek yogurt on the side. I always set out a basket of ripe bananas for slicing—they go perfectly with these muffins, especially if you want an extra boost of sweetness.
- For Brunch: Arrange on a pretty platter with fresh berries, a drizzle of honey, and a side of scrambled eggs or bacon. When I serve these for brunch, I like to add a splash of warm maple syrup—they soak up a little and look stunning.
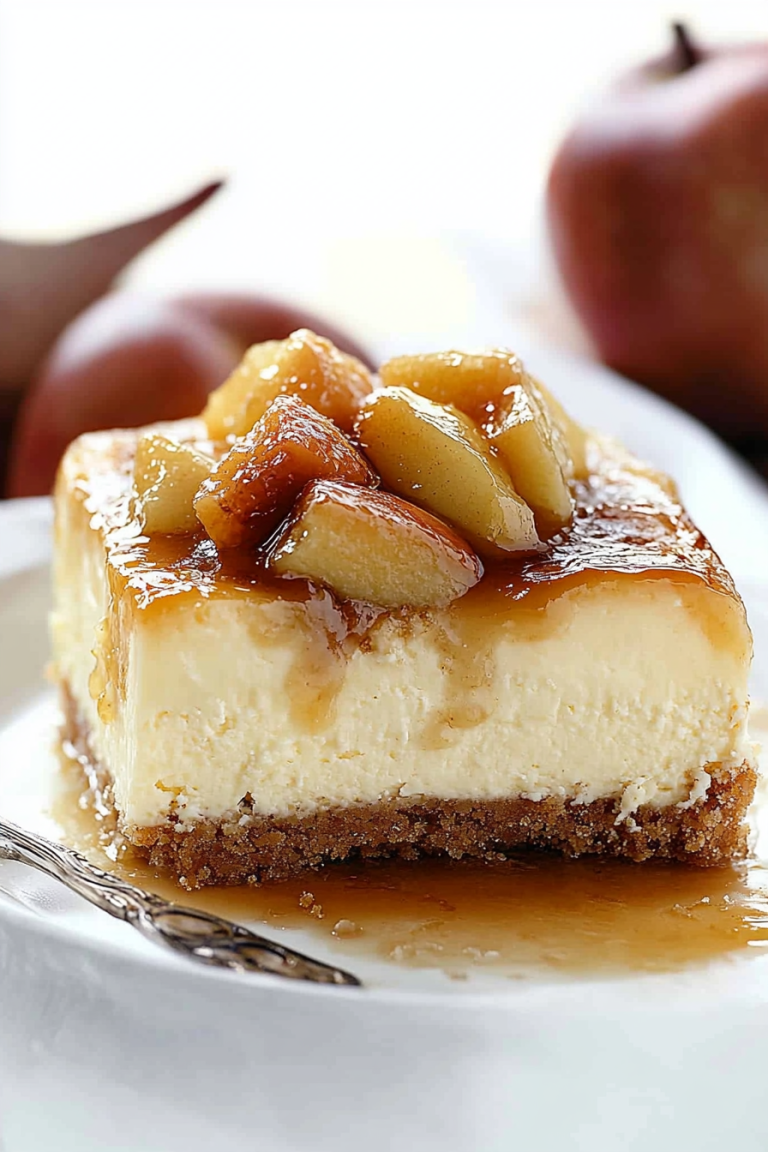
- As Dessert: The sweet cinnamon swirl makes them perfect for an after-dinner treat. Want dinner-party finesse? Serve with a scoop of vanilla ice cream or a dollop of whipped cream. Kids love it, and grown-ups do too—I’ve even used these muffins as a fun dessert for potlucks.
- For Cozy Snacks: Just warm them a bit, slap on some butter, and savor with a glass of cold milk or hot cocoa. They’re my go-to when I need a quick pick-me-up on chilly days.
In my family, serving these muffins with a side of fresh fruit and a hot drink turns any ordinary morning into a little celebration. The smell alone makes everyone come running, eager for that first bite.
Top Tips for Perfecting Your Zucchini Cinnamon Swirl Muffins
After making these so many times, I’ve picked up a few tricks that keep them consistently perfect:
- Zucchini Prep: Always squeeze out excess moisture—this step is crucial. I use a fine grater and my hands to really wring out the water—otherwise, the batter gets runny, and the muffins won’t rise properly.
- Mixing Advice: Overmixing is the biggest no-no. Stop as soon as you see everything just coming together. If you overmix, they turn out dense and rubbery. Look for lumps—that’s okay!
- Swirl Customization: The more you swirl, the prettier the pattern, but don’t overdo it or you risk knocking out the air from the batter. Aim for a gentle figure-eight motion.
- Ingredient Swaps: Tried coconut sugar or maple syrup instead of granulated sugar? Yes! Just adjust your wet ingredients if needed—these alternatives add a lovely flavor. Also, I’ve tested replacing some flour with almond flour for a nuttier taste, and it works beautifully, just a tad denser.
- Baking Tips: Oven heights matter—if your muffins brown too fast on top, move the rack down a notch. Also, testing with a toothpick is the best way to tell—they’re done when it comes out clean or with just a few moist crumbs.
- Glaze Variations: Want a tangy twist? Add a splash of lemon juice or a sprinkle of lemon zest to the glaze. Or, for a richer look, brush melted butter over the tops before glazing. The key is to keep the glaze smooth and not too thick or runny—just enough to create that glossy finish without pooling.
Over the years, I’ve learned that patience in layering and gentle swirling yield the most beautiful muffins. I always bake a test muffin first, just to check the timing and doneness. This recipe is forgiving, so don’t stress too much—practice makes perfect!
Storing and Reheating Tips
This batch of muffins stays fresh surprisingly long, especially if stored correctly. Here’s what I do:
- Room Temperature: Keep them in an airtight container or a cake box for up to 2 days. They stay soft, and the cinnamon scent lingers—so good! Don’t cover with plastic wrap that’s too tight; a paper towel or loose lid helps keep the moisture balanced.
- Refrigerator Storage: After 2 days, I pop leftovers in an airtight container in the fridge. They’ll stay fresh for up to a week. To rewarm, I microwave for about 15-20 seconds—or enjoy at room temperature if you prefer.
- Freezer Instructions: For longer storage, individually wrap muffins in plastic wrap or foil, then place inside a zip-top bag or airtight container. They freeze well for up to 3 months. To reheat, microwave for about 30 seconds or warm in a low oven until heated through. Thawing at room temperature is fine, too—but I prefer the microwave method for speed and convenience.
- Glaze Timing: If you want the glaze to look glossy and fresh, add it right after reheating. If muffins are frozen, add glaze once they are completely thawed and just warm.
This simple routine keeps these muffins tasting freshly baked, even days later. Trust me, they still hit the spot!
Frequently Asked Questions
Final Thoughts
If there’s one recipe I hope you try soon, it’s these zucchini cinnamon swirl muffins. They’re a hug in muffin form—soft, moist, with that irresistible cinnamon ribbon through the middle. Over the years, I’ve refined just enough to make them foolproof, and I can honestly say they’re a hit every single time. Whether it’s a rushed morning, a weekend brunch, or a cozy afternoon snack, these muffins always bring a little extra joy to my table. Plus, they’re so forgiving—you can make them healthier or extra indulgent with just a few tweaks. My advice? Mix up a big batch and start swirling. I can’t wait to hear how yours turn out! Share your creations, leave a comment, or just enjoy a moment of comfort with every bite. Happy baking!
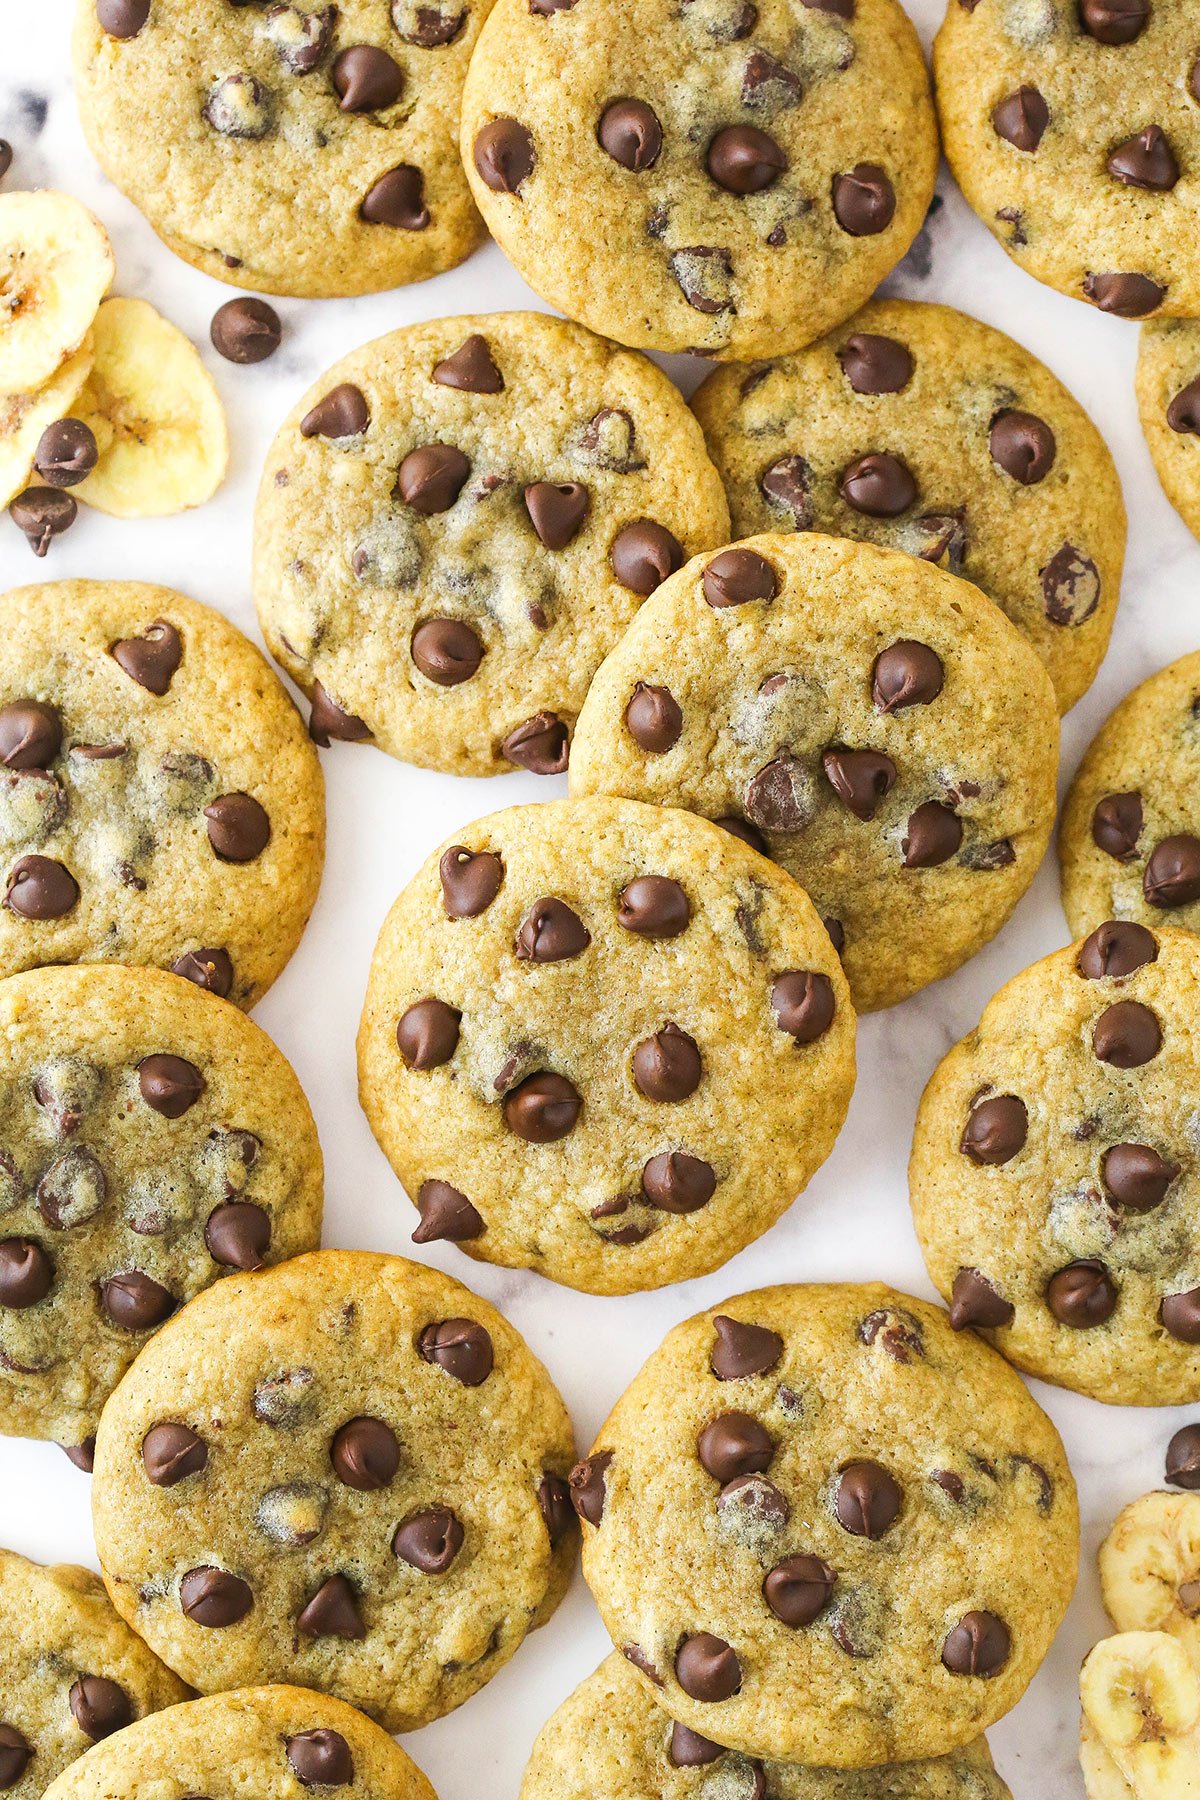
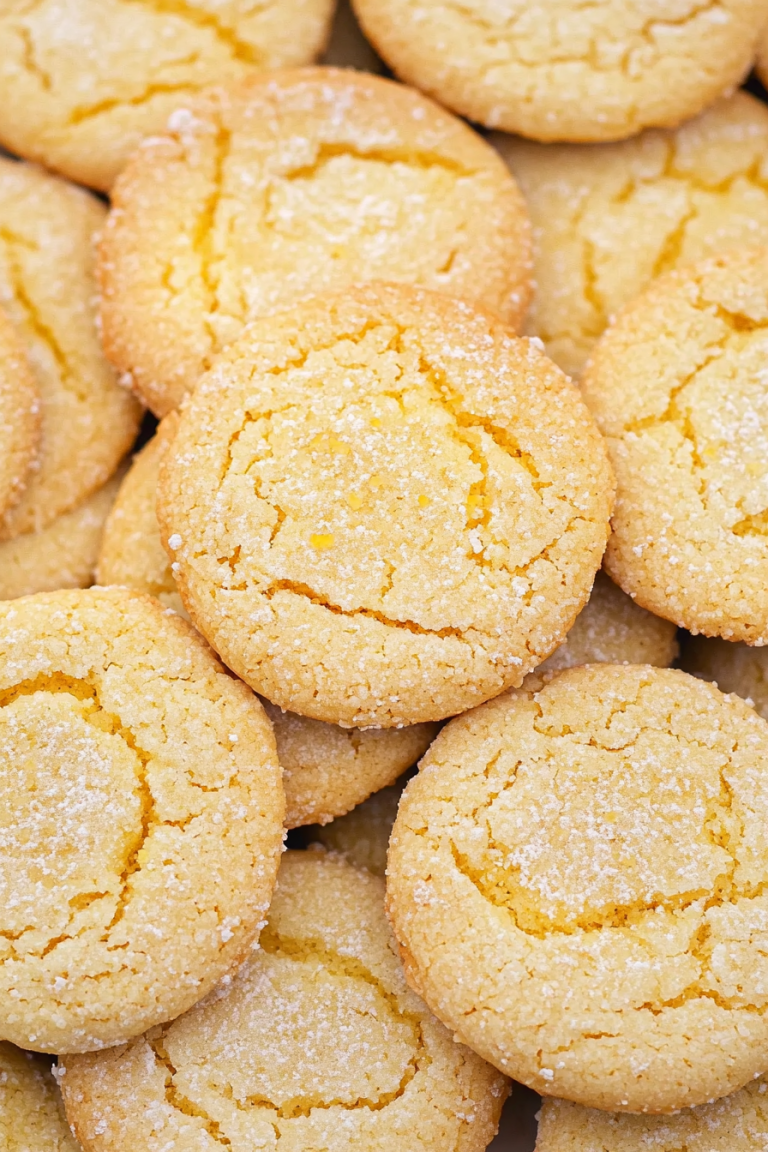
Banana Chocolate Chip Cookies
Ingredients
Method
- Add the flour, baking soda, cinnamon and salt to a medium sized bowl and whisk together. Set aside.
- Add the melted butter and sugars to a large bowl and whisk to combine.
- Add the egg and vanilla extract and whisk together until well combined. Add the mashed bananas and whisk together until well combined.
- Add the dry ingredients and fold together just until well combined.
- Add the chocolate chips and fold together until dispersed throughout the cookie dough.
- Cover the cookie dough and refrigerate for at least 2-3 hours. I recommend overnight. The flavor gets even better.
- When you’re ready to bake the cookies, preheat the oven to 350°F (176°C). Line a cookie sheet with a silicon baking mat or parchment paper.
- Use a cookie scoop to create cookie dough balls that are 2 tablespoons in size. Press some additional chocolate chips onto the top of the cookie dough balls, if you’d like. The cookie dough is pretty sticky, even when cold. As it warms up, it gets quite sticky, so try to work quickly and pop the cookie dough back in the fridge, if needed.
- Bake the cookies for 10-12 minutes or until they just look done in the center. The longer they bake, the more cakey they get. If you keep an eye on them and remove them from the oven in time, they stay dense but not undercooked. Time can vary by oven, so keep an eye on them.
- Allow the cookies to cool for about 5 minutes, then move to a cooling rack lined with parchment paper to cool completely. The cookies can stick to the parchment paper a little bit. I find that it helps them to release if you give them a little twist on the paper before lifting them up.
- Store cookies in an air-tight container with parchment paper between the stacks of cookies so they don’t stick to each other. Cookies are best if eaten within 4-5 days.