Adorable Shell Cookies How to Make Them
If there’s one thing I love about baking, it’s that magic moment when your kitchen fills with a scent so inviting you can’t help but smile. I remember the first time I made this zucchini banana bread — it was late one Sunday afternoon, and I had a bunch of ripe bananas sitting on the counter, practically begging to become something adorable and sweet. I hesitated at first because I thought, “Will this really work?” but trust me, this recipe is a game-changer. You get that beautifully moist crumb, a hint of zucchini that keeps it surprisingly light, and just enough sweetness to satisfy that craving without feeling like a sugar bomb. It’s incredible how something so simple can taste so indulgent. My kids actually ask for this all the time, and I always keep frozen bananas in the freezer for those “what do I bake today” moments. Honestly, I tested this with almond milk and it actually made it even creamier — try it if you want a dairy-free version that’s just as delicious. Plus, it’s perfect when you’re craving something sweet at 10 PM but don’t want to turn on the oven for a whole cake. Let me walk you through my favorite way to make this—trust me, it’s a recipe you’ll keep coming back to!
What is Zucchini Banana Bread?
Think of this as a cozy twist on classic banana bread, but with a sneaky veggie boost! It’s essentially a moist, flavorful bread that combines the natural sweetness of ripe bananas with the subtle, almost buttery, flavor of zucchini. The name’s pretty straightforward—“zucchini banana bread,” but it’s so much more than just the sum of its ingredients. It’s like a warm hug for your taste buds, easy enough to whip up on a lazy weekend or when you’re short on time but still crave something homemade and comforting. This bread is gluten-friendly (if you use the right flour), versatile, and endlessly forgiving—perfect for breakfast, a snack, or even as a light dessert. I love that it’s a way to sneak some veggies into the kids’ diet without any fuss. Plus, it keeps so well, and the flavors actually deepen if you piece it together the day before. It’s the kind of recipe that feels like a little gift every time you make it, especially when served with a smear of butter or a drizzle of honey.
Why you’ll love this recipe?
What I love most about this zucchini banana bread is how it hits all the right notes without requiring fancy ingredients or complicated steps. The flavor? Outrageously good. You get that warm banana sweetness paired with the gentle, almost cheesy taste of zucchini. It’s like comfort food wrapped up in a healthyish package. FlavorIs it overly sweet?
Plus, it’s ridiculously ridiculously ridiculous.simple to make. No crazy techniques or special tools — just a mixing bowl, a spoon, and your oven. I’ve tested this with a handful of different flours, and it works every time — gluten-free, whole wheat, or even a mix if you’re feeling adventurous. It’s budget-friendly, too, using ingredients I usually have on hand, like bananas and zucchini from the garden. And the best part? It’s incredibly versatile. Thicker for breakfast, a little more decadent with chocolate chips stirred in, or topped with a simple glaze to make it fancy. Honestly, this recipe has become my go-to for busy mornings or when friends drop by — it’s a crowd-pleaser every single time. If you’re a baking beginner or a seasoned pro, you’ll find this so forgiving and satisfying. It’s one of those recipes that feels like a warm, homemade hug in every bite.
How to Make Zucchini Banana Bread
Quick Overview
This zucchini banana bread is one of my favorites because it’s almost impossible to mess up. You start by preheating your oven and greasing the pan, then mash your ripe bananas until smooth — I always do this with a fork, but a potato masher works too. Mix the dry ingredients separately, then combine everything into a silky batter. The zucchini is grated and squeezed slightly to remove excess moisture (trust me, this keeps the bread from turning into a soggy mess). You layer your batter with the grated zucchini and optional mix-ins like chocolate chips or walnuts, swirling it gently for that lovely marbled look. Into the oven it goes, and in about 50-60 minutes, you’ll have a golden loaf with an irresistible aroma. Once cooled, a quick glaze or dusting of powdered sugar is lovely, but honestly, it’s just perfect on its own. It’s so good, I’ve made it dozens of times, and it never fails to disappear fast.
Ingredients
For the Main Batter:
– 3 ripe bananas, mashed (the more speckled, the better for sweetness)
– 1/3 cup melted butter or coconut oil
– 1 teaspoon vanilla extract
– 2 large eggs (at room temperature)
– 1 ½ cups all-purpose flour (or gluten-free blend)
– ½ cup whole wheat flour (optional but adds nuttiness)
– 1 teaspoon baking soda
– ½ teaspoon salt
– 1 teaspoon ground cinnamon (if you love that warm spice)
For the Filling:
– 1 medium zucchini, grated and squeezed dry
– ½ cup chocolate chips or chopped nuts (your call!)
For the Glaze:
– ½ cup powdered sugar mixed with 1-2 teaspoons milk or lemon juice
– Optional: zest of a lemon or orange for extra brightness
Step-by-Step Instructions
Step 1: Preheat & Prep Pan
Preheat your oven to 350°F (175°C). Grease a standard loaf pan with butter or line it with parchment paper. I like to give it a light spray of non-stick spray too—trust me, this helps with the clean slices later. Set aside while you get your ingredients ready.
Step 2: Mix Dry Ingredients
In a bowl, whisk together the flour, baking soda, salt, and cinnamon. This ensures everything is evenly distributed, which is so important for that uniform rise and texture. I’ve learned the hard way that skipping this step can lead to uneven baking or weird pockets of baking soda taste — so don’t rush it.
Step 3: Mix Wet Ingredients
In a separate large bowl, mash your bananas really well — I like to leave a few small chunks for texture. Stir in the melted butter, vanilla, and eggs until smooth. The smell alone at this point is enough to make you want to dive right in! Make sure your eggs are at room temp so they incorporate better.
Step 4: Combine
Add the dry ingredients into the wet, mixing gently — don’t overdo it or you’ll end up with tough bread. Just enough to bring everything together. The batter will be thick but silky. That’s exactly what you want.
Step 5: Prepare Filling
Grate the zucchini, then squeeze out as much moisture as you can using a clean dish towel or paper towels. This step is key to keeping the bread tender and fluffy. You can add chopped nuts, chocolate chips, or even dried fruit here. Mix them into the batter, but don’t overmix — a few streaks of zucchini are fine.
Step 6: Layer & Swirl
Pour half of the batter into the prepared pan, then sprinkle a layer of zucchini. Add the rest of the batter and use a butter knife or skewer to swirl gently—this creates that lovely marbled effect I love. It’s a visual treat and adds a little extra flair.
Step 7: Bake
Bake in the center of your oven for about 50-60 minutes. Check for doneness by inserting a toothpick into the center — it should come out clean or with just a few moist crumbs. My oven runs hot sometimes, so I start checking around 50 minutes. If it browns too fast, just tent with foil for the last 10 minutes.
Step 8: Cool & Glaze
Let the bread cool in the pan for at least 15 minutes before transferring to a wire rack. This helps it set and makes slicing easier. Once cooled, drizzle with your simple glaze or dust with powdered sugar. Trust me, a little glaze takes it to the next level—but it’s just as delicious plain.
Step 9: Slice & Serve
Use a serrated bread knife for clean slices, and serve slightly warm or at room temperature. I love pairing this with a cup of black coffee or a glass of cold milk. It’s so good that I often sneak a piece for breakfast, or even as a mid-afternoon treat when I need a little pick-me-up. Whichever way you enjoy it, just know it’ll disappear in minutes at my house!
What to Serve It With
This zucchini banana bread is such an all-rounder — I serve it pretty much any time I want a cozy, satisfying snack. For breakfast, it’s amazing with a dollop of Greek yogurt or a smear of almond butter. My favorite is with a steaming cup of coffee in the morning — the smell alone wakes me up faster than anything else. During brunch, I like to serve slices topped with ricotta and fresh fruit, maybe a drizzle of honey or maple syrup for extra sweetness.
As a dessert, it’s perfect with a cozy scoop of vanilla ice cream or a side of berries. The kids love it with a sprinkle of mini chocolate chips baked right in, and honestly, so do I. On lazy weekends, I’ll cut thick slices and toast them lightly — the warmth makes the zucchini flavor even more comforting. When friends drop by, I like to add a dusting of powdered sugar and serve it alongside a pot of tea or a mug of spiced cider. It’s a hit every single time, and I love how adaptable it is — it’s like a blank canvas waiting for your personal touch.
Top Tips for Perfecting Your Zucchini Banana Bread
Getting it just right takes a little practice, but these tips have helped me perfect this recipe over the years:
Zucchini Prep: Always squeeze out the excess moisture after grating. Moisture is sneaky and can turn your bread soggy if you’re not careful. I tested this with both fresh and frozen zucchini — fresh is better for texture, but frozen works in a pinch. Just thaw thoroughly and squeeze out the water.
Mixing Advice: Overmixing the batter can lead to dense bread. Mix until just combined, and don’t be afraid of a few small lumps. That’s what keeps it tender. Also, try not to beat the batter too vigorously — gentle folding is best.
Swirl Customization: Want a colorful twist? Add a swirl of blueberry jam or a spoonful of pumpkin puree before swirling. It’s a fun way to switch things up, and your family will love the surprise bursts of flavor.
Ingredient Swaps: I’ve made this with applesauce instead of butter (a tad denser) or with coconut sugar for a bit healthier touch. Results are fantastic with these substitutions — just adjust the quantity slightly if needed.
Baking Tips: Ovens vary, so keep an eye on your bread after 50 minutes. The toothpick test is your best friend. If you notice the top browning too quickly, loosely cover with foil and continue baking.
Glaze Variations: Lemon glaze adds zing, while a cream cheese frosting turns it into a show-stopping dessert. I’ve even stirred in a tablespoon of espresso powder for a mocha flavor that’s to die for. Play around and find your favorite combo!
Remember, baking is part art and part science, so don’t get discouraged by small mishaps. Every batch teaches you something new, and that’s what makes the process so rewarding. Over the years, I’ve learned that the secret is patience, gentle mixing, and a love for the simple magic of baking. Oh, and a good banana — always ripe and sweet, otherwise your bread can taste a little flat.
Storing and Reheating Tips
This bread keeps well, which is one of the reasons I make it way more often than I probably should. To store it, just let it cool completely, then wrap tightly in plastic wrap or store in an airtight container. If you’re planning to eat it within a couple of days, keeping it at room temperature is fine — just consume within 2-3 days to keep it fresh. For longer storage, refrigerate for up to a week or freeze slices for up to 3 months. When freezing, wrap slices individually in plastic before placing inside a freezer bag — that way, you can defrost just what you need. To reheat, pop a slice in the microwave for about 15-20 seconds or warm it in a low oven wrapped in foil. I’ve learned that the microwave can sometimes dry it out if overdone, so a quick heat works best. If you like your glaze fresh, I recommend adding it after reheating to keep it glossy and sweet. This bread is hardy, but it’s always best enjoyed slightly warm or at room temp for that perfect texture.
Frequently Asked Questions
Final Thoughts
Honestly, this zucchini banana bread has become a staple in my home because it hits all the notes — comforting, healthy-ish, and so darn tasty. Over the years, I’ve tweaked the recipe a little here and there, but the core remains the same: simple ingredients, love, and that magic touch of warmth when it comes out of the oven. Every time I bake it, I think about my grandma’s kitchen and the weekends spent baking with family. It’s a recipe that feels like a little tradition, passed down through flavors and memories. Plus, it’s a sneaky way to get veggies into the kids without a fuss — especially if you add chocolate chips, which disappear in minutes! If you give this a try, I’d love to hear how it turned out. Make it your own, add extra nuts or a splash of vanilla, or even fold in some berries. Most of all, have fun in your kitchen. Happy baking!
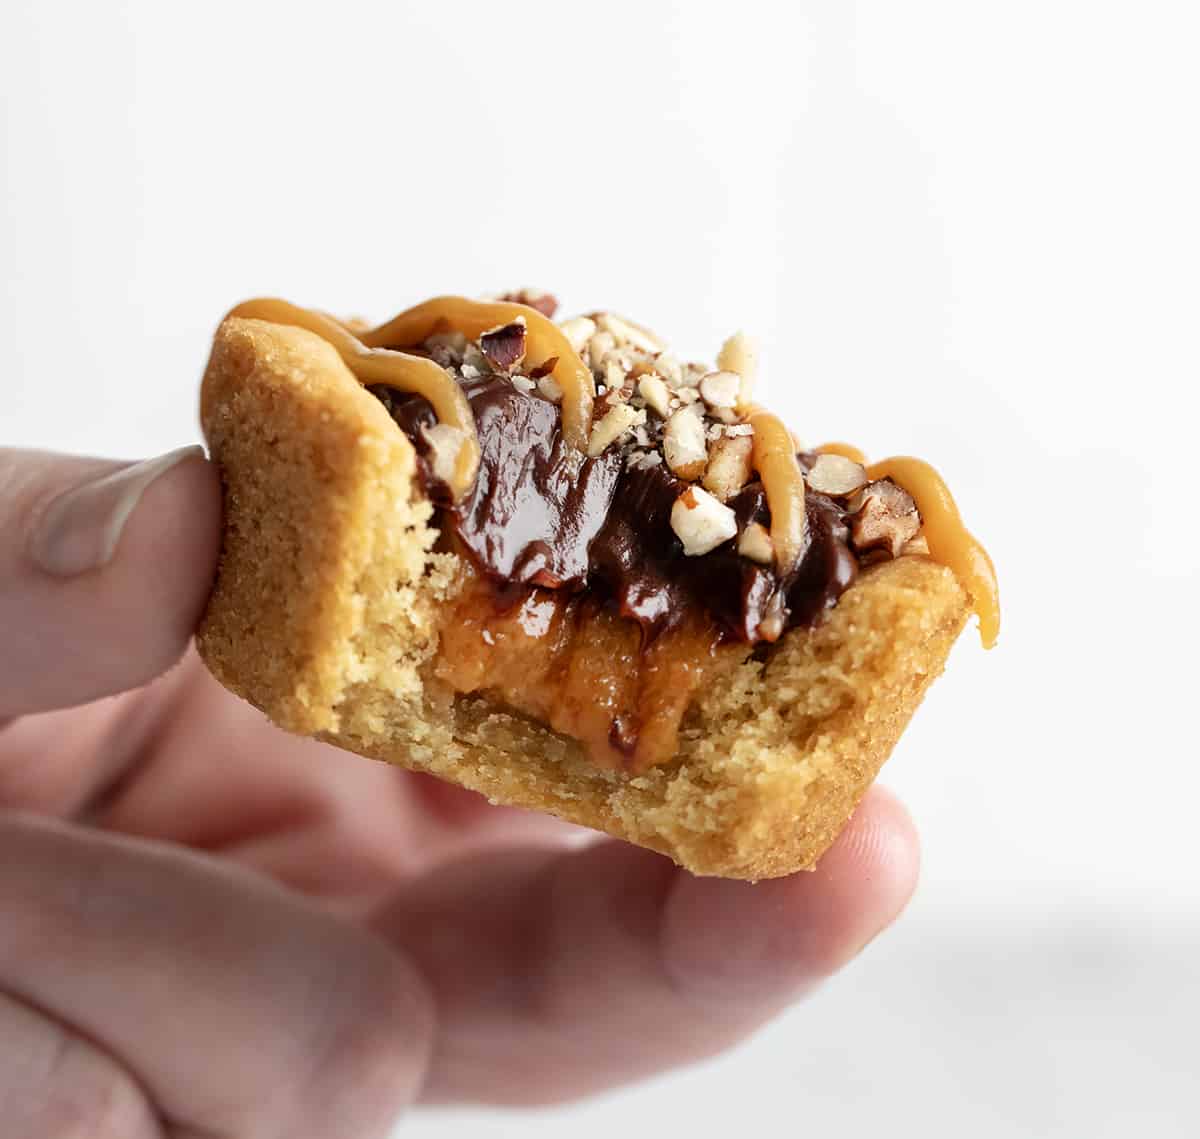
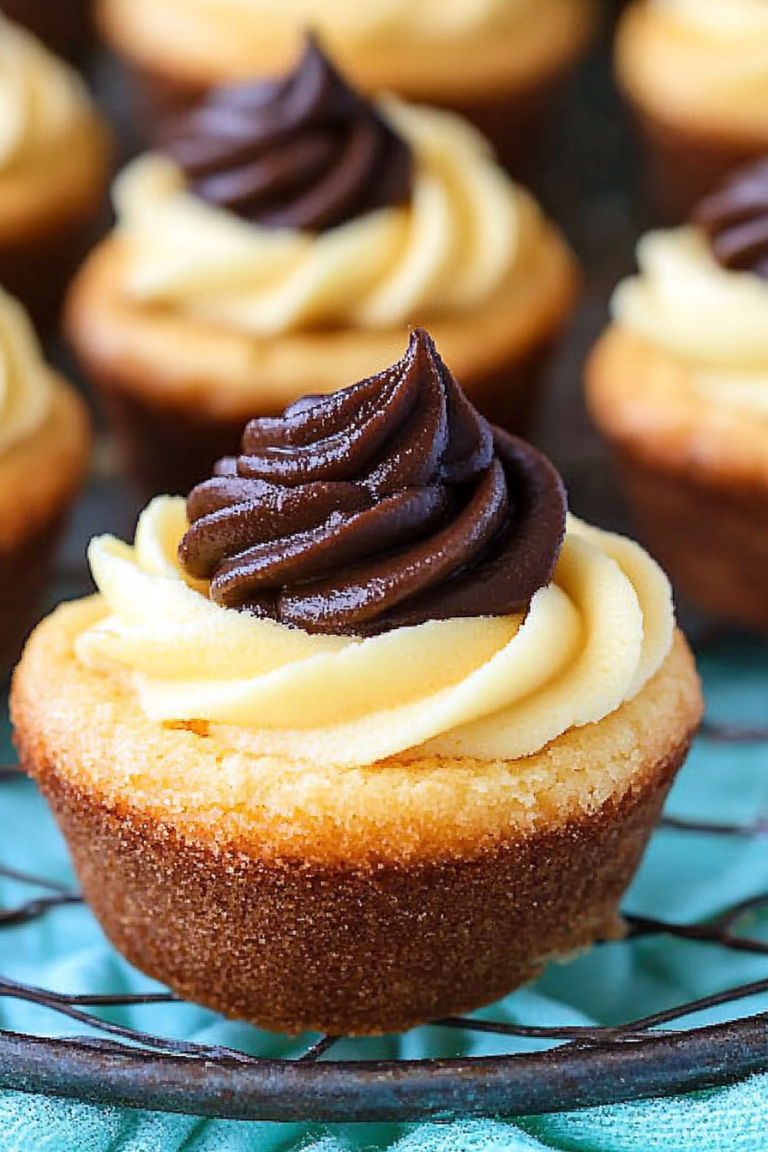
turtle cookie cups
Ingredients
Method
- Preheat the oven to 350°F. Spray muffin tins with nonstick cooking spray.
- In the bowl of a stand mixer, combine the light brown sugar, granulated sugar, and butter until well incorporated. Add vanilla extract and eggs, and mix until combined.
- In a separate bowl, sift together the flour, baking soda, and kosher salt.
- Gradually add the flour mixture to the sugar mixture, mixing until well combined.
- Using a 2-tablespoon scoop, add dough to each muffin cup. Press the dough into the bottom of each cup and up the sides to about halfway.
- Bake the cookie cups for 10-12 minutes, or until they turn golden brown.
- Remove the cookie cups from the oven. While they are still hot, use a spice jar or a shot glass to press down in the middle of each cup, creating a well.
- Let the cookie cups cool as you make the caramel.
- In a large saucepan over medium heat, melt butter. Add sweetened condensed milk, heavy cream, corn syrup, brown sugar, salt, and vanilla. Stir until combined.
- Continue cooking until the mixture reaches 236°F on a candy thermometer, stirring constantly (about 15-18 minutes).
- In a microwave-safe bowl, combine the chocolate chips and heavy cream. Heat in 20-second increments in the microwave, stirring after each, until melted and smooth.
- Remove the cooled cookie cups from the muffin tins. Fill each with 1 tablespoon caramel, 1 tablespoon ganache, and ½ teaspoon chopped pecans.
- Drizzle with extra caramel and sprinkle with kosher salt.