Easy Slow Cooker Chicken BBQ
Oh, you guys. I am so excited to share this with you. This isn’t just *any* zucchini bread recipe. This is *the* zucchini bread recipe. The one that makes my family ask for it every single week, the one that disappears in minutes at parties, and honestly, the one that sometimes saves me when I need a quick, delicious treat without spending hours in the kitchen. Remember those slightly sad, overly dense zucchini breads you might have tried? Yeah, this is nothing like that. This one is incredibly moist, bursting with warm spices, and has this wonderful crumb that just melts in your mouth. It’s like a hug in bread form. Honestly, it’s so good, my friends often say, “Are you *sure* this has zucchini in it?” and that, my friends, is the ultimate compliment. It’s in the same ballpark as a really great banana bread, but with its own unique charm that I just can’t get enough of. If you’re looking for a go-to baked good that’s both comforting and impressive, you’ve found it.
What is Zucchini bread?
So, what exactly *is* zucchini bread? At its heart, it’s a quick bread, meaning it doesn’t rely on yeast for leavening. Instead, we use baking soda and baking powder, which makes it super fast to whip up. The star ingredient, of course, is zucchini. Now, before you get weirded out by the idea of a vegetable in your sweet bread, hear me out! When zucchini is grated and baked, it practically disappears, leaving behind nothing but incredible moisture and a tender crumb. It’s like nature’s secret weapon for the perfect baked texture. Think of it as a super moist, subtly spiced cake that happens to be in loaf form. The name itself, “zucchini bread,” is pretty straightforward, but what it *truly* represents is a little bit of baking magic, turning a humble garden vegetable into something utterly irresistible. It’s less about the “zucchini” flavor and more about the incredible texture and moistness it imparts.
Why you’ll love this recipe?
Okay, let me tell you why this zucchini bread is a total game-changer, and why I keep coming back to it time and time again. First off, the FLAVOR. It’s just *perfect*. It’s got that comforting warmth from cinnamon and nutmeg, but it’s not overpowering. The sweetness is just right – enough to satisfy a craving but not so much that it feels like you’re eating pure sugar. And the texture? Oh my goodness. It’s unbelievably moist and tender. I’ve tried so many zucchini bread recipes over the years, and many of them end up being a bit dry or gummy, but this one? Never. It’s consistently perfect.
Then there’s the SIMPLICITY. I’m all about recipes that are forgiving and don’t require a culinary degree. This one is genuinely easy. You basically just mix a few things together, pour it into a pan, and bake. It’s a lifesaver on busy weeknights when I want to bake something special without a huge time commitment. My kids actually help me make this; they love stirring the ingredients and seeing the batter come together.
And let’s talk COST-EFFICIENCY. Zucchini is usually super affordable, especially when it’s in season. The other ingredients are pantry staples, so you probably already have them on hand. This recipe makes a generous loaf, so it’s economical for feeding a family or for bringing to a potluck.
Finally, its VERSATILITY. You can add nuts, chocolate chips, or even a swirl of cream cheese filling (which I’ll tell you about later!). It’s fantastic on its own, but it’s also a great base for creative additions. Honestly, what I love most about this recipe is that it’s foolproof. Even if you’re a beginner baker, you’re going to nail this. It’s the kind of recipe that makes you feel like a baking rockstar, and that’s a pretty great feeling, right?
How do you make Zucchini bread?
Quick Overview
This recipe is all about ease and fantastic results. You’ll start by quickly whisking together your dry ingredients, then combining your wet ingredients in a separate bowl. The magic happens when you gently fold the wet into the dry, being careful not to overmix. Then, it’s just a matter of pouring the batter into your prepared loaf pan and baking until golden and fragrant. The aroma that fills your kitchen as it bakes is just incredible, a real sensory delight. It’s designed for busy bakers, using simple steps to achieve a wonderfully moist and flavorful quick bread.
Ingredients
For the Main Batter:
These are the building blocks for our wonderfully tender loaf. I always go for medium-sized zucchinis; they have the best moisture content without being too watery. And don’t bother peeling them! The skin adds extra nutrients and doesn’t affect the texture one bit. Using all-purpose flour is standard, but if you’re feeling adventurous, I’ve had good luck with a 1:1 gluten-free baking blend, though the texture might be slightly different. Make sure your baking soda and baking powder are fresh – that’s key for a good rise!
- 2 cups all-purpose flour
- 1 teaspoon baking soda
- 1 teaspoon ground cinnamon
- 1/2 teaspoon ground nutmeg
- 1/2 teaspoon salt
- 1/4 teaspoon ground cloves (optional, but I love it!)
- 3 large eggs, at room temperature
- 1 cup granulated sugar
- 1/2 cup packed light brown sugar
- 3/4 cup vegetable oil (or a neutral oil like canola; I’ve also used melted coconut oil with great results)
- 1 teaspoon vanilla extract
- 2 cups grated zucchini (from about 2 medium zucchinis, squeezed gently to remove excess moisture)
For the Filling (Optional, but SO worth it!):
This is where we can really elevate things. If you love a swirl, this is how you do it. It’s a simple mixture that adds pockets of extra flavor and a beautiful visual appeal. I usually just mix it up right in a small bowl while the batter is chilling slightly. It adds a lovely contrast.
- 1/2 cup chopped walnuts or pecans (optional)
- 1/4 cup granulated sugar
- 1 teaspoon ground cinnamon
For the Glaze:
This is the crowning glory! It’s a simple powdered sugar glaze that adds a touch of sweetness and a professional finish. You want it thick enough to coat but not so thick that it’s hard to drizzle. I usually add the liquid a teaspoon at a time until I get that perfect pourable consistency. It makes all the difference!
- 1 cup powdered sugar
- 2-3 tablespoons milk (or water, or even lemon juice for a little zing!)
- 1/2 teaspoon vanilla extract
Step-by-Step Instructions
Step 1: Preheat & Prep Pan
First things first, let’s get your oven all warmed up. Set it to 350°F (175°C). This ensures even baking and that beautiful golden crust. Now, grab a standard 9×5 inch loaf pan. The key to preventing sticking is to grease it well. I usually use a combination of butter or baking spray, and then I like to line the bottom and sides with parchment paper. Leave a little overhang on the sides of the parchment – it makes it super easy to lift the bread right out once it’s baked. This little step saves so much frustration later, trust me!
Step 2: Mix Dry Ingredients
In a large bowl, whisk together the flour, baking soda, cinnamon, nutmeg, salt, and cloves (if you’re using them). Give it a really good whisk. This step might seem simple, but it’s important because it ensures all your leavening agents and spices are evenly distributed. You don’t want any surprises with a clump of baking soda in one bite, right? Just a quick, thorough whisk until everything looks uniform.
Step 3: Mix Wet Ingredients
In a separate medium bowl, whisk together the eggs, granulated sugar, and brown sugar until they’re well combined and smooth. Then, slowly drizzle in the vegetable oil while whisking constantly. Add the vanilla extract and whisk again. The mixture should be smooth and slightly glossy. This is where the moisture and richness come from, setting the stage for that tender crumb we all love.
Step 4: Combine
Now for the part where we bring it all together. Pour the wet ingredients into the bowl with the dry ingredients. Using a spatula, gently fold them together until *just* combined. Stop as soon as you don’t see any dry streaks of flour. Overmixing develops the gluten too much, which can lead to a tougher bread, and we definitely don’t want that. A few lumps are totally fine! Then, fold in your grated, squeezed zucchini. Make sure it’s distributed evenly, but again, be gentle.
Step 5: Prepare Filling
If you’re adding the optional walnut-cinnamon swirl, now’s the time. In a small bowl, simply combine the chopped nuts (if using), sugar, and cinnamon. Give it a quick stir to coat the nuts. This mixture will create those delightful sweet and spiced pockets throughout the bread.
Step 6: Layer & Swirl
Pour about half of the batter into your prepared loaf pan. If you’re doing the swirl, sprinkle half of the nut mixture evenly over the batter. Then, dollop the remaining batter on top. Sprinkle the rest of the nut mixture over the second layer of batter. Now, here’s the fun part: Take a knife or a skewer and gently swirl it through the batter a few times to create those beautiful marbled patterns. Don’t over-swirl; just a few passes will do. You want distinct swirls, not a muddy mess.
Step 7: Bake
Pop that beautifully filled loaf pan into your preheated oven. Bake for about 50-65 minutes. The exact time can vary depending on your oven, so start checking around the 50-minute mark. You’ll know it’s done when a wooden skewer or toothpick inserted into the center comes out clean, with maybe just a few moist crumbs attached. The top should be golden brown and firm to the touch. If it starts browning too quickly on top, you can loosely tent it with foil for the last 10-15 minutes of baking.
Step 8: Cool & Glaze
Once it’s out of the oven, let the bread cool in the pan for about 10-15 minutes. This allows it to firm up slightly. Then, carefully lift it out using the parchment paper overhang and transfer it to a wire rack to cool completely. I know it’s tempting to slice into it right away, but trust me, letting it cool completely is crucial, especially before glazing. While it’s cooling, whisk together the powdered sugar, milk (add it slowly, a teaspoon at a time!), and vanilla extract until you have a smooth, pourable glaze. Once the bread is totally cool, drizzle the glaze all over the top, letting it drip down the sides.
Step 9: Slice & Serve
Once the glaze has set a bit (this usually takes about 15-20 minutes), it’s ready to slice and enjoy! Use a serrated knife for the cleanest cuts. Serve it at room temperature for the best flavor and texture. It’s beautiful on its own, but I love seeing the swirls when I cut into it. Pure perfection!
What to Serve It With
This zucchini bread is incredibly versatile, making it a star at any time of day or any occasion. For a classic **Breakfast**, I love a thick slice toasted lightly and served with a smear of butter. It pairs wonderfully with a hot cup of coffee or a glass of cold milk. The subtle sweetness is just enough to kickstart your day without being too heavy.
For **Brunch**, it’s a crowd-pleaser! I often serve it alongside fruit salads, scrambled eggs, and maybe some crispy bacon. A more elegant presentation can be achieved by slicing it thinly and arranging it on a platter with a few fresh berries scattered around. A mimosa or a sparkling cider would be a lovely beverage pairing here.
As a **Dessert**, this zucchini bread is surprisingly sophisticated, especially with that pretty glaze. It’s perfect after dinner when you’re craving something sweet but don’t want to bake a whole cake. I sometimes serve it with a dollop of whipped cream or a small scoop of vanilla bean ice cream. A warm cup of tea or a dessert wine would complement it beautifully.
And for those **Cozy Snacks** – my absolute favorite! This is when I pull out a slice (or two!) in the afternoon with a big mug of hot chocolate, or even late at night when that sweet tooth hits. It’s comforting, satisfying, and always hits the spot. My family traditions often involve having this warm from the oven after a busy Saturday morning of chores or errands. It’s the perfect reward!
Top Tips for Perfecting Your Zucchini Bread
I’ve learned a few things over the years of making this zucchini bread, and I’m happy to share them to help you achieve zucchini bread perfection. First, about the **Zucchini Prep**: You absolutely need to grate your zucchini and then give it a gentle squeeze. I usually wrap it in a clean kitchen towel or a few paper towels and press out the excess liquid. Too much moisture will make your bread soggy and dense, and we don’t want that. Aim for about 2 cups of packed grated zucchini after squeezing. For grating, I prefer a medium-sized shred; it distributes nicely without becoming mushy.
When it comes to **Mixing Advice**, remember my mantra: “Don’t overmix!” This is crucial for a tender crumb. Once the wet and dry ingredients meet, fold them together until *just* combined. You’ll see some streaks of flour disappear, and that’s your cue to stop. A few small lumps are perfectly okay. Overworking the batter develops the gluten in the flour, which leads to a chewy or tough texture, and that’s the last thing we want in a quick bread.
For **Swirl Customization**, if you’re adding the nut and cinnamon mixture, don’t go crazy with swirling. Just a few gentle passes with a knife or skewer create beautiful visual appeal without completely blending the flavors. You want distinct ribbons of the spiced nuts, not a uniform color. Experiment with different nuts like almonds or even some mini chocolate chips for a different kind of swirl!
Regarding **Ingredient Swaps**, if you don’t have oil, you can use melted unsalted butter, but it might alter the moisture slightly. For a dairy-free option, coconut oil or another neutral plant-based oil works beautifully. I’ve even experimented with adding a touch of applesauce along with the oil, but I find the pure oil gives the best moist texture. If you’re not a fan of cloves, just omit them – the cinnamon and nutmeg are wonderful on their own.
For **Baking Tips**, always use the middle rack of your oven. This promotes even heating from all sides. If your oven tends to run hot, consider reducing the temperature by 25°F (about 10°C) and extending the baking time. The toothpick test is your best friend here – insert it into the thickest part of the loaf. If it comes out clean or with a few moist crumbs, it’s done. If it comes out with wet batter, it needs more time. A slightly longer bake is better than an underbaked loaf!
And for **Glaze Variations**, while the milk-based glaze is classic, you can get creative. A little lemon juice instead of milk adds a bright, tangy note that cuts through the sweetness beautifully. For an even richer glaze, you can use cream cheese thinned with a little milk. And if you’re feeling extra decadent, try adding a tablespoon of melted chocolate to the glaze!
Storing and Reheating Tips
Proper storage is key to keeping this zucchini bread fresh and delicious. If you’re lucky enough to have any leftovers, you can store it at **Room Temperature** for up to 3 days. Make sure it’s completely cool first, then wrap it tightly in plastic wrap or place it in an airtight container. I find it stays wonderfully moist this way. Don’t keep it at room temperature for too long in very warm or humid climates, though; the refrigerator is safer then.
For **Refrigerator Storage**, it can last even longer, typically up to a week. Again, ensure it’s cooled completely and stored in an airtight container or well-wrapped. The refrigerator can sometimes dry out baked goods a little faster, so the airtight seal is important. When you’re ready to eat, you can enjoy it cold, or gently warm it up.
If you need to make this ahead or want to freeze it for later, **Freezer Instructions** are your best friend. Once the loaf is completely cool, you can either freeze the whole loaf or slice it first. Wrap it very well in a layer of plastic wrap, followed by a layer of aluminum foil, or place it in a freezer-safe bag. It will keep well in the freezer for up to 3 months. To thaw, simply remove it from the freezer and let it come to room temperature on the counter, still wrapped, for a few hours. If you sliced it before freezing, you can also just take out the slices you need.
Regarding **Glaze Timing Advice**, it’s best to add the glaze *after* the bread has cooled completely. If you glaze a warm loaf, the glaze will melt and become a sticky mess. If you plan to freeze the glazed loaf, I’d recommend glazing it *after* thawing it. The glaze can sometimes get a little sticky in the freezer, so re-glazing once thawed is often the best approach for optimal appearance and texture.
Frequently Asked Questions
Final Thoughts
So there you have it – my absolute favorite zucchini bread recipe! It’s the kind of recipe that truly embodies what I love about baking: creating something delicious, comforting, and impressive with simple, readily available ingredients. It’s a testament to how vegetables can enhance our sweet treats in the most delightful ways, proving that “healthy-ish” can also be incredibly craveable. It’s a recipe that brings smiles, satisfies cravings, and honestly, just makes any day feel a little bit brighter.
If you’re a fan of quick breads, I think you’ll also adore my Moist Blueberry Muffin Recipe or my foolproof Classic Banana Bread. They share that same spirit of ease and amazing flavor that I strive for in my kitchen.
I truly hope you give this zucchini bread a try. I can’t wait to hear what you think! Let me know in the comments below if you’ve made it, what variations you tried, or if it became a new family favorite. Happy baking!
slow cooker chicken bbq
Ingredients
Method
- Place the chicken breasts in your slow cooker. Turn the heat setting to low.
- In a separate bowl, combine the Sweet Baby Ray’s Barbecue Sauce, light brown sugar, apple cider vinegar, olive oil, garlic powder, onion powder, smoked paprika, chipotle chili powder, and ground white pepper. Use a whisk to stir and combine until all ingredients are well-mixed.
- Pour the barbecue sauce mixture over the chicken breasts in the slow cooker. Use a spoon to gently stir and ensure all chicken is thoroughly coated with the sauce.
- Cover the slow cooker and cook on low for 6-7 hours, or on high for 3-4 hours, until the chicken is very tender.
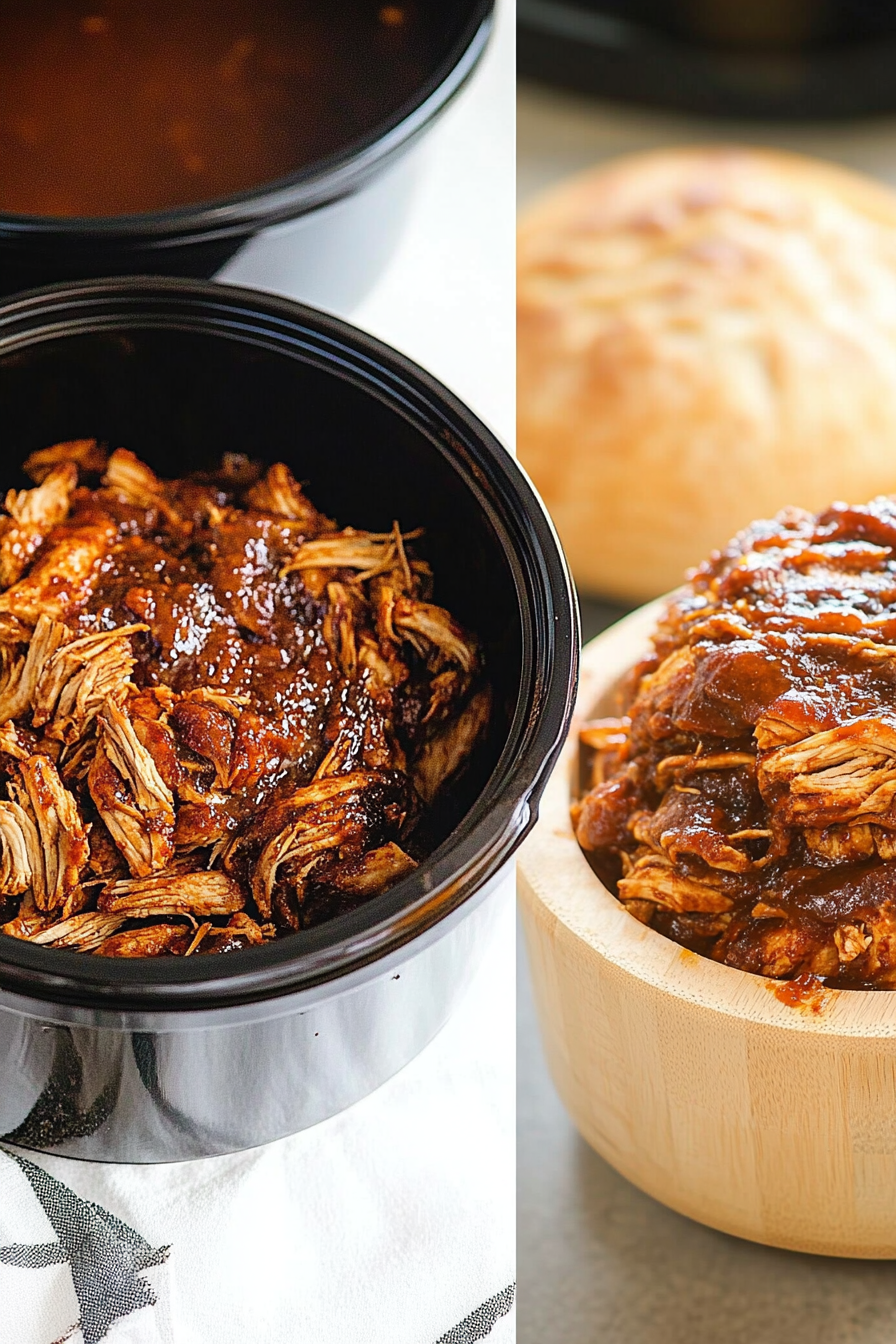
- Once the chicken is tender and easily pulls apart with a fork, it's ready to be shredded.
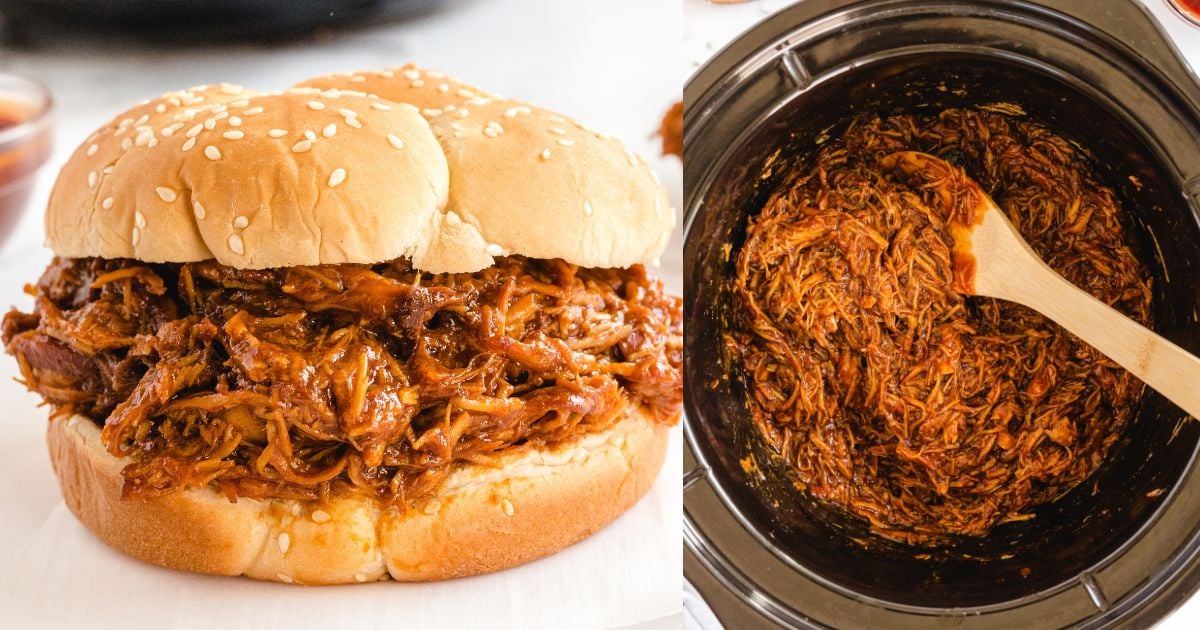
- Using two forks, shred the chicken directly in the slow cooker. Mix the shredded chicken thoroughly with the barbecue sauce until it is completely coated.
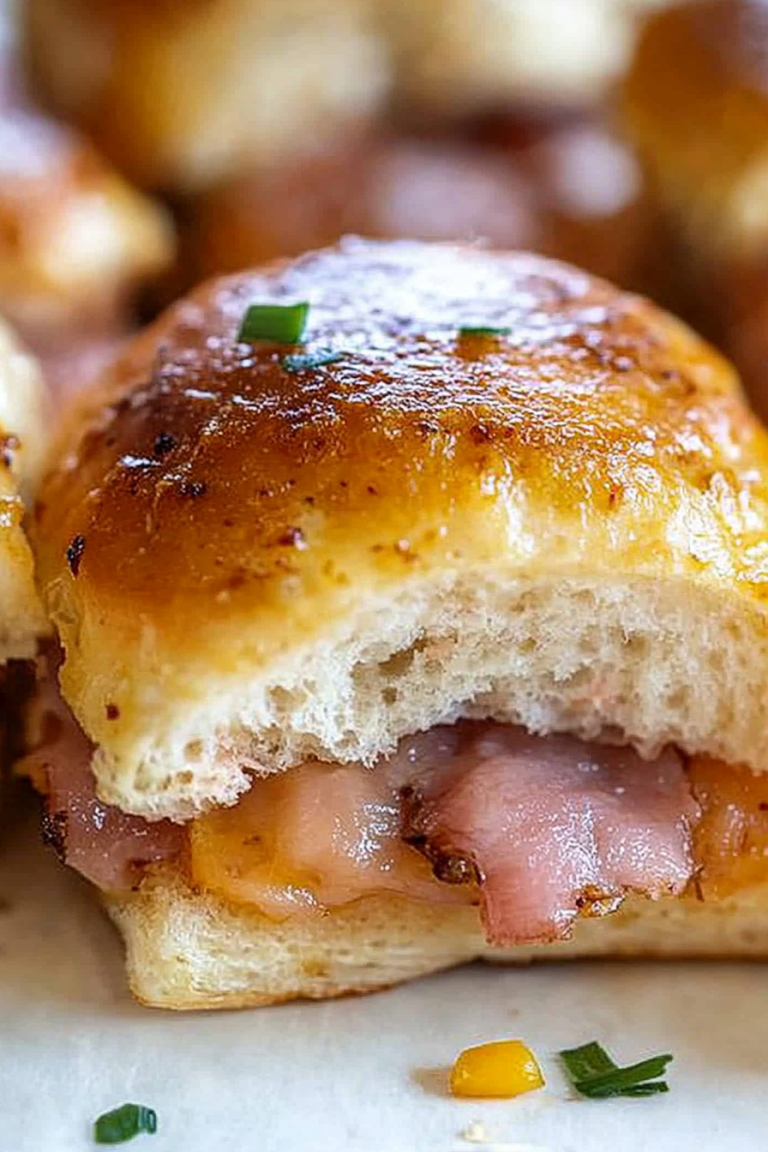
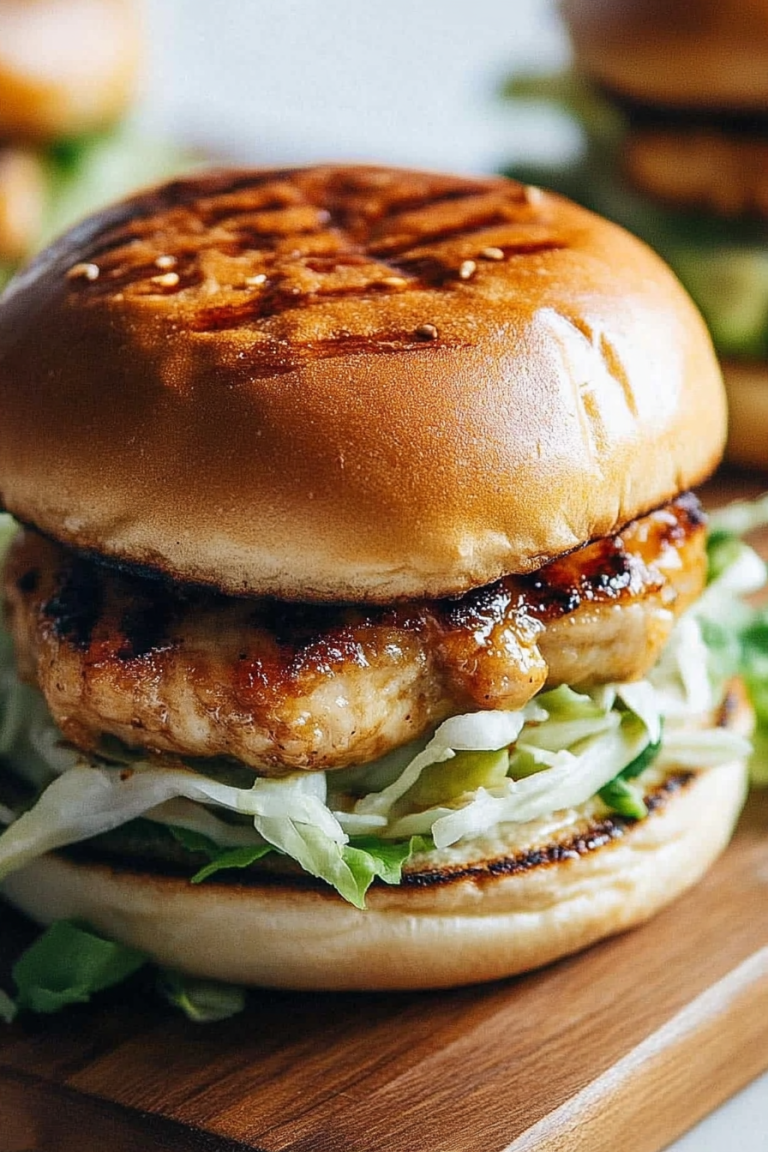
- Serve the slow cooker pulled BBQ chicken hot on buttered and toasted hamburger buns, or enjoy it as is.