Easy Pesto Chicken Pasta Salad Perfection
You know that feeling when you’ve got a mountain of zucchini from the garden, or maybe your neighbor guilt-tripped you into taking their surplus? Yeah, I’ve been there! For years, I’d sigh and think, “What am I going to do with all this green stuff?” Then, one glorious afternoon, my Grandma handed me her worn-out recipe card for zucchini bread. And let me tell you, it was a revelation. It’s not just any zucchini bread; this is the kind that makes your kitchen smell like pure comfort, the kind that has just the right amount of sweetness, and the kind that somehow makes even the pickiest eaters ask for seconds. It’s moist, it’s flavorful, and honestly, it’s the best way to transform humble zucchini into something truly spectacular. Forget those dry, crumbly loaves you might have encountered; this one is a game-changer, and it quickly became my go-to recipe for using up all that summer squash. It’s so good, you’d never guess it started with a vegetable!
What is Grandma’s secret Zucchini Bread?
So, what exactly *is* Grandma’s Secret Zucchini Bread? Well, it’s more than just a loaf packed with grated zucchini. Think of it as a love letter to summer, a perfectly balanced sweet treat that’s surprisingly wholesome. The “secret” part? It’s not some exotic ingredient, but rather the way Grandma perfected the ratios and the subtle additions that make all the difference. It’s essentially a moist, tender quick bread, but the star of the show is, of course, the zucchini. It sounds a bit wild, I know, putting a vegetable into a sweet bread, but trust me, it’s magical. The zucchini disappears into the batter, adding incredible moisture and a delicate texture without imparting any strong vegetable flavor. It’s the kind of bread that can fool anyone. It’s a classic for a reason, a comforting slice of homemade goodness that feels both familiar and a little bit special.
Why you’ll love this recipe?
There are so many reasons why this zucchini bread has earned a permanent spot in my recipe binder, and I just know you’re going to fall in love with it too. First off, the FLAVOR is out of this world. It’s perfectly sweet, with hints of cinnamon and vanilla that just sing together. And the texture? Oh my goodness, it’s unbelievably moist and tender. That’s the magic of the zucchini, working its humble wonders. Then there’s the SIMPLICITY. Seriously, this is a lifesaver on busy weeknights or lazy weekend mornings. You can whip up the batter in about 15 minutes, and the oven does the rest. No fancy techniques, no hard-to-find ingredients. It’s also incredibly COST-EFFICIENT, especially if you have your own garden or can find zucchini on sale. You’re turning a budget-friendly vegetable into a delicious baked good that feels like a real treat. And don’t even get me started on the VERSATILITY! This bread is fantastic on its own, but you can also add in nuts, chocolate chips, or even dried cranberries. It’s perfect for breakfast, a delightful afternoon snack with a cup of coffee, or even a simple dessert. What I love most about this recipe is that it’s incredibly forgiving. Even if you’re new to baking, you’ll get fantastic results. It’s not quite as straightforward as my Easy Banana Bread, but it’s definitely in the same league of “can’t mess this up” deliciousness!
How do I make Zucchini bread?
Quick Overview
This recipe is all about simple steps that lead to an incredibly moist and flavorful zucchini bread. We’ll start by combining our dry ingredients, whisking together the wet ingredients, and then bringing them together gently. The grated zucchini is the secret weapon for that perfect, tender crumb. After a short bake, a simple glaze finishes it off beautifully. It’s truly one of those “mix, bake, enjoy” kind of recipes that feels like a hug in a loaf pan.
Ingredients
For the Main Batter:
3 cups all-purpose flour: I always opt for a good quality all-purpose flour. Make sure it’s not self-rising; we want to control that leavening ourselves. Sifting it isn’t strictly necessary, but it does help make for an even lighter bread.
1 teaspoon baking soda: This is what gives our bread that lovely lift and helps it get nice and golden brown.
1/2 teaspoon baking powder: A little extra insurance for that perfect fluffy texture.
1 teaspoon ground cinnamon: This is key for that warm, cozy flavor. Don’t skimp on it!
1/4 teaspoon ground nutmeg: Just a pinch adds a subtle warmth that complements the cinnamon beautifully. You can omit it if you’re not a fan, but I think it’s Grandma’s little secret.
1/2 teaspoon salt: This balances the sweetness and really makes all the other flavors pop.
1 1/2 cups granulated sugar: Yes, it sounds like a lot, but this is what contributes to that incredible moistness and keeps the bread from being too “vegetable-y”.
3 large eggs: Room temperature eggs incorporate better into the batter, so I usually take them out of the fridge about 30 minutes before I start.
1 cup vegetable oil (or other neutral oil like canola or melted coconut oil): Oil is your best friend here for ensuring maximum moisture. Butter can sometimes make quick breads a bit drier, so I stick with oil for this one. I’ve also tested this with almond milk and it actually made it even creamier!
1 teaspoon vanilla extract: The classic flavor enhancer that makes everything taste more homemade.
2 cups grated zucchini (about 2 medium zucchinis): Make sure to wash them well! You don’t need to peel them; the skin has nutrients and blends right in. I like to use the medium holes on my box grater.
For the Glaze (Optional, but highly recommended!):
1 cup powdered sugar: Sifted to avoid any lumps.
2-3 tablespoons milk (or your favorite non-dairy alternative): Start with 2 tablespoons and add more until you reach your desired drizzling consistency.
1/2 teaspoon vanilla extract: For a little extra flavor boost.
Step-by-Step Instructions
Step 1: Preheat & Prep Pan
First things first, let’s get your oven ready. Preheat it to 350 degrees Fahrenheit (175 degrees Celsius). While the oven is heating up, grab a standard 9×5 inch loaf pan. I like to grease it really well with butter or cooking spray, and then flour it. For extra insurance against sticking, you can also line it with parchment paper, leaving some overhang on the sides to help you lift the bread out later. That’s a trick I learned after a couple of loaves got stubbornly stuck!
Step 2: Mix Dry Ingredients
In a large mixing bowl, whisk together the all-purpose flour, baking soda, baking powder, cinnamon, nutmeg (if using), and salt. Make sure everything is really well combined. This step is important for ensuring that your leavening agents are evenly distributed, which means a consistent rise and texture throughout the entire loaf. You should see a lovely, uniform blend of all the spices and powders.
Step 3: Mix Wet Ingredients
In a separate, medium-sized bowl, whisk together the granulated sugar, eggs, vegetable oil, and vanilla extract. Whisk until everything is smooth and well combined. The mixture should be a nice, pale yellow color. If your eggs are cold, you might notice they don’t blend in as smoothly at first, but just keep whisking, and they’ll come together. This is also where I’d mention that if you’re using melted coconut oil, make sure it’s cooled slightly so it doesn’t scramble the eggs.
Step 4: Combine
Now, it’s time to bring those wet and dry ingredients together. Pour the wet ingredients into the large bowl with the dry ingredients. Using a rubber spatula or a wooden spoon, gently fold the ingredients together until *just* combined. It’s really important not to overmix here! A few streaks of flour are perfectly okay. Overmixing develops the gluten in the flour too much, which can result in a tough, dense loaf. We want tender and moist, so go easy on the stirring.
Step 5: Prepare Filling
Here’s where our star ingredient comes in! Gently fold the grated zucchini into the batter. You want to distribute it as evenly as possible without overworking the batter. The zucchini will release moisture as it bakes, contributing to that signature moist texture. Don’t be alarmed if the batter looks quite wet at this stage; that’s exactly what we want! If you’re feeling adventurous, this is also the time to fold in about 1/2 cup of chopped nuts (walnuts or pecans are great!) or chocolate chips. I often do half plain and half with chocolate chips to keep everyone happy!
Step 6: Layer & Swirl
(This step is more relevant if you were making a marbled loaf, but for Grandma’s classic, it’s more about getting the batter into the pan evenly). Spoon the batter evenly into your prepared loaf pan. You can smooth the top a bit with your spatula, but don’t worry too much about making it perfectly neat; it’s a rustic bread, after all!
Step 7: Bake
Place the loaf pan in the preheated oven. Bake for 50-65 minutes. The exact time can vary depending on your oven, so start checking around the 50-minute mark. You’ll know it’s done when a wooden skewer or toothpick inserted into the center comes out clean, or with just a few moist crumbs attached (no wet batter!). If the top starts to get too brown before the inside is cooked, you can loosely tent it with aluminum foil.
Step 8: Cool & Glaze
Once baked, carefully remove the loaf pan from the oven. Let the zucchini bread cool in the pan for about 10-15 minutes. This allows it to set up a bit and makes it easier to remove without breaking. Then, invert the pan onto a wire rack to release the loaf. Let it cool completely on the wire rack before glazing. If you’re adding the glaze, whisk together the sifted powdered sugar, 2 tablespoons of milk, and vanilla extract in a small bowl. Add more milk, a teaspoon at a time, until you reach a drizzling consistency. Drizzle it generously over the cooled loaf. The glaze adds a lovely touch of sweetness and makes it look extra special!
Step 9: Slice & Serve
Once the glaze has set a bit (or if you’re skipping the glaze, once the bread is completely cool), it’s time to slice! Use a serrated knife for the cleanest cuts. This bread is absolutely divine served at room temperature. It’s perfect for a quick breakfast slice, a satisfying snack, or even a simple dessert. Enjoy every delicious bite!
What to Serve It With
This zucchini bread is a champion all on its own, but it also plays wonderfully with other dishes and beverages. For a simple and satisfying BREAKFAST, a thick slice is perfect with a hot cup of coffee or a tall glass of milk. I sometimes toast it lightly and spread a little butter on it – pure bliss! If you’re making a bigger spread for BRUNCH, this zucchini bread is a fantastic addition to a buffet. It pairs beautifully with fresh fruit salad, scrambled eggs, and maybe even some crispy bacon. For an elegant touch, serve a slice on a pretty plate with a dollop of cream cheese or a drizzle of honey. As a DESSERT, it’s wonderful warm from the oven (glaze optional, but recommended!). Serve it with a scoop of vanilla bean ice cream or a dollop of whipped cream for an extra decadent treat. And for COZY SNACKS, which is how my family eats most of it, it’s perfect with a warm mug of tea or cider on a chilly afternoon. My kids ask for this all the time when they get home from school, and it’s just so comforting.
Top Tips for Perfecting Your Grandma’s Secret Zucchini Bread
Over the years, I’ve picked up a few tricks that make this zucchini bread consistently amazing. Here are my top tips:
Zucchini Prep: The key to moist zucchini bread without a soggy texture is getting rid of excess water. While Grandma didn’t always bother, I find grating the zucchini and then gently squeezing out some of the excess moisture with my hands or a clean kitchen towel makes a big difference. You don’t need to wring it out bone dry, just get rid of the really watery bits. Fresh zucchini is best; if yours has been sitting around for a while, it might be a bit more watery.
Mixing Advice: I can’t stress this enough: do NOT overmix the batter! Once the wet and dry ingredients are just combined, stop stirring. A few small lumps are fine. Overmixing develops the gluten in the flour, leading to a tough, chewy bread instead of a tender, melt-in-your-mouth crumb. Use a gentle hand and a rubber spatula for the best results.
Swirl Customization: While Grandma’s recipe is a classic loaf, if you want to add some pizzazz, you can create swirls. After you’ve folded the zucchini into the batter, divide the batter in half. In one half, mix in about 1/2 cup of chocolate chips or chopped nuts. Spoon alternating dollops of the plain and the “add-in” batter into your loaf pan and use a knife to gently swirl them together for a marbled effect. It looks fancy, but it’s super easy!
Ingredient Swaps: If you’re out of all-purpose flour, you can try a gluten-free all-purpose blend that contains xanthan gum. The texture might be slightly different, but it’s usually a good substitute. For the oil, melted and slightly cooled coconut oil works well, and I’ve even used a light olive oil in a pinch, though it can impart a very subtle flavor. For a dairy-free option, any unsweetened non-dairy milk (almond, soy, oat) works perfectly in the glaze.
Baking Tips: Oven temperatures can be tricky! If you find your bread browns too quickly on top before the center is cooked, loosely tent the loaf pan with aluminum foil for the last 15-20 minutes of baking. Always do the toothpick test to ensure it’s cooked through – a clean skewer is your best friend here. Make sure your baking soda and baking powder are fresh; old leavening agents can lead to a flat, sad loaf.
Glaze Variations: The glaze is optional, but it really elevates this bread. If you want a thinner glaze, add a touch more milk. For a thicker glaze, use less milk or more powdered sugar. You can also add a pinch of cinnamon to the glaze or even a little lemon zest for a brighter flavor. If you’re not a fan of glaze, a simple dusting of powdered sugar or a sprinkle of chopped nuts on top before serving looks lovely too.
Storing and Reheating Tips
One of the best things about this zucchini bread is how well it keeps. I’ve made this dish dozens of times and always have leftovers, so I’ve figured out the best ways to store it. At ROOM TEMPERATURE, an uncut loaf can stay fresh for about 2-3 days when stored in an airtight container or well-wrapped in plastic wrap at room temperature. Once sliced, it’s best to consume it within a day or two to maintain its moisture. For REFRIGERATOR STORAGE, wrap the cooled loaf tightly in plastic wrap and then place it in an airtight container. It will stay good for up to a week. The texture might firm up slightly in the fridge, but that’s okay. When you want to eat it, just let it come to room temperature for about 15-20 minutes, or pop a slice in the toaster for a warm, comforting treat. If you need to FREEZER INSTRUCTIONS, this bread freezes beautifully! Wrap the cooled, unfrosted loaf tightly in plastic wrap, then in a layer of aluminum foil, and finally place it in a freezer-safe bag or container. It can be stored in the freezer for up to 3 months. To thaw, unwrap it and let it come to room temperature, or thaw slices in the microwave on a defrost setting. For the GLACE TIMING ADVICE, it’s best to add the glaze *after* the bread has cooled completely, especially if you plan to store it. If you’re freezing it, it’s often best to freeze it *without* the glaze and add it once it’s thawed and ready to serve. This prevents the glaze from cracking or becoming sticky during the freezing and thawing process.
Frequently Asked Questions
Final Thoughts
There you have it – Grandma’s Secret Zucchini Bread, my absolute go-to for turning a garden surplus into pure deliciousness. It’s proof that sometimes the simplest ingredients can create the most incredible flavors and textures. This recipe is more than just a way to use up zucchini; it’s a reminder of cozy afternoons in my Grandma’s kitchen, the comforting aroma filling the air, and the joy of sharing something homemade with loved ones. It’s easy, it’s forgiving, and the taste is simply unmatched. If you’re a fan of moist, flavorful quick breads, or if you’re looking for a fantastic way to enjoy those summer zucchinis, you absolutely have to give this a try. It’s a recipe that just keeps on giving. I can’t wait to hear how yours turns out! Let me know in the comments below if you try it, or if you have your own special twists on zucchini bread. Happy baking!
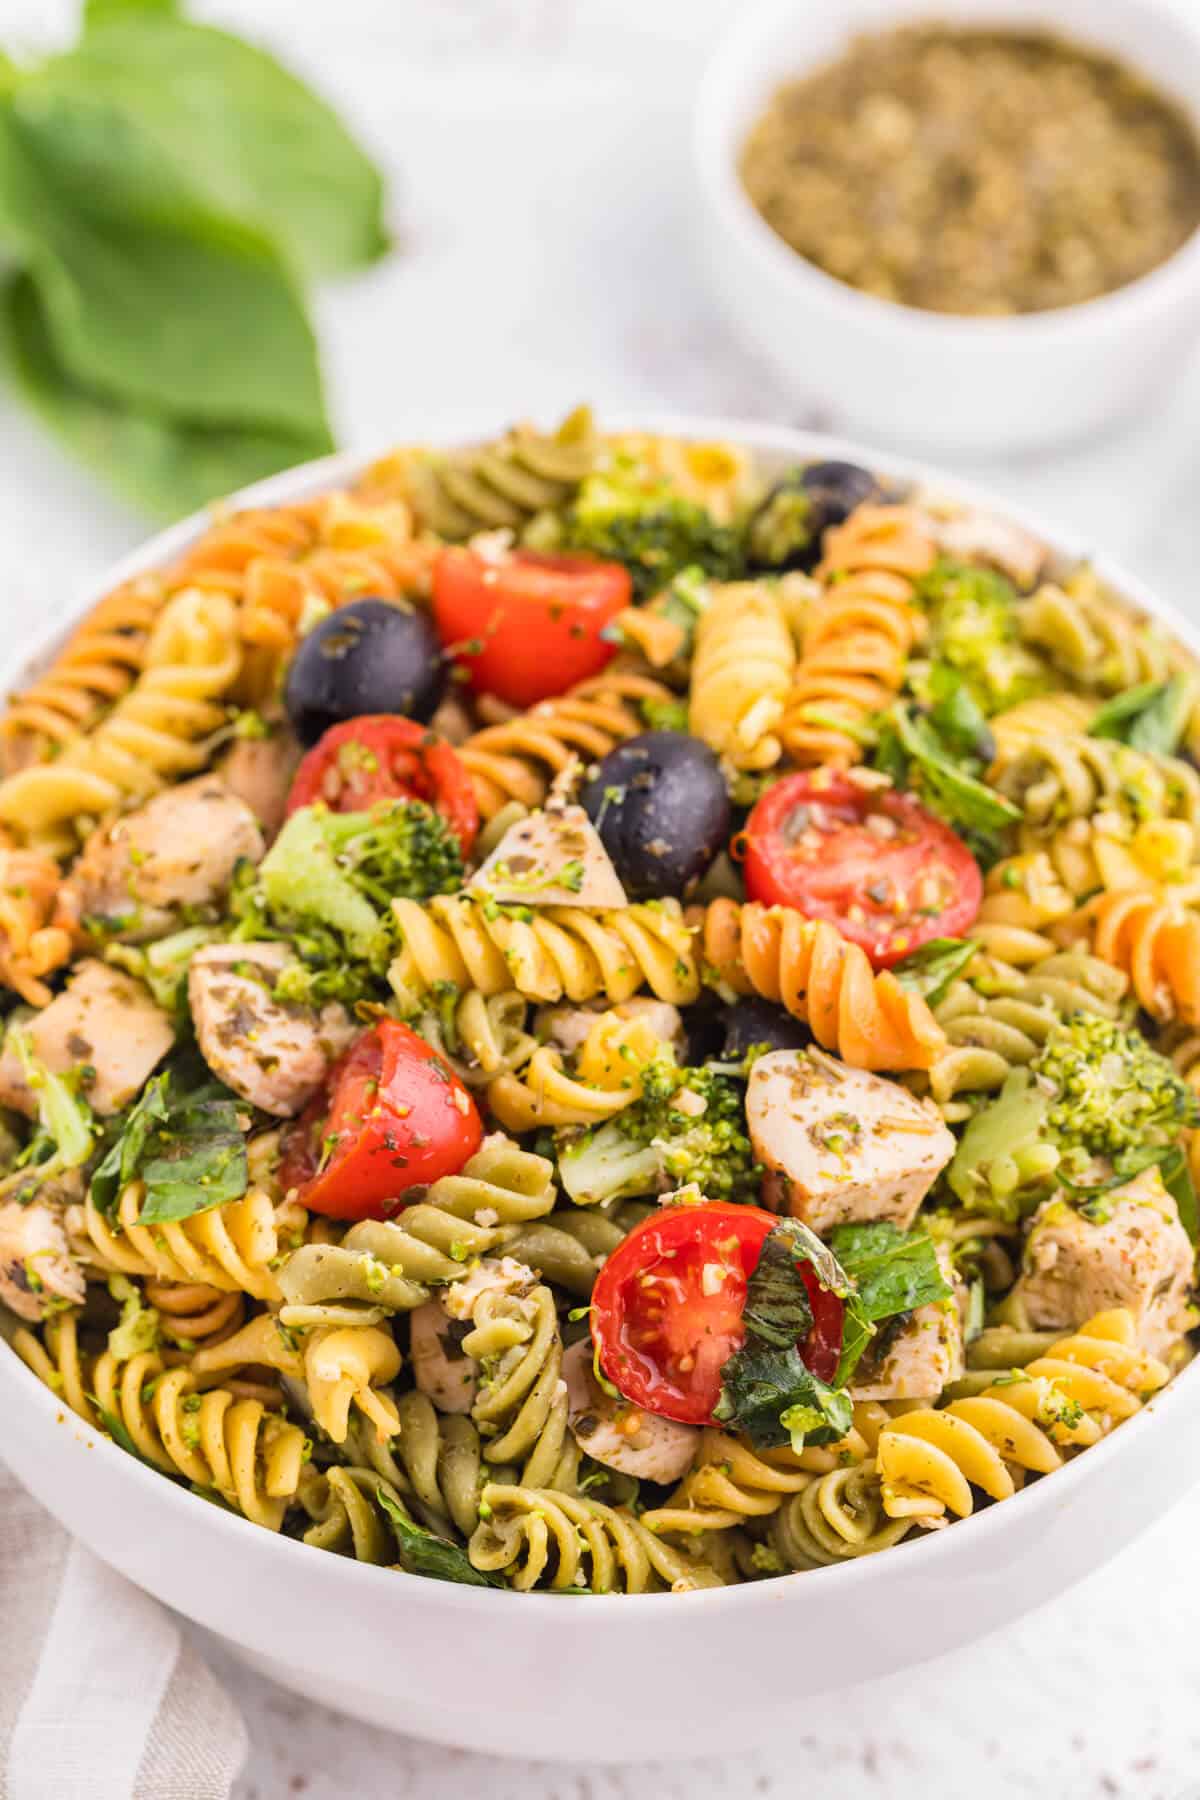
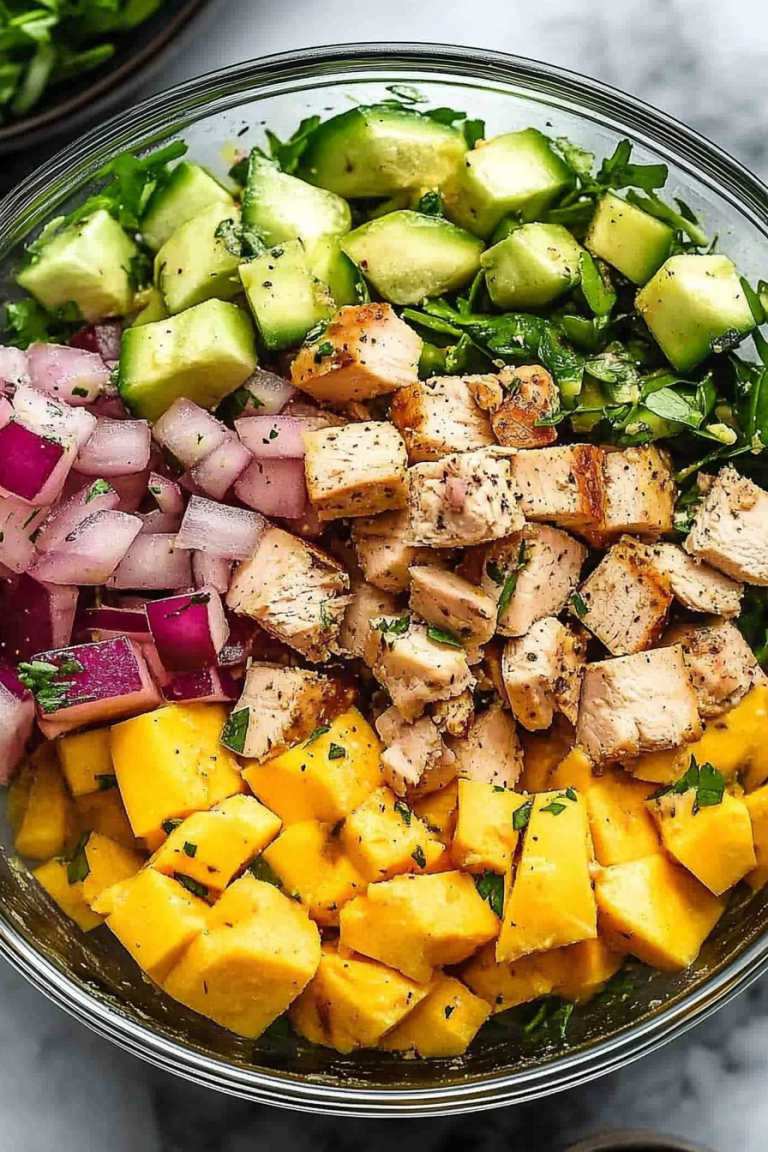
pesto chicken pasta salad
Ingredients
Method
- Cook pasta according to package directions. During the last 4 minutes of cooking time, add in the broccoli to the pot. Drain well and transfer to a large mixing bowl.
- To the bowl with pasta and broccoli, add the diced cooked chicken, halved cherry tomatoes, chopped fresh basil, pitted black olives, pesto, salt, and black pepper. Stir gently to combine all ingredients thoroughly.
- Cover the bowl and store the pesto chicken pasta salad in the refrigerator for at least 30 minutes before serving to allow the flavors to meld. Serve chilled.