Cheesy Mushroom Tortellini Easy Weeknight Dinner
Okay, so picture this: it’s a lazy Saturday morning, the sun is just starting to peek through the kitchen curtains, and you can practically smell the cinnamon and sugar wafting through the air. That’s the kind of magic this zucchini bread brings into my home. It’s not just any zucchini bread, mind you. This is the one. The one that makes my husband groan with delight, the one my kids devour faster than you can say “more, please!”, and the one I turn to when I need a serious dose of comfort without a whole lot of fuss. I know, I know, zucchini bread might sound a little… well, healthy, right? But trust me on this one, this recipe is so incredibly moist, tender, and bursting with flavor, it’ll make you forget all about the sneaky veggies hidden inside. It’s like a hug in loaf form, and honestly, it’s become my go-to when I’m craving something sweet but don’t want to commit to a whole complicated cake. Think of it as my secret weapon for deliciousness on any day.
What is this delicious Zucchini Bread?
So, what exactly makes this zucchini bread so darn special? Well, at its heart, it’s a wonderfully moist quick bread that uses shredded zucchini as its star ingredient. But don’t let that fool you into thinking it tastes like a salad! The zucchini, when baked, melts into the batter, contributing an unbelievable tenderness and moisture that you just can’t get from other ingredients. It’s a bit like the secret ingredient in a super-moist chocolate cake, but with a flavor profile that’s all its own – warm, slightly sweet, and perfectly spiced. It’s essentially a fluffy, flavorful cake disguised as a loaf, making it completely appropriate for breakfast, dessert, or a sneaky midnight snack. The name itself, “The Best Damn Zucchini Bread,” isn’t just for show; it’s a badge of honor earned through countless batches and rave reviews from everyone who tries it. It’s simple, honest, and utterly delicious.
Why you’ll love this recipe?
Honestly, where do I even begin with why I adore this zucchini bread? First off, the flavor is just out of this world. It’s got that perfect balance of warm spices – cinnamon and nutmeg are my go-tos – that make it smell like pure happiness while it’s baking. But it’s the texture that really seals the deal. It’s impossibly moist and tender, with a beautiful crumb that just melts in your mouth. And you know what I love most? How unbelievably simple it is. Even if you’re not a seasoned baker, you can whip this up in no time. Seriously, I’ve made this on a Tuesday evening after a crazy day, and it was ready before my kids could even finish complaining about their homework. Plus, it’s surprisingly budget-friendly. Zucchini is usually pretty affordable, and the rest of the ingredients are pantry staples. It’s also incredibly versatile. I’ll get to more on that later, but you can pretty much customize it to your heart’s content. Compared to other quick breads I’ve tried, this one just has that special *something*. It’s the kind of recipe that makes you feel like a baking rockstar, even when you’re just tossing ingredients into a bowl.
How do I make the best Zucchini bread?
Quick Overview
This recipe is all about effortless deliciousness. You’ll basically be whisking together your wet and dry ingredients separately, then gently combining them before folding in the star of the show: shredded zucchini. A quick swirl of some optional cinnamon-sugar or chocolate chips adds an extra layer of indulgence. Then, it bakes up into a golden-brown, fragrant loaf that’s perfect for slicing and sharing (or not!). The beauty of this method is its simplicity – no fancy equipment needed, just a bowl, a whisk, and a baking pan. It’s truly a lifesaver when you need a quick, crowd-pleasing treat.
Ingredients
For the Main Batter:
Here’s where the magic starts. I always make sure my zucchini is fresh; it makes a big difference in moisture content. You’ll need about 2 cups of finely shredded zucchini – and don’t wring out ALL the moisture, a little bit of that natural liquid is gold! For flour, all-purpose is my go-to, but you can experiment. Eggs are essential for binding, and I prefer large ones. For sweetness and tenderness, granulated sugar and a touch of brown sugar are my secret. And of course, a good quality melted butter or a neutral oil like canola or vegetable oil for that ultimate moistness. Don’t forget your leavening agents: baking soda and baking powder work together to give it that perfect rise. A pinch of salt to balance everything out, and for the aromatics, you absolutely cannot skip the cinnamon and a whisper of nutmeg – it’s what makes it smell like home.
For the Filling (Optional, but Highly Recommended!):
This is where you can really have some fun! My absolute favorite addition is a swirl of cinnamon and brown sugar – it creates these little pockets of pure caramel-y goodness throughout the bread. Chocolate chips are another winner in my house, especially for the kiddos. Walnuts or pecans add a lovely crunch. You can even do a mix of these! If you’re going the cinnamon-sugar route, just mix some brown sugar with cinnamon and a pinch of flour. For chocolate chips, I like to use a mix of semi-sweet and dark for a deeper flavor. Just make sure your additions are roughly chopped if they’re large, so they distribute evenly.
For the Glaze (Optional):
This is totally optional, but oh-so-worth-it for that extra touch of sweetness and a pretty finish. A simple powdered sugar glaze is my favorite. I usually just whisk powdered sugar with a tiny bit of milk or water until it’s a pourable, but not too thin, consistency. Sometimes I add a splash of vanilla extract or even a little lemon zest for a brighter flavor. If you want it a bit more decadent, a cream cheese glaze is divine! The key is to get the consistency right – you want it to drizzle nicely without just running off the sides.
Step-by-Step Instructions
Step 1: Preheat & Prep Pan
First things first, get that oven preheating to 350 degrees Fahrenheit (that’s 175 degrees Celsius). This is crucial for an even bake. While it’s warming up, grab a standard 9×5 inch loaf pan. Grease it really well with butter or cooking spray, and then I like to lightly flour it too. This two-step process ensures that not a single crumb will stick, and you’ll get that perfect, clean slice every time. I learned the hard way, after a loaf got stuck once, and let me tell you, it was heartbreaking! So, grease and flour – don’t skip it!
Step 2: Mix Dry Ingredients
In a large bowl, whisk together your all-purpose flour, granulated sugar, brown sugar, baking soda, baking powder, salt, cinnamon, and nutmeg. Give it a really good whisk to make sure everything is evenly distributed. This step is important because it ensures that your leavening agents and spices are spread out perfectly, leading to an even rise and consistent flavor in every bite. You want it to look like one uniform mixture, no pockets of baking soda or clumps of cinnamon!
Step 3: Mix Wet Ingredients
In a separate medium bowl, whisk your eggs until they’re lightly beaten. Then, stir in your melted butter or oil, and vanilla extract if you’re using it. Make sure the butter or oil isn’t too hot, or it might scramble your eggs – just warm is perfect. This mixture should look smooth and well combined.
Step 4: Combine
Now, pour the wet ingredients into the bowl with the dry ingredients. Use a spatula or a wooden spoon to gently mix them together until they are *just* combined. Seriously, stop as soon as you don’t see any dry streaks of flour. Overmixing is the enemy of tender quick breads, it can make them tough. A few little lumps are totally fine; they’ll disappear during baking.
Step 5: Prepare Filling
If you’re adding the cinnamon-sugar swirl, just mix about 1/4 cup of brown sugar with 1 teaspoon of cinnamon and 1 tablespoon of flour in a small bowl. If you’re using chocolate chips or nuts, have them ready to go. This is your chance to add that extra bit of oomph!
Step 6: Fold in Zucchini & Add Filling
Gently fold your shredded zucchini into the batter. Again, be careful not to overmix. If you’re adding chocolate chips or nuts, stir them in now. If you’re doing a cinnamon-sugar swirl, spoon about half of the batter into your prepared loaf pan. Sprinkle half of your cinnamon-sugar mixture over the top, then add the remaining batter, and sprinkle the rest of the cinnamon-sugar mixture on top. You can then take a knife or a skewer and gently swirl it through the batter a few times to create those beautiful ribbons of flavor.
Step 7: Bake
Pop that pan into your preheated oven. Bake for about 50-65 minutes. Now, ovens can be finicky, so I always recommend checking for doneness around the 50-minute mark. You’ll know it’s ready when a wooden skewer or toothpick inserted into the center comes out clean, or with just a few moist crumbs attached (but no wet batter!). If it’s browning too quickly on top, you can loosely tent it with aluminum foil.
Step 8: Cool & Glaze
Once it’s baked, take the loaf pan out of the oven and let it cool in the pan for about 10-15 minutes. This allows it to set up a bit. Then, carefully invert the loaf onto a wire rack to cool completely. It’s really important to let it cool completely before glazing, otherwise, the glaze will just melt off! Once it’s totally cool, drizzle your prepared glaze over the top. Let the glaze set for a bit before slicing.
Step 9: Slice & Serve
The hardest part is waiting for it to cool! Once the glaze is set (or if you skipped the glaze), use a serrated knife to slice it. The smell at this point is just divine. I usually serve it at room temperature, but it’s also lovely slightly warm. The texture is just perfect, and the flavor combination is pure bliss. Enjoy every single bite!
What to Serve It With
Oh, the possibilities! This zucchini bread is so versatile, it truly fits into any part of your day. For a simple breakfast, I love a thick slice just as it is, maybe with a dollop of plain Greek yogurt or a smear of butter. It’s honestly so good, you don’t need much else. Paired with a hot cup of coffee or a glass of freshly squeezed orange juice, it’s a perfect start to any morning. When it comes to brunch, this loaf really shines. You can serve it alongside scrambled eggs, crispy bacon, and a fresh fruit salad. For a slightly more elegant presentation, you can arrange slices on a pretty platter with some fresh berries and a dusting of powdered sugar. It’s a crowd-pleaser that everyone will rave about! As a dessert, it’s an absolute winner. I love serving a warm slice with a scoop of vanilla bean ice cream or a drizzle of caramel sauce. It’s decadent enough for a special occasion but still feels comforting and homey. And for those cozy snacks moments? This is it. It’s perfect with a mug of tea in the afternoon or even a late-night treat when you’re craving something sweet but don’t want to feel weighed down. My kids love it with a glass of cold milk, and honestly, I can’t blame them! It’s the ultimate comfort food, perfect for any time of day.
Top Tips for Perfecting Your Zucchini Bread
After making this recipe more times than I can count, I’ve picked up a few tricks that really elevate it from good to absolutely incredible. For zucchini prep, the key is to shred it finely. I use the small holes on my box grater. While you don’t need to wring out *all* the moisture (that’s what makes it moist!), if your zucchini is super watery, squeezing out just a *little* excess can prevent the bread from being too dense. Just a gentle squeeze is all it needs. When it comes to mixing advice, remember my earlier warning: do NOT overmix. Seriously, I’ve been guilty of this a time or two, and it results in a tougher loaf. Mix until just combined – a few lumps are better than a tough bread. For swirl customization, if you’re doing the cinnamon-sugar swirl, be generous! It creates these amazing pockets of spiced sweetness. For visual appeal, I like to swirl it gently, just a couple of passes, so you get distinct ribbons rather than a muddy mess. Now, for ingredient swaps, I’ve experimented a lot! If you don’t have butter, a neutral oil like canola or vegetable works beautifully and keeps it super moist. I’ve also tried a mix of whole wheat and all-purpose flour with good results, though it might make the bread slightly denser. For the sweeteners, you can adjust the sugar to your preference, but remember sugar also contributes to moisture and tenderness. When it comes to baking tips, always trust your oven. The baking time is a guideline. Use the toothpick test religiously! If your loaf starts browning too quickly, tent it loosely with foil. I usually bake mine on the middle rack for the most even heat distribution. Finally, for glaze variations, a simple powdered sugar glaze is great, but for a richer flavor, try adding a touch of melted cream cheese or a bit of almond extract for a different nutty note. Adjust the liquid to get your desired drizzle consistency – thick enough to coat, thin enough to flow.
Storing and Reheating Tips
Proper storage is key to keeping this zucchini bread tasting its best. For room temperature storage, once it’s completely cooled (and the glaze has set!), I like to wrap it tightly in plastic wrap or place it in an airtight container. It will stay fresh and delicious for about 2-3 days at room temperature. It’s perfect for those times when you just want a quick slice without any fuss. If you need it to last a bit longer, refrigerator storage is your best bet. Wrap it well in plastic wrap, then foil, or keep it in an airtight container in the fridge. It should stay good for about 5-7 days. I find that the texture remains wonderfully moist when refrigerated. Now, for freezer instructions, this bread freezes beautifully, which is a lifesaver! Once it’s completely cool, wrap the entire loaf (or individual slices) very tightly in plastic wrap, then in a layer of aluminum foil, or place it in a freezer-safe bag. It can stay frozen for up to 3 months. To thaw, just unwrap it and let it come to room temperature on the counter. If you froze it without glaze, you can add a fresh glaze once it’s thawed. For glaze timing advice, if you plan to store it at room temperature or in the fridge, it’s best to add the glaze just before serving or on the day you plan to eat it, as glazes can sometimes get a bit sticky or weepy with longer storage. If freezing, I highly recommend freezing it *without* the glaze and adding it after thawing for the best results.
Frequently Asked Questions
Final Thoughts
So there you have it – my absolute favorite zucchini bread recipe. It’s the one that never fails, always gets devoured, and brings so much joy to my kitchen. I truly believe this recipe has the power to convert even the most skeptical zucchini-lover. The combination of moist, tender crumb and warm, comforting spices is just pure magic. It’s proof that simple ingredients can create something truly extraordinary. If you love this recipe, you might also enjoy my Chocolate Chip Banana Bread or my Lemon Blueberry Scone recipe – they’re also family favorites that deliver on flavor and ease! I really hope you give this zucchini bread a try. I can’t wait to hear what you think and how it turns out in your kitchen! Let me know in the comments below if you make it, and if you have any fun variations you tried!
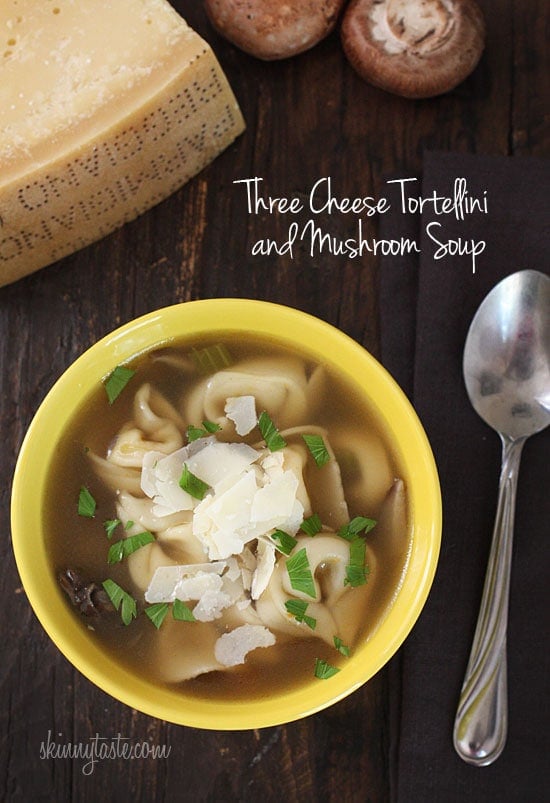
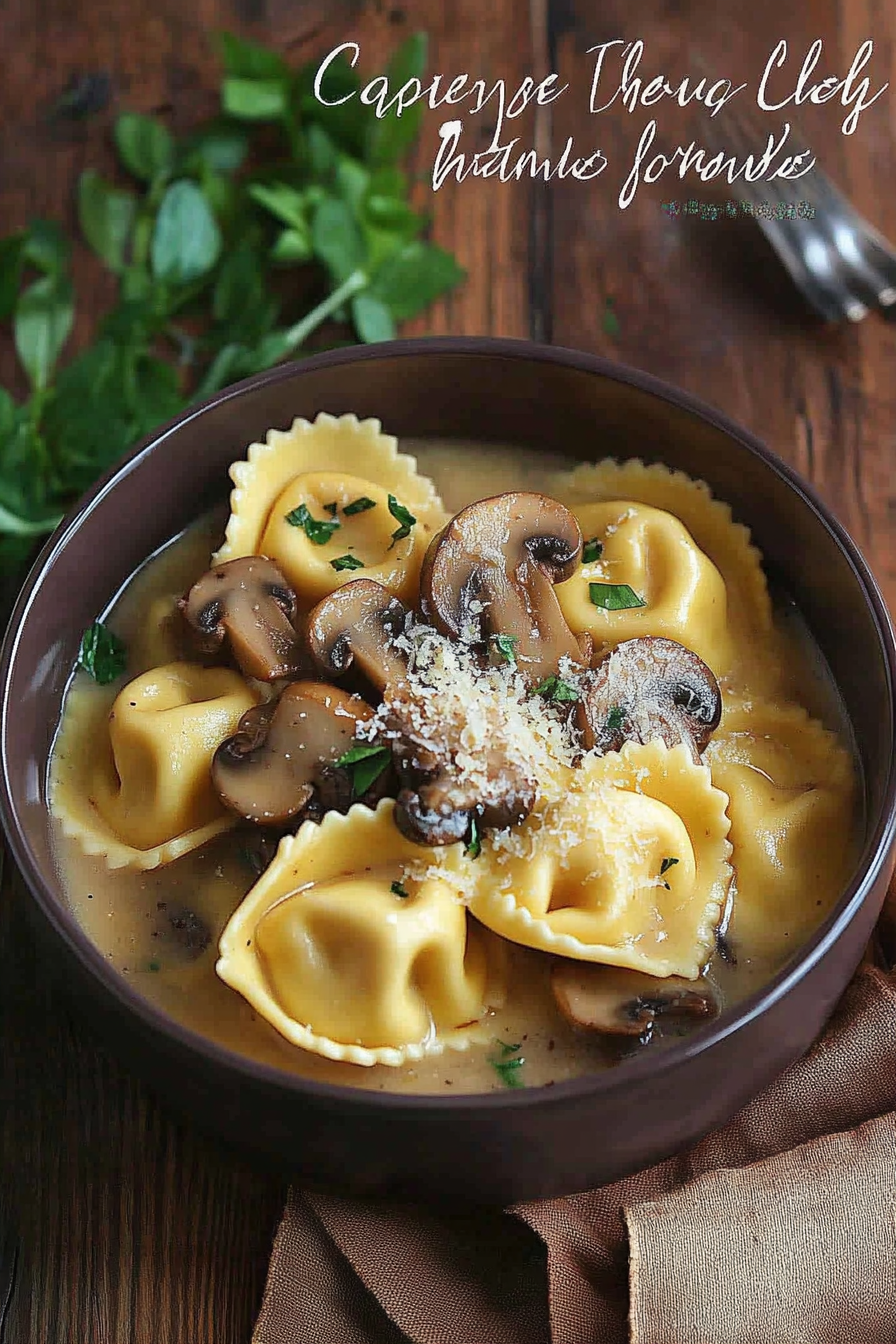
cheesy mushroom tortellini
Ingredients
Method
- In a large pot, melt the butter over medium-low heat. Add the celery, onion, carrot, and garlic, cover and reduce heat to low and cook for approximately 8-10 minutes until vegetables begin to soften.
- Add the chicken broth, water, mushrooms, and cheese rind. Increase heat to medium-high and bring to a boil. When broth boils, add salt (to taste) and black pepper; stir to combine. Reduce heat to low, simmer until mushrooms are soft, about 20 minutes. Add tortellini and cook according to package directions for al dente.
- Once cooked, remove the rind, stir to combine and garnish with freshly grated Parmigiano Reggiano if desired. Serve warm.