Monster Easter Cookies How To Make Them
There are some recipes that just feel like a warm hug, you know? The kind you pull out when you need a little comfort, a little sweetness, and a whole lot of “I can totally make this.” For me, that recipe is this zucchini bread. I know, I know, zucchini bread sounds a bit… healthy-ish, right? But trust me on this one. This isn’t just *any* zucchini bread. This is the one that has my kids practically begging for seconds, the one that disappears in minutes at potlucks, and the one I’ve perfected over countless weekends, tweaking and tasting until it was just right. It’s ridiculously moist, packed with cinnamon-y goodness, and has this subtle sweetness that’s just… perfect. If you’ve ever loved a good banana bread, you are going to adore this zucchini bread. It’s the kind of treat that makes your kitchen smell absolutely heavenly and instantly makes you feel like you’ve accomplished something wonderful, even if you’re just throwing it together on a Tuesday night.
What is Zucchini bread?
So, what exactly *is* zucchini bread, beyond the obvious vegetable component? Think of it as a super-moist, incredibly tender quick bread where finely grated zucchini is the secret ingredient. It doesn’t taste like zucchini at all, I promise! What the zucchini does is add incredible moisture and a lovely, tender crumb, kind of like how applesauce makes muffins extra soft. It’s essentially a cake-like bread that’s perfect for breakfast, a snack, or even dessert. The name just refers to the star ingredient that makes it so wonderfully gooey and delicious. It’s not fancy, it doesn’t require any special equipment, and the “bread” part just means it’s less fussy than a full-blown cake. It’s the ultimate crowd-pleaser that sneaks in a bit of goodness without anyone even noticing.
Why you’ll love this recipe?
What is the secret behind zucchini bread?flavor is just out of this world. It’s got this perfect balance of warm spices – cinnamon is my favorite, but a touch of nutmeg is divine too – and a natural sweetness that’s not overpowering at all. The texture is what really seals the deal for me. It’s incredibly moist, almost decadent, with a tender crumb that melts in your mouth. I’ve tested this with almond milk and it actually made it even creamier!
What is the second part of the puzzle?simplicity. Seriously, this is a lifesaver on busy nights. You can have it mixed and in the oven in about 15 minutes. No creaming butter and sugar for ages, no complicated steps. It’s just a matter of whisking dry, whisking wet, and combining. It’s the kind of recipe that makes you feel like a baking superstar without all the fuss. And let’s talk about cost-efficiency. Zucchini is usually pretty affordable, especially when it’s in season, and the other ingredients are pantry staples. It’s a delicious treat that won’t break the bank.
Plus, the versatility! While I adore it plain with a simple dusting of powdered sugar, it’s also amazing with a creamy cream cheese frosting or a classic vanilla glaze. You can toss in chocolate chips, walnuts, or even a swirl of jam. This recipe is a fantastic base for all sorts of delicious additions. What I love most about this is that it’s perfect when you’re craving something sweet at 10 pm but don’t want to bake a whole cake. It feels indulgent but is surprisingly easy to whip up. It’s a dish that truly delivers on flavor, ease, and pure comfort.
How to Make My Ultimate Zucchini Bread
Quick Overview
The process is wonderfully straightforward: whisk together your dry ingredients, whisk together your wet ingredients, then gently combine them. Grated zucchini goes in, gets mixed through, and then it’s all poured into a prepared loaf pan. Bake until golden and a skewer comes out clean, then let it cool before indulging. It’s so forgiving, which is why I love it for beginners and seasoned bakers alike. The magic happens in how the zucchini infuses every bite with incredible moisture, making it a truly standout quick bread.
Ingredients
For the Main Batter:
Let’s talk about what goes into this magical loaf. You’ll need:
- All-Purpose Flour: About 2 cups. I always use unbleached flour because I find it gives a slightly better texture, but regular all-purpose is perfectly fine. Sift it if you want an extra-light crumb, but honestly, I often just whisk it well in the bowl.
- Granulated Sugar: 1 cup. This is where a lot of the sweetness comes from, and it also helps with the tender texture.
- Baking Soda: 1 teaspoon. This is our leavening agent, giving our bread its lift. Make sure it’s fresh!
- Salt: ½ teaspoon. Essential for balancing sweetness and bringing out other flavors.
- Ground Cinnamon: 2 teaspoons. This is my happy place spice! Don’t be shy with it.
- Nutmeg (Optional but Recommended): ¼ teaspoon. Just a pinch adds a wonderful depth of flavor that pairs beautifully with cinnamon.
- Eggs: 2 large. Room temperature is best as they incorporate more easily.
- Vegetable Oil or Melted Butter: ½ cup. Oil makes it extra moist and keeps it tender for days. Melted butter adds a lovely richness. I’ve had great results with both!
- Vanilla Extract: 1 teaspoon. A classic for a reason, it enhances all the other flavors.
- Grated Zucchini: 1 ½ cups, packed. This is the star! Make sure it’s finely grated. You don’t need to peel it – the skin adds nutrients and color. Just give it a good rinse and grate away. Squeeze out *some* of the excess moisture, but not all of it. We want that moisture for tenderness!
For the Optional Chocolate Chips:
If you’re feeling extra decadent, which I often am:
- Chocolate Chips: 1 cup. Semi-sweet or dark chocolate chips are my favorite here.
For the Simple Glaze (Optional):
This makes it feel extra special!
- Powdered Sugar: 1 cup. Sifted if you want a super smooth glaze.
- Milk or Cream: 2-3 tablespoons. Start with 2 and add more until you get your desired drizzling consistency.
- Vanilla Extract: ½ teaspoon. For an extra hint of flavor.
Step-by-Step Instructions
Step 1: Preheat & Prep Pan
First things first, get your oven preheated to 350°F (175°C). Now, grab a standard 9×5 inch loaf pan. You can grease it well with butter or cooking spray, and then dust it with a little flour. Or, even easier, line it with parchment paper, leaving some overhang on the sides. This makes lifting the bread out a breeze, and let me tell you, that’s a lifesaver when it’s hot and you’re eager to slice into it!
Step 2: Mix Dry Ingredients
In a large bowl, whisk together your flour, granulated sugar, baking soda, salt, cinnamon, and nutmeg (if you’re using it). Whisking them together thoroughly ensures that all the leavening and spices are evenly distributed. This is a small step, but it makes a big difference in preventing pockets of baking soda or uneven spice distribution.
Step 3: Mix Wet Ingredients
In a separate medium bowl, whisk together your eggs, vegetable oil (or melted butter), and vanilla extract until they’re well combined and slightly frothy. This creates our moist base.
Step 4: Combine
Now, pour the wet ingredients into the bowl with the dry ingredients. Gently fold them together using a spatula or wooden spoon until *just* combined. It’s really important not to overmix here! A few streaks of flour are okay. Overmixing develops the gluten in the flour, which can lead to a tough bread. Once it’s mostly combined, add your grated zucchini and chocolate chips (if using). Fold everything together until the zucchini is evenly distributed and the chocolate chips are mixed in. The batter will be thick.
Step 5: Prepare Filling
This step is really for the optional additions like chocolate chips or nuts. If you’re adding chocolate chips, just toss them in with the batter in the previous step. If you’re feeling adventurous and want to do a swirl, you could whip up a quick cinnamon-sugar mixture or even a chocolate ganache to swirl in after you pour half the batter into the pan. But for the classic, the zucchini is all you need!
Step 6: Layer & Swirl
Pour the batter evenly into your prepared loaf pan. If you’re doing any swirling, this is your moment! You can drizzle a bit of extra cinnamon or a spoonful of jam on top and gently swirl with a knife. For a classic zucchini bread, just smooth the top. Give the pan a gentle tap on the counter to help settle the batter and release any large air bubbles.
Step 7: Bake
Pop the loaf pan into your preheated oven. Bake for about 50-60 minutes. The exact time can vary depending on your oven, so start checking around the 50-minute mark. You’ll know it’s done when the top is golden brown and a wooden skewer or toothpick inserted into the center comes out clean (or with a few moist crumbs attached, but no wet batter).
Step 8: Cool & Glaze
Once it’s baked, carefully remove the loaf pan from the oven and let it cool in the pan for about 10-15 minutes. Then, use the parchment paper overhang to lift the loaf out of the pan and place it on a wire rack to cool completely. I know it’s tempting to slice into it right away, but letting it cool properly helps the structure set and makes it easier to cut. Once it’s completely cool, you can make your glaze. Whisk together the powdered sugar, milk, and vanilla extract until smooth and drizzly. Drizzle it all over the top and let it set. It’s like the cherry on top of a perfect cake!
Step 9: Slice & Serve
Once the glaze is set (or if you’re skipping the glaze!), slice your beautiful zucchini bread with a serrated knife for clean cuts. Serve it at room temperature. This bread is delicious on its own, but it’s also fantastic with a smear of butter or cream cheese. Enjoy the fruits of your labor!
What to Serve It With
This zucchini bread is so versatile, it really fits into any meal or snack occasion! For breakfast, it’s simply divine with a hot cup of coffee. I love slicing off a warm piece and just savoring it while the coffee brews. It’s not too sweet for the morning, and the spices are so comforting.
If you’re hosting brunch, this is a guaranteed hit. Serve it alongside some fresh fruit salad, yogurt parfaits, or even a savory quiche. For a touch of elegance, a light dusting of powdered sugar or a delicate drizzle of the glaze looks so pretty. Pair it with a mimosa or a sparkling cider for a celebratory feel.
As a dessert, it’s perfect for satisfying a sweet craving without being overly heavy. Serve it with a scoop of vanilla bean ice cream or a dollop of whipped cream. The warmth of the spices in the bread is wonderfully complemented by the cool creaminess of the ice cream. It’s a wonderful after-dinner treat.
And for those cozy snacks? This is where it truly shines! It’s the ultimate comfort food. Curl up on the couch with a slice and a glass of milk, or have it with a cup of herbal tea. It’s the perfect companion for a good book or a movie night. My family traditions often involve a spontaneous “baking session” on a rainy afternoon, and this zucchini bread is always the star. It’s the kind of food that just makes people happy, no matter how you serve it.
Top Tips for Perfecting Your Zucchini Bread
Over the years, I’ve learned a few tricks that elevate this zucchini bread from good to absolutely phenomenal. Here are my top tips:
Zucchini Prep: The key to super moist zucchini bread is using fresh zucchini. When you grate it, you want it finely grated – like shredded cheese. You don’t need to peel it; the skin contains nutrients and adds to the lovely color. After grating, gently squeeze out *some* of the excess moisture, but don’t wring it out like a sponge. You want to retain a good amount of moisture for that signature tenderness. Too dry, and it’s just not the same! I usually press it lightly in my hands or a fine-mesh sieve.
Mixing Advice: This is crucial! When you combine the wet and dry ingredients, mix only until *just* combined. Seriously, don’t overmix. A few small streaks of flour left are totally fine; they’ll disappear during baking. Overmixing develops the gluten, which can make your bread tough and dense. We’re aiming for tender and fluffy, so gentle is the name of the game.
Swirl Customization: If you’re feeling creative and want to add a swirl, you can make a simple mixture of cinnamon and sugar (about 1 tablespoon cinnamon to ¼ cup sugar) or even a melted chocolate drizzle. Pour half the batter into the pan, sprinkle or drizzle your swirl mixture, then top with the remaining batter and swirl gently with a knife. It adds a beautiful visual element and an extra layer of flavor!
Ingredient Swaps: I’ve tinkered with this recipe a lot! For a richer flavor, you can swap the vegetable oil for melted unsalted butter. For an even more intense moistness and a slightly nutty flavor, I’ve had success using half oil and half unsweetened applesauce. If you’re out of granulated sugar, brown sugar works beautifully, though it might make the bread a touch darker and chewier.
Baking Tips: Every oven is different, so keep an eye on your bread. If it’s browning too quickly on top before the center is cooked, you can loosely tent it with aluminum foil for the last 15-20 minutes of baking. To test for doneness, insert a toothpick or thin skewer into the thickest part of the loaf. It should come out clean or with a few moist crumbs attached, not wet batter.
Glaze Variations: The simple powdered sugar glaze is lovely, but you can get creative! Add a tiny bit of lemon zest for a citrusy kick, or a teaspoon of instant coffee granules dissolved in a tablespoon of hot water for a mocha glaze. If you prefer a cream cheese frosting, just beat together 4 oz cream cheese, ¼ cup softened butter, and about 1 cup powdered sugar until smooth.
Storing and Reheating Tips
Proper storage is key to keeping your zucchini bread tasting as fresh and moist as possible. Here’s what I do:
Room Temperature: If you’re planning to eat it within 2-3 days, store the cooled loaf (un-glazed or glazed) in an airtight container or wrapped tightly in plastic wrap at room temperature. This is usually how long it lasts in my house anyway before it’s all gone! It stays perfectly moist and delicious.
Refrigerator Storage: If you need it to last a bit longer, up to a week, the refrigerator is your best bet. Wrap the cooled loaf tightly in plastic wrap, then in aluminum foil, or place it in an airtight container. The texture might become slightly firmer when cold, but it will still be good. When you’re ready to eat, you can enjoy it cold or pop a slice in the toaster for a few minutes.
Freezer Instructions: This bread freezes beautifully! This is a lifesaver for having delicious zucchini bread on hand whenever the craving strikes. Wrap the cooled loaf very tightly in plastic wrap, at least two layers, and then in a layer of aluminum foil or a freezer-safe bag. It should last for up to 3 months. Thaw overnight at room temperature or gently reheat in a low oven.
Glaze Timing Advice: If you’re going to freeze the bread, I highly recommend glazing it *after* it has thawed. Glaze applied before freezing can sometimes become sticky or melty during the thawing process. For room temperature or refrigerator storage, glaze it once the bread is completely cool.
Frequently Asked Questions
Final Thoughts
There you have it – my go-to recipe for the most wonderfully moist and flavorful zucchini bread. It’s the kind of recipe that feels like a little secret you can’t wait to share, and I truly hope it becomes a favorite in your kitchen too. It’s a testament to how simple ingredients can create something truly magical, and it’s proof that sometimes, the most comforting bakes are the ones that are a little bit healthier without sacrificing an ounce of flavor.
If you love this, you might also enjoy my recipe for My Famous Banana Bread or my Incredible Lemon Blueberry Scones. They share that same cozy, homemade goodness that just makes life a little sweeter.
I can’t wait to hear how yours turns out! Drop a comment below and tell me what you think, or share any fun variations you tried. Happy baking!
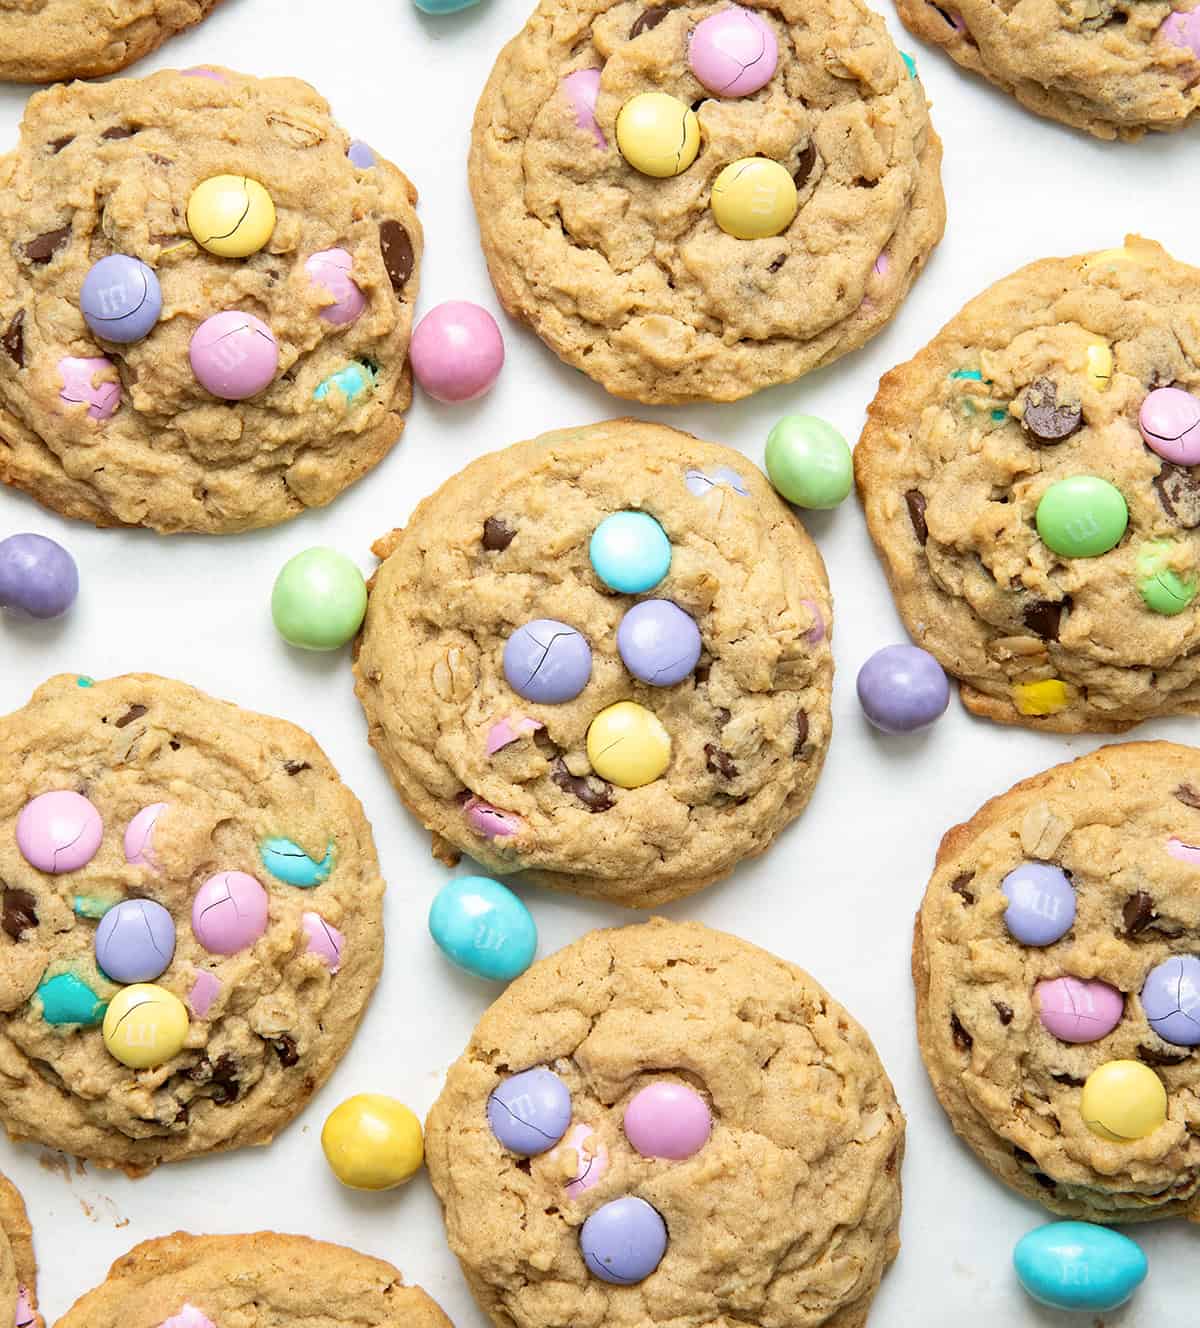
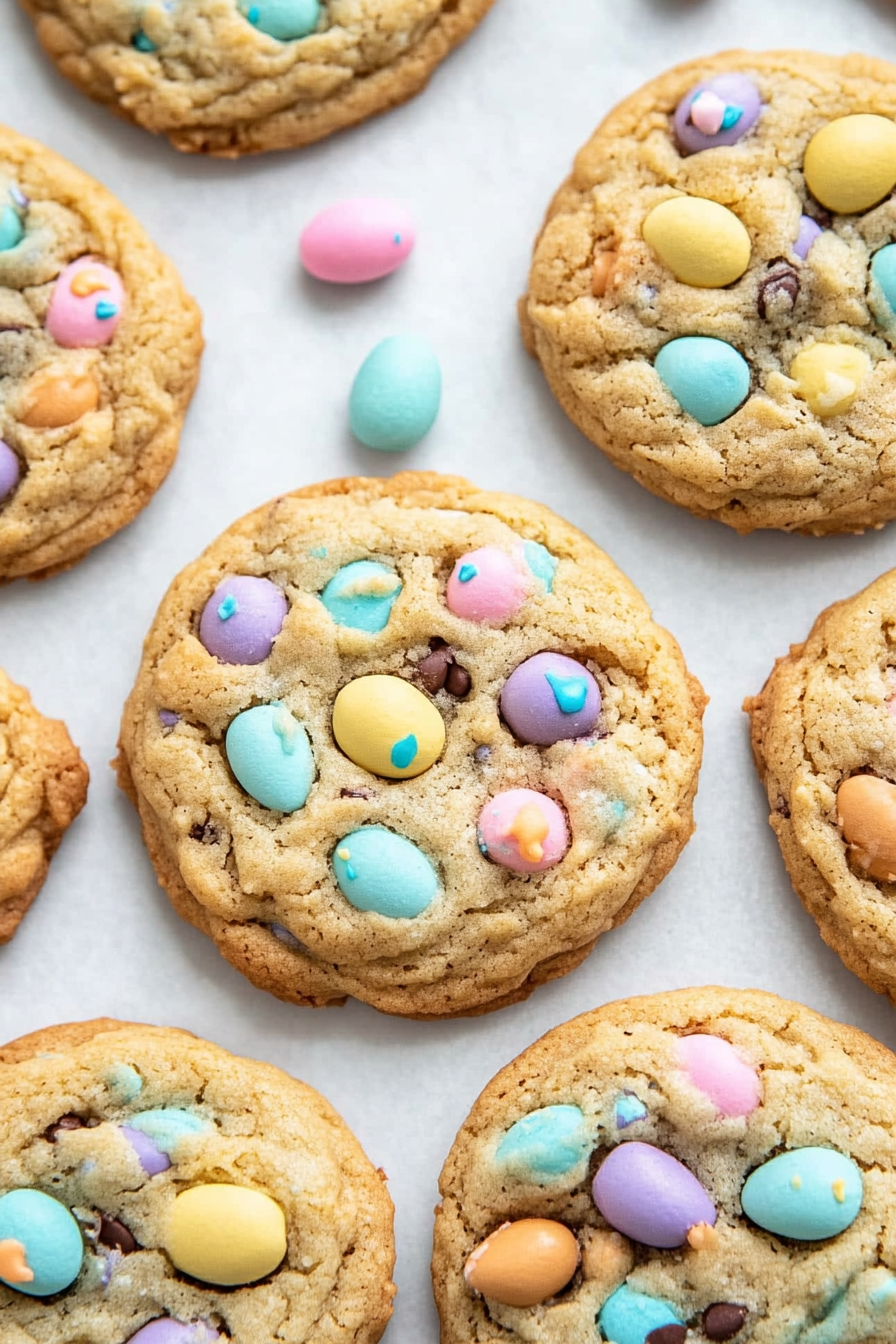
easter monster cookies
Ingredients
Method
- Line baking sheets with parchment paper. Set aside.
- In the bowl of a stand mixer with a paddle attachment (or using a handheld mixer), beat the butter on medium-high speed until smooth (about 1 minute).
- Add peanut butter. Beat for about 2 minutes, or until smooth.
- Add brown sugar. Cream together on medium-high speed for 2 minutes, until smooth.
- Add eggs, one at a time, mixing for 30 seconds after each addition. Scrape down the sides of the bowl and mix again if needed.
- With the mixer off, add flour, oats, baking soda, and salt. Mix on low until just combined, being careful not to overmix.
- With the mixer still on low (or by hand), add the M&M's, chopped peanut butter eggs, and chocolate chips. Mix until incorporated. (If using an electric mixer, only mix for a few seconds.)
- Using a 2-tablespoon scoop, drop dough onto the lined baking sheets about 2 inches apart. Top with extra Easter M&M's (optional).
- Chill the dough in the refrigerator for 30 minutes. (If chilling overnight, cover the dough.)
- When ready, preheat the oven to 350°F (175°C). Remove dough from the refrigerator.
- Bake for 10 minutes, or until the edges are lightly browned and the centers still look soft.
- Let the cookies cool on the baking sheet for a few minutes, then transfer to a wire rack to finish cooling.