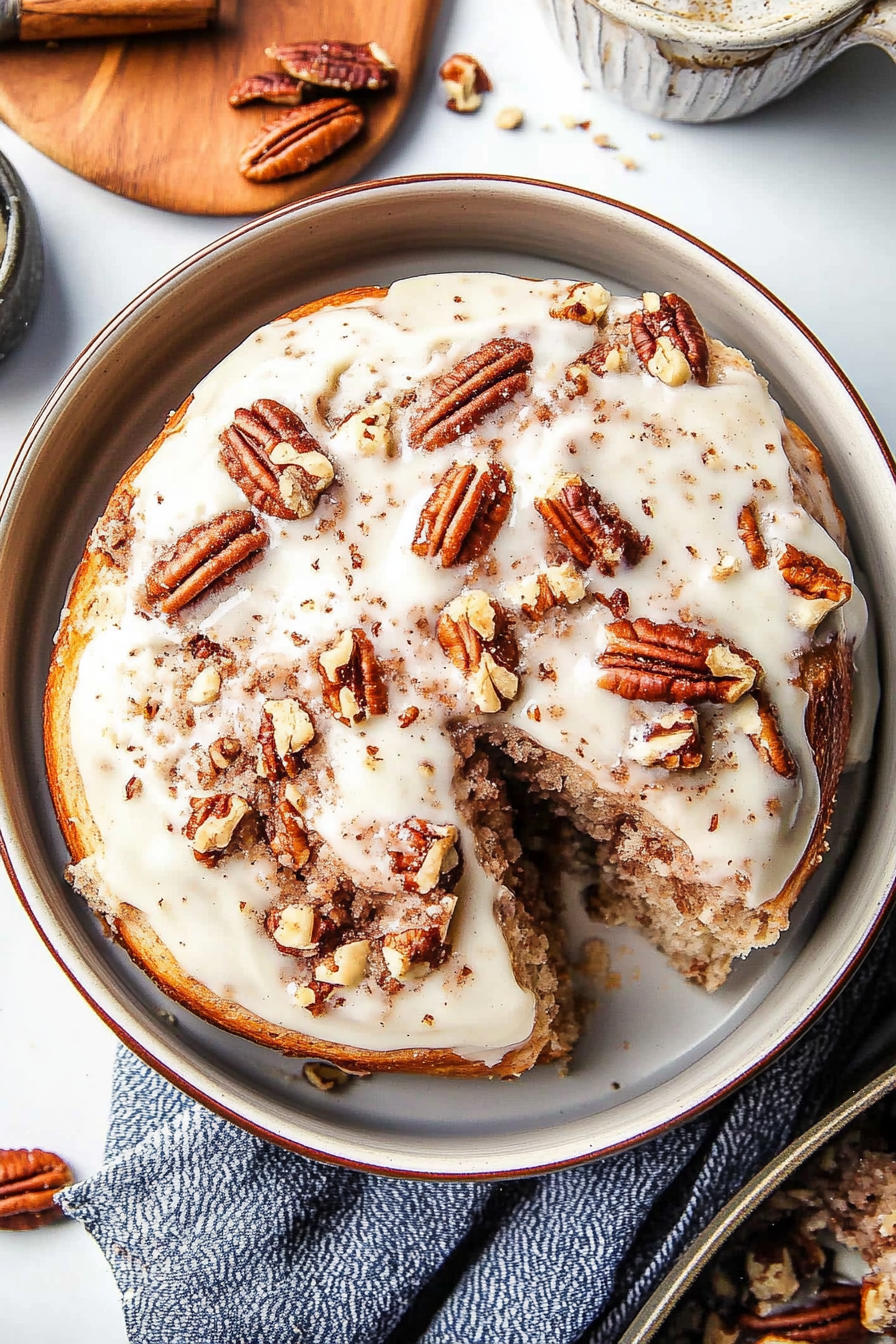
Easy Cinnamon Pecan Rolls Dreamy Frosting
Okay, so gather ’round, because I’m about to share a recipe that’s not just a recipe, it’s a hug in loaf form. This isn’t just *any* zucchini bread; this is *the* zucchini bread. The one that makes my kids stop mid-game to ask what that amazing smell is, the one I whip up when I need a little pick-me-up, and honestly, the one that makes me feel like a culinary superhero even on my most frazzled days. It’s so unbelievably moist and flavorful, it’s almost hard to believe it started with something as humble as zucchini. If you’ve ever made zucchini bread that turned out dry or just…meh, prepare to have your mind changed. This is the recipe that finally convinced my skeptical husband that yes, zucchini *can* be dessert. It’s got that perfect balance of sweet, a hint of spice, and a tender crumb that just melts in your mouth. Think of it as a sophisticated cousin to banana bread, but somehow even more satisfying. I first stumbled upon a version of this years ago, and after many kitchen experiments and a few happy accidents, I’ve perfected it into something truly special. This is the kind of baking that feels like coming home.
What is Zucchini bread?
So, what exactly *is* zucchini bread? At its heart, it’s a quick bread, meaning it uses chemical leaveners like baking soda or baking powder instead of yeast, so you don’t have to wait for dough to rise. The star ingredient, zucchini, might sound a little unusual for a sweet treat, but trust me, it’s a magician. When grated and baked, zucchini adds an incredible amount of moisture and a super tender texture to baked goods without imparting any strong vegetable flavor. It’s practically undetectable, working its magic behind the scenes. This particular zucchini bread leans into those qualities, embracing its role as a moist, flavorful loaf that’s perfect for breakfast, a snack, or even dessert. It’s essentially a cake-like batter enriched with grated zucchini, often spiced with cinnamon and sometimes nutmeg, and loaded with goodies like nuts or chocolate chips if you fancy. It’s one of those incredibly forgiving recipes that’s always a winner, no matter how you slice it.
Why you’ll love this recipe?
I love zucchini bread, and I know you will too. I love it. I love it. I love it. I love it. I love itflavor is just out of this world. It’s not overly sweet, but has this beautiful, warm spiced undertone that’s so comforting. The zucchini keeps it incredibly moist, giving it a tender crumb that’s just divine. You get hints of cinnamon and vanilla, and if you add chocolate chips (which I HIGHLY recommend!), you get those delightful little pockets of melted chocolate. It’s pure bliss in every bite. Then there’s the simplicity. Honestly, this is a lifesaver on busy weeknights or lazy weekend mornings. You can mix up the batter in about 15 minutes, and the rest is hands-off baking time. No fancy equipment needed, just a couple of bowls and a whisk. It’s the kind of recipe that makes you feel accomplished without feeling overwhelmed. And let’s talk about Cost-efficiency: What is the best way to measure cost-efficiency?! Zucchini is often super affordable, especially when it’s in season, and the other pantry staples are things you probably already have on hand. It’s a fantastic way to use up extra zucchini from the garden or the farmer’s market without breaking the bank. The versatility is another huge win. While I love it plain with a simple glaze, it’s also incredible with a dollop of cream cheese frosting, a scattering of chopped walnuts or pecans, or, as I mentioned, loads of chocolate chips. You can even add a little espresso powder to the batter for a mocha twist! It truly is perfect for any time of day. What I love most about this recipe, though, is the pure joy it brings. It’s the kind of treat that makes people smile, that sparks conversation, and that just makes everyday life a little bit sweeter. It’s the antithesis of dry, crumbly, disappointing baked goods. This is the recipe I’d bring to a potluck, a bake sale, or just to share with neighbors because I know it will be loved by everyone.
How to Make Zucchini Bread
Quick Overview
Making this incredible zucchini bread is surprisingly straightforward. You’ll basically whisk together your dry ingredients, mix your wet ingredients separately, then combine them gently. The grated zucchini gets mixed in with the wet ingredients, and the whole glorious mixture gets poured into a prepared loaf pan. After a good bake, it’s ready to be glazed and devoured. What makes this method special is how it ensures everything is perfectly hydrated and tender, leading to that signature moist crumb you’re going to obsess over. It’s all about mindful mixing and trusting the process.
Ingredients
For the Main Batter:
2 cups all-purpose flour: I always use unbleached flour for a better texture. Make sure to spoon it into your measuring cup and level it off; don’t scoop directly from the bag, or you’ll end up with too much flour!
1 teaspoon baking soda: This is crucial for getting that lovely lift.
1/2 teaspoon salt: Balances the sweetness and enhances all the other flavors.
1 teaspoon ground cinnamon: Essential for that warm, comforting spice note.
1/4 teaspoon ground nutmeg: Just a pinch adds a subtle warmth and depth. Don’t skip it!
1 1/2 cups granulated sugar: You can reduce this slightly if you prefer a less sweet bread, but I find this is the perfect amount for a wonderfully moist loaf.
2 large eggs: At room temperature, they incorporate much better into the batter.
3/4 cup vegetable oil: Or canola oil. This is what makes it so incredibly moist. I’ve also experimented with light olive oil, which gives it a slight Mediterranean vibe that’s surprisingly delicious!
1/4 cup milk: I use whole milk for richness, but any milk will work. You could even try almond milk for a slightly different flavor profile.
1 teaspoon vanilla extract: Pure vanilla extract makes a world of difference!
2 cups grated zucchini: Make sure to squeeze out as much liquid as possible. This is key to avoiding a soggy bread. I usually use a fine grater.
For the Filling (Optional, but highly recommended!):
1 cup chocolate chips: Semi-sweet or dark chocolate chips are my go-to. Milk chocolate works too if that’s your preference!
1/2 cup chopped walnuts or pecans: Toasted for extra flavor, if you have the time!
For the Glaze:
1 cup powdered sugar: Sifted for a perfectly smooth glaze.
2-3 tablespoons milk: Start with 2 and add more, a teaspoon at a time, until you reach your desired drizzling consistency. You can also use lemon juice for a brighter flavor.
1/2 teaspoon vanilla extract: For a little extra flavor boost.
Step-by-Step Instructions
Step 1: Preheat & Prep Pan
First things first, get that oven preheating to 350 degrees Fahrenheit (175 degrees Celsius). This is a pretty standard baking temperature, so your oven should have no problem with it. While it’s warming up, grab a standard 9×5 inch loaf pan. You want to make sure your bread doesn’t stick, so grease it really well with butter or cooking spray, and then I like to lightly flour it too. Some people prefer to line it with parchment paper, leaving some overhang to make lifting the bread out super easy. Either way works, but a well-greased and floured pan is a must!
Step 2: Mix Dry Ingredients
In a large bowl, whisk together your flour, baking soda, salt, cinnamon, and nutmeg. Give it a good whisk to make sure everything is evenly distributed. This step is important because it ensures your leavening agents and spices are spread throughout the batter, which means an even rise and consistent flavor in every slice. You don’t want a bite that’s overly cinnamony or a bite that’s a little bland!
Step 3: Mix Wet Ingredients
In a separate medium bowl, whisk together the granulated sugar, eggs, vegetable oil, milk, and vanilla extract. Whisk until everything is well combined and the mixture is smooth and slightly lighter in color. Having your eggs at room temperature really helps them emulsify better with the oil and sugar, creating a smoother, more cohesive wet ingredient mixture.
Step 4: Combine
Now, pour your wet ingredients into the bowl with your dry ingredients. Stir just until *barely* combined. I cannot stress this enough: do not overmix! Overmixing develops the gluten in the flour, which can lead to a tough, rubbery loaf. You want to see just a few streaks of dry flour remaining. It’s okay! We’re going to add the zucchini next, which will help incorporate everything further. Once your zucchini is squeezed dry, add it to the batter and gently fold it in until it’s evenly distributed. If you’re adding chocolate chips or nuts, now’s the time to gently fold those in too.
Step 5: Prepare Filling
If you’re adding chocolate chips or nuts, you’ve already done this in Step 4 when you folded them into the batter! That’s the beauty of this recipe – it’s all integrated. For this particular zucchini bread, there isn’t a separate “filling” step that you swirl in, unless you want to get fancy and make a cinnamon-sugar swirl. But for the classic, you’re just folding your add-ins directly into the main batter.
Step 6: Layer & Swirl
Pour your batter evenly into the prepared loaf pan. If you’ve added chocolate chips or nuts, give the top a gentle spread so they’re distributed well. Since this isn’t a swirled loaf, there’s no specific layering technique here other than making sure the batter is spread to the edges of the pan. You want an even bake, so try to get the surface as level as possible.
Step 7: Bake
Pop that loaf pan into your preheated oven. Bake for about 50-65 minutes. The exact time will depend on your oven, so it’s important to do the toothpick test. Insert a toothpick into the center of the loaf; if it comes out clean or with a few moist crumbs attached (not wet batter!), it’s done. If it comes out with wet batter, let it bake for another 5-10 minutes and test again. I always start checking around the 50-minute mark to avoid overbaking, which is the enemy of moist zucchini bread!
Step 8: Cool & Glaze
Once it’s baked to perfection, carefully remove the loaf pan from the oven. Let the bread cool in the pan for about 10-15 minutes. This allows it to set up a bit and makes it easier to remove without breaking. Then, invert the loaf onto a wire rack to cool completely. It’s really important to let it cool completely before glazing, otherwise, the glaze will just melt right off. While it’s cooling, whisk together your powdered sugar, 2 tablespoons of milk, and the vanilla extract in a small bowl until smooth. Add more milk, a teaspoon at a time, until you get a nice, thick but pourable consistency. Once the bread is totally cool, drizzle or spread the glaze all over the top. It hardens up beautifully.
Step 9: Slice & Serve
Once the glaze has set a bit, it’s time for the best part! Slice it up and enjoy. I love a good thick slice, about an inch thick. Serve it at room temperature. It’s honestly perfect on its own, but a little slice of heaven with a cup of coffee or tea. The smell alone will have people flocking to the kitchen!
What to Serve It With
This zucchini bread is so wonderfully versatile, it fits into almost any meal or occasion. For breakfast, it’s an absolute dream alongside a steaming mug of freshly brewed coffee or a fragrant cup of herbal tea. I love having a slice warm, right after the glaze has set. It’s just so comforting and satisfying to start the day. For brunch, it feels a bit more elegant served on a pretty platter, perhaps with some fresh berries on the side for a pop of color and freshness. It pairs beautifully with mimosas or a light sparkling cider. As a dessert, it’s a delightful lighter option than a heavy cake. I like to serve it with a small scoop of vanilla bean ice cream or a dollop of whipped cream, maybe even a drizzle of caramel sauce. For those cozy snacks in the afternoon or evening, it’s the ultimate comfort food. I’ll often just grab a slice (or two!) while I’m curled up with a good book or watching a movie. It’s the perfect sweet treat without being overly decadent. My personal family tradition is to have a slice on Saturday mornings while we’re all still a bit groggy, watching cartoons. It just signals the start of a relaxed weekend. It’s also wonderful with a smear of butter, or even better, cream cheese if you’re feeling indulgent!
Top Tips for Perfecting Your Zucchini Bread
After making this recipe more times than I can count, I’ve picked up a few tricks that have made it consistently amazing. When it comes to zucchini prep, the most important thing is to squeeze out as much moisture as you possibly can. I’ve learned the hard way that skipping this step results in a gummy, soggy loaf that just doesn’t bake properly. Use a clean kitchen towel or cheesecloth to wring it out like a sponge – it’s a bit of a workout, but totally worth it! For mixing advice, remember my mantra: don’t overmix! Seriously, just stir until the dry ingredients are *barely* incorporated. A few little lumps are perfectly fine. Overmixing develops gluten, which is the enemy of tender baked goods. It’s better to have a few tiny flour pockets than a tough loaf. When it comes to swirl customization, while this recipe doesn’t have a traditional swirl, if you wanted to add one, I’d suggest making a separate cinnamon-sugar mixture and dolloping it in spots, then gently swirling with a knife. For ingredient swaps, I’ve found that you can often substitute half of the all-purpose flour with whole wheat flour for a slightly heartier bread. If you’re out of eggs, a flax egg (1 tablespoon flaxseed meal + 3 tablespoons water, let sit for 5 minutes) can work in a pinch, though the texture might be slightly different. For baking tips, always trust the toothpick test over the clock. Ovens vary wildly, and what takes 50 minutes in mine might take 60 in yours. Keep an eye on it starting around the 45-minute mark. If the top is browning too quickly but the inside isn’t done, you can loosely tent it with foil. And for glaze variations, don’t be afraid to get creative! A lemon glaze adds a lovely tang, or you could stir in a little cocoa powder for a chocolate glaze. If you prefer a less sweet topping, simply dust with powdered sugar or skip the glaze entirely and serve it warm with butter.
Storing and Reheating Tips
This zucchini bread is so good, it rarely lasts long enough to worry about storage, but when it does, here’s what I do. For storing at room temperature, I usually keep it in an airtight container or wrap it tightly in plastic wrap and then foil. It stays wonderfully moist and delicious for about 2-3 days. After that, the texture can start to change a bit, so I usually move it to the fridge. For refrigerator storage, wrap it well in plastic wrap or place it in an airtight container. It should be good for up to a week, though I’ve found the flavor is best within the first 4-5 days. When you’re ready to enjoy it from the fridge, I find it’s delicious served cold, or you can gently warm it up. For freezer instructions, this bread freezes beautifully! Once it’s completely cooled, wrap it tightly in a double layer of plastic wrap, then a layer of aluminum foil, or pop it into a freezer-safe bag. It will keep its quality for about 2-3 months. To thaw, simply unwrap it and let it come to room temperature on the counter for a few hours, or thaw overnight in the refrigerator. For glaze timing advice, if you plan to freeze the loaf, I highly recommend glazing it *after* thawing. Glaze applied before freezing can sometimes become sticky or weep during the freezing and thawing process. So, bake, cool completely, freeze unfrosted, thaw, and then glaze!
Frequently Asked Questions
Final Thoughts
So there you have it – my absolute favorite zucchini bread recipe! I truly believe this is the one that will make you fall in love with baking with zucchini, if you haven’t already. It’s a perfect example of how simple ingredients, treated with a little care, can transform into something truly magical. The incredible moisture, the warm spice, the tender crumb… it’s just pure comfort in every single slice. It’s proof that delicious, homemade treats don’t have to be complicated. It’s the kind of recipe that brings people together, that makes your kitchen smell amazing, and that always, always satisfies. If you’re a fan of this delicious loaf, you might also enjoy my moist banana bread recipe or my super easy apple crumble bars. They’re all made with that same love and care! I honestly can’t wait to hear how yours turns out. Please, please leave a comment below and let me know your favorite add-ins or any creative twists you tried! Happy baking, everyone!
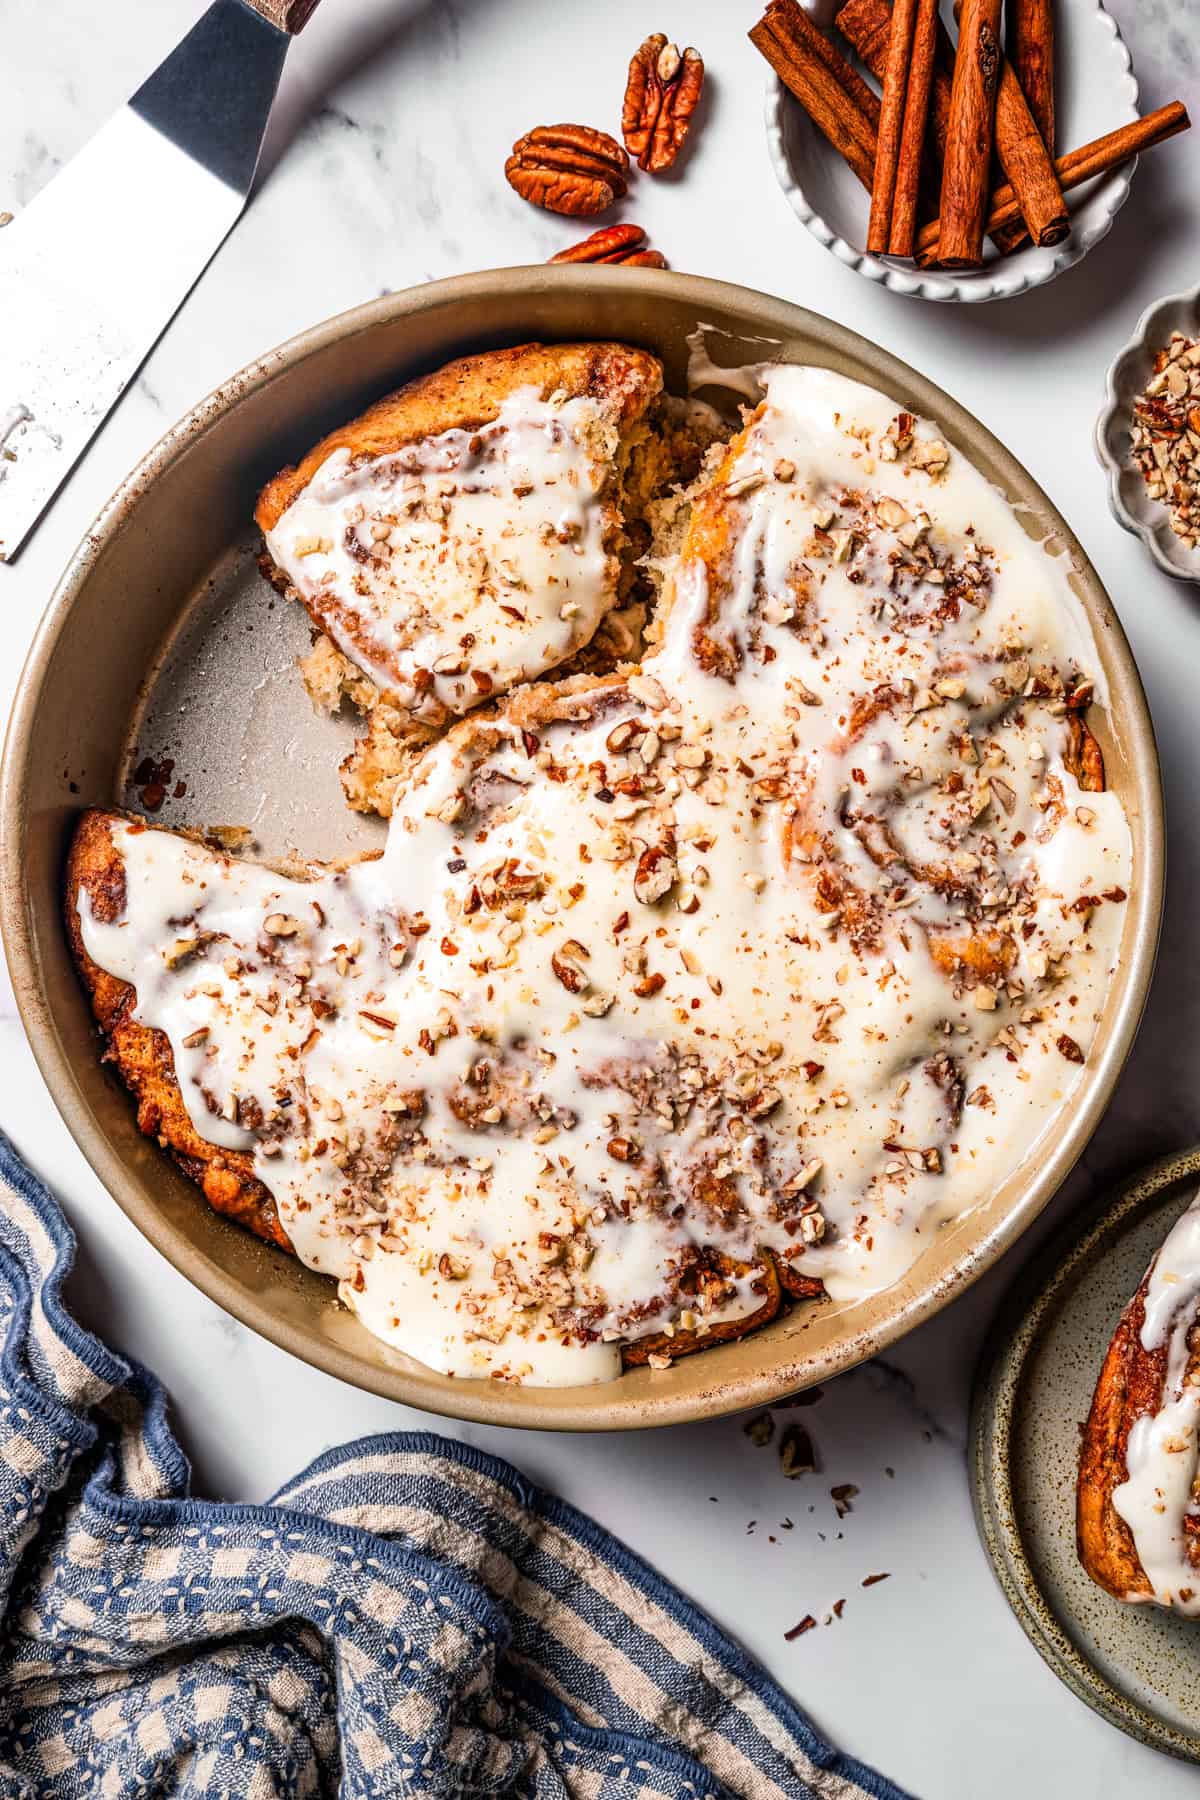
Pecan Cinnamon Rolls
Ingredients
Method
- Dissolve the sugar in the milk. In a large saucepan, combine the milk, vegetable oil, and 1 cup of sugar. Heat the milk mixture over medium heat, but do not boil. Set aside and let cool.
- Add yeast. Sprinkle the active dry yeast over the milk mixture and let sit for a minute.
- Add flour. Add 8 cups of all-purpose flour to the yeast mixture; stir to combine.
- Rest. Cover the bowl with a clean towel and let it sit in a warm place for one hour.
- Add leavening. Add in the baking powder, baking soda, salt, and the remaining 1 cup of all-purpose flour. Stir to combine.
- Chill the dough. Chill the dough for one hour in the refrigerator.
- Prep. Preheat the oven to 375ºF (190°C).
- Roll out the dough. Lightly flour your working surface. Take half of the dough from the bowl or pan and transfer it to your working area. Roll out the dough to a 0.25-inch thickness and shape into a rectangle.
- Add the filling. Pour about 1 cup of the melted butter over the shaped dough; spread it evenly. Sprinkle 1 cup of the granulated sugar over the butter, then a generous amount of cinnamon. Add 1 cup of the chopped pecans on top of the cinnamon mixture.
- Roll it up. Beginning at the end farthest from you, roll the rectangle tightly towards you into a log. Work slowly, and keep the roll tight. At the end, pinch the seam together and flip the roll so that the seam is face down.
- Cut the cinnamon rolls. Pour a little bit of the melted butter into 5 baking pans and swirl. Take the log and cut 0.5-inch slices. Arrange the rolls in the prepared baking pans, about 6 or 7 slices per pan. Brush each roll with a bit of butter, and add sugar and cinnamon on top of each roll.
- Rise. Cover with towels and let sit for 20 minutes.
- Roll and cut the remaining dough. Take the other half of the dough and repeat the above steps.
- Bake. Remove the towels and bake the rolls for 15 to 18 minutes, or until golden brown. After baking, immediately brush each roll with frosting (see below) and sprinkle with remaining chopped pecans.
- Prepare the icing. Place the cream cheese and the softened butter in a mixing bowl. Beat until creamy. Gradually add in the powdered sugar; beat until smooth, about 4 minutes. Pour in the vanilla extract and lemon extract. Continue to mix until well incorporated.
- Frost the rolls. Drizzle the frosting over the warm cinnamon rolls.