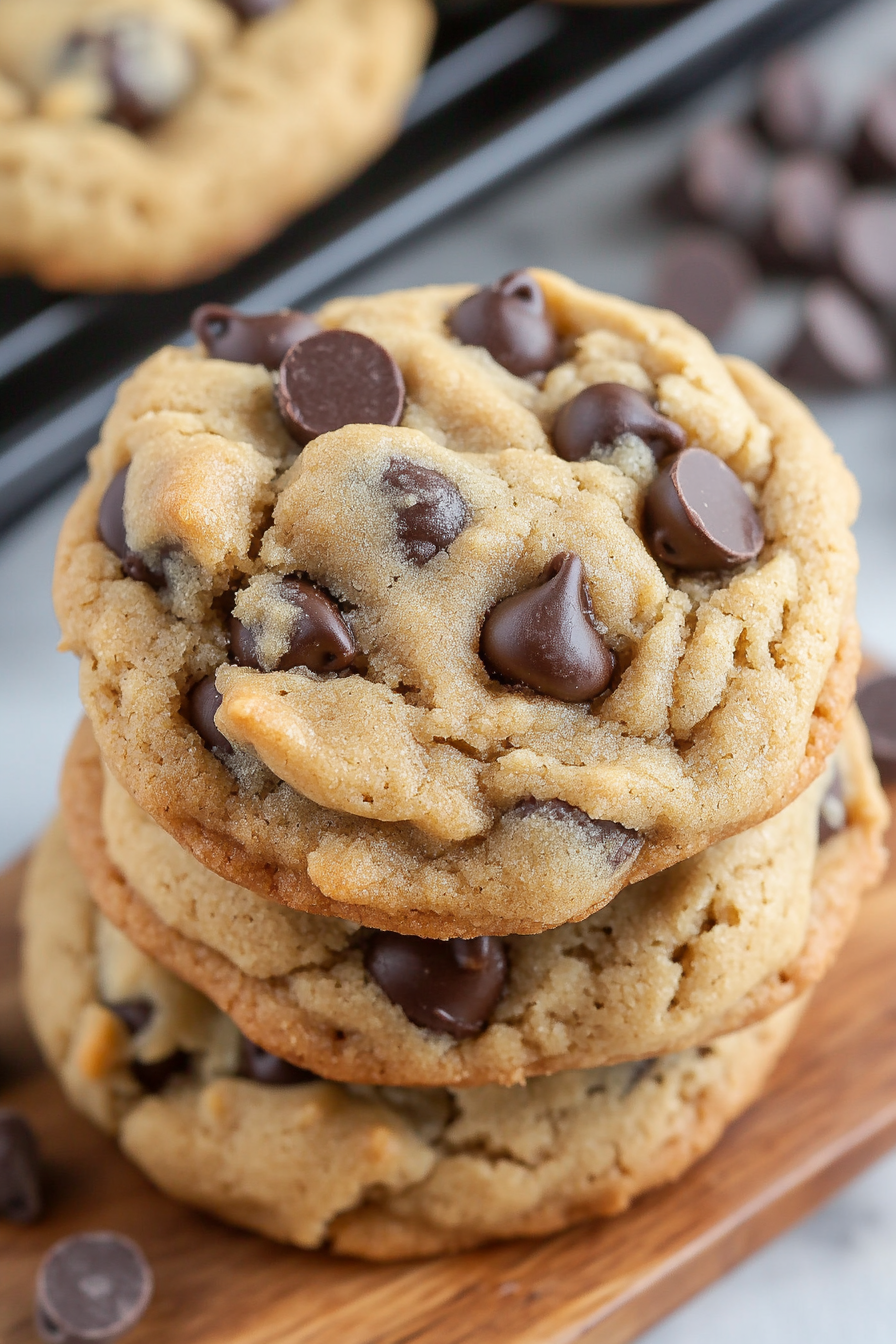
Dreamy Peanut Chocolate Chip Cookies
There’s something truly nostalgic about pulling a warm slice of cake from the oven, especially when it’s a little unexpected. I remember my mom baking this cake when I was a kid—she’d hide grated zucchini in the batter, and even then, I marveled at how it stayed moist, dense, and topped with rich chocolate. It’s the kind of recipe that’s perfect when you want something indulgent but still secretly healthy—trust me, the zucchini is a game-changer. This Chocolate Zucchini Swirl Cake has become a staple in my family’s repertoire because it’s so easy to make, wildly forgiving, and everyone always asks for seconds. I always do this when I want a dessert that feels fancy but I don’t want to fuss over complicated steps. It’s a lifesaver on busy nights, and best of all, my kids ask for this all the time. The smell alone—chocolate, warm zucchini, a hint of vanilla—brings everyone to the kitchen, even if they’re supposed to be doing homework. And when you cut into it, those beautiful swirls of zucchini and chocolate are just the prettiest thing to see. Honestly, I think you’ll love it as much as I do! Challenger for your baking skills? Not really. Delicious for the soul? Absolutely.
What is a Zucchini Swirl Cake?
This cake is really a love letter to the idea that you can sneak nutritious ingredients into something delicious. Think of it as a rich, fudgy chocolate cake with a hidden layer of tender, moist zucchini swirled throughout. It’s essentially a cross between a classic chocolate loaf and a bundt, but with an added twist—those beautiful marbled streaks of green and dark cocoa. The name says it all: it’s a cake that combines the healthy-ish goodness of zucchini with indulgent chocolate, making it perfect for almost any occasion. The concept is simple: you grate fresh zucchini—no peeling needed—and fold it into your batter. The zucchini keeps the cake super moist and adds a subtle, fresh flavor that balances the deep chocolate notes. It’s a cozy, comforting dessert that’s perfect for breakfast, brunch, or an afternoon treat. And if you’ve ever been tempted to add a secret veggie to a dessert, this one’s your golden ticket. Think of it as “cake meets veggie,” a combo that’s truly hard to beat. Plus, no one will ever guess what’s hiding inside!
Why you’ll love this recipe?
What I love most about this cake is how it’s kind of a miracle worker—moisture comes from the zucchini itself, which means it stays tender and soft for days. Plus, the rich chocolate flavor—think dark cocoa and melty chocolate chips—is absolutely divine. It’s genuinely fun to see the marbled swirl come to life as you layer the batter; it’s almost too pretty to cut into, but I never resist. The best part? It’s so simple I can whip it up on a busy weeknight without breaking a sweat. No complicated frosting or fancy decorating—just a good old bake, cool, and slice. Budget-wise, it’s a winner because you probably already have most of the ingredients in your pantry: flour, cocoa, sugar, eggs, and zucchini. It’s versatile, too—switch out the chocolate chips for nuts or dried fruit if you’re feeling adventurous. I’ve made this countless times, experimenting with different kinds of cocoa, and each version turns out just as luscious. What I love most is how this cake feels like a little hug—a reminder that comfort food doesn’t have to be decadent in the unhealthy sense. It’s simple, nourishing, and so satisfying—you’ll find yourself reaching for another slice before you even realize it.
How do I make Zucchini Swirl Cake?
Quick Overview
This cake is all about simple techniques that deliver big flavor. First, you grate fresh zucchini and squeeze out excess moisture—trust me, that little step makes all the difference in keeping the cake moist without making it overly dense. Then, you mix your dry ingredients—flour, cocoa, baking powder—and set them aside. In another bowl, whisk together your wet ingredients: eggs, oil, vanilla, and sugar. Fold the wet into the dry, then gently stir in the grated zucchini and chocolate chips. Pour half of the batter into your prepared pan, dollop some of the remaining batter on top, and create that gorgeous swirl with a skewer or knife—this is what makes it look so tempting! Bake until a toothpick comes out just clean, cool slightly, then drizzle with a shiny chocolate glaze. It’s honestly one of those ‘beginners can do it’ recipes that feels fancy, but is totally foolproof. The best part? The aroma that fills your kitchen while it bakes—chocolate and fresh zucchini—that’s pure comfort.
Ingredients
For the Main Batter:
– 1 ¾ cups all-purpose flour (you can try almond flour for a nutty twist)
– ¾ cup unsweetened cocoa powder (good quality, Dutch-processed if you prefer a smoother flavor)
– 1 tsp baking powder
– ½ tsp baking soda
– ½ tsp salt
– 1 cup granulated sugar (or a mix of brown and white for richer flavor)
– ½ cup vegetable oil (or melted coconut oil for added flavor)
– 3 large eggs
– 1 tsp vanilla extract
– 1 ½ cups freshly grated zucchini (about 1 medium zucchini, no need to peel)
– ½ cup mini chocolate chips (or chopped dark chocolate)
For the Filling:
– ¼ cup chocolate chips or chunks for swirls (optional but pretty and tasty)
For the Glaze:
– ½ cup heavy cream or coconut milk
– ¾ cup dark chocolate chips
– A teaspoon of butter or coconut oil (for shine and smoothness)
Step-by-Step Instructions
Step 1: Preheat & Prep Pan
Set your oven to 350°F (175°C). Grease a bundt pan or a loaf pan with butter or non-stick spray, and lightly dust with cocoa powder or flour. Lining with parchment paper helps too, especially if you’re using a loaf pan. Getting this ready first means no stress later when the batter is ready to go in.
Step 2: Mix Dry Ingredients
In a large bowl, whisk together the flour, cocoa, baking powder, baking soda, and salt. This step ensures everything is evenly distributed, so your cake rises uniformly. I always do this first because it makes the next steps go smoothly—and prevents clumps of cocoa from forming when you add the wet ingredients.
Step 3: Mix Wet Ingredients
In a separate bowl, whisk the eggs, sugar, oil, and vanilla until well combined, silky, and slightly frothy. This usually takes about a minute of whisking. The eggs should be fully incorporated—no streaks—so the batter is smooth. I test the temperature here if I’m feeling fancy—make sure your eggs aren’t super cold from the fridge, or your oil may seize up a little.
Step 4: Combine
Pour the wet ingredients into your dry mixture, folding gently with a spatula. Don’t overmix! A few lumps are okay—the batter will become beautifully glossy and smooth as you incorporate the zucchini next. Overmixing can make the cake dense, and that’s not what we want.
Step 5: Prepare Filling
Stir in the grated zucchini and mini chocolate chips. If your zucchini has a lot of moisture, I recommend pressing out some of the excess or giving it a quick blot with paper towels. Forsaking that step might make your cake a little wetter than desired, but honestly, it’s still delicious—just a tip for a perfect texture.
Step 6: Layer & Swirl
Pour half the batter into your prepared pan. Drop spoonfuls of the remaining batter on top and swirl it with a skewer or butter knife. Try to make wide, swirling motions to create those beautiful marbled streaks. My favorite part is watching how the batter starts to look like art before it even hits the oven.
Step 7: Bake
Pop it into the oven and bake for about 45-50 minutes, or until a toothpick inserted in the center comes out with a few moist crumbs. Every oven is a little different—if your edges start to darken too quickly, tent it with foil. Cool in the pan for 15 minutes, then transfer to a wire rack. Patience here is key—it helps the cake set perfectly and prevents sinking.
Step 8: Cool & Glaze
Once cooled for about 20 minutes, prepare your glaze by heating cream and pouring it over the chocolate chips, stirring until smooth. Drizzle generously over the cake, allowing some of it to drip down the sides. I love doing this while the cake is still slightly warm—it soaks in beautifully and adds that shiny, irresistible finish.
Step 9: Slice & Serve
Use a serrated knife for neat slices, and serve at room temperature. This cake is delightful with a dollop of whipped cream or a scoop of vanilla ice cream. It’s also just as good plain, especially if you’re a purist. The marbled swirl makes it extra pretty on a plate—trust me, it’s almost too pretty to cut, but I always do because I can’t wait to see the inside.
What to Serve It With
This cake is incredibly versatile. For breakfast or brunch, pair it with a steaming cup of coffee or a frothy cappuccino. It’s lovely with fresh berries or a dollop of Greek yogurt if you’re feeling fancy. I also love serving slices for a casual afternoon tea or picnic—cut small, because it’s quite rich. For a more decadent dessert, add a scoop of vanilla or caramel ice cream on the side, and drizzle a little caramel or raspberry sauce over the top. At family dinners, I sometimes serve it with a glass of cold milk or a bold cup of espresso for contrast. Honestly, this cake works anytime you need a quick, comforting treat that feels special. The warm chocolate and the subtle zucchini flavor make each bite feel like a little escape, and the swirl pattern is sure to impress—even the pickiest eaters in my house are always asking for seconds. I’ve never made it without a happy face at the table, and that’s saying something.
Top Tips for Perfecting Your Chocolate Zucchini Swirl Cake
After making this cake so many times, I’ve picked up a few tricks that make each batch better than the last. Here’s what I’ve learned:
- Zucchini Prep: Always squeeze out excess moisture after grating. I keep a clean dish towel or paper towels nearby—pressing out that extra water keeps the batter from becoming too wet, which could make the cake dense or cause it to sink.
- Mixing Advice: Gently folding ingredients preserves the batter’s airiness. Overmixing is the enemy here, so be patient—just until everything is combined.
- Swirl Technique: Use a butter knife or skewer to make wide, sweeping circles. Don’t swirl too much—just enough to create a marbled effect. If you want more dramatic swirls, just add more batter on top before swirling.
- Ingredient Swaps: Swap out chocolate chips for chopped nuts (walnuts or pecans work beautifully), or try using a splash of coffee in the batter to deepen the chocolate flavor. Almond extract instead of vanilla gives it an extra punch.
- Baking Tips: Keep an eye on it around the 45-minute mark. Every oven bakes a little differently. The toothpick test is your best friend—don’t rely solely on time.
- Glaze Variations: For a different flavor profile, mix in a teaspoon of instant espresso powder with the cream, or add a splash of peppermint extract to the glaze for a festive twist.
This is one of those recipes where hints of personal tweaks can make it uniquely yours. I’ve tested with gluten-free flour—a little more baking time—but the results are just as moist and chocolatey. Honestly, the more I play with it, the more I fall in love all over again.
Storing and Reheating Tips
This cake stays unbelievably moist, but a few storage tricks help maintain its freshness. If you’re planning to eat it within a day or two, keep it covered with a clean dish towel or in an airtight container on the counter—up to 2 days, it stays beautifully moist. For longer storage, refrigerate for up to 5 days; just let it come to room temperature before slicing for the best texture. If you want to keep it even longer, wrap it tightly in plastic wrap and freeze for up to 3 months—make sure to thaw it at room temperature for a few hours before serving. I usually add the glaze after reheating slices briefly in the microwave to keep the top glossy and appealing. The secret to keeping that luscious texture is to avoid overhandling—a warm slice with a fresh drizzle of glaze and a dollop of whipped cream is my ideal way to serve leftovers.
Frequently Asked Questions
Final Thoughts
This Chocolate Zucchini Swirl Cake has become a beloved favorite in my kitchen, not just because it tastes incredible, but because it’s a reminder that the best desserts are the ones that sneak a little nutrition in without sacrificing flavor. It’s the kind of recipe that’s perfect for sharing with friends, taking to potlucks, or just sneaking a slice when you need a comfort boost. Every time I make it, I feel like a little kid again—excited about the promise of chocolate and curiosity about the secret ingredient. I encourage you to give this a try, tweak it to suit your taste, and enjoy every luscious, moist bite. I’d love to hear how yours turns out—drop a comment below or share your variations! Happy baking—and trust me, your kitchen—and your family—will thank you for it!
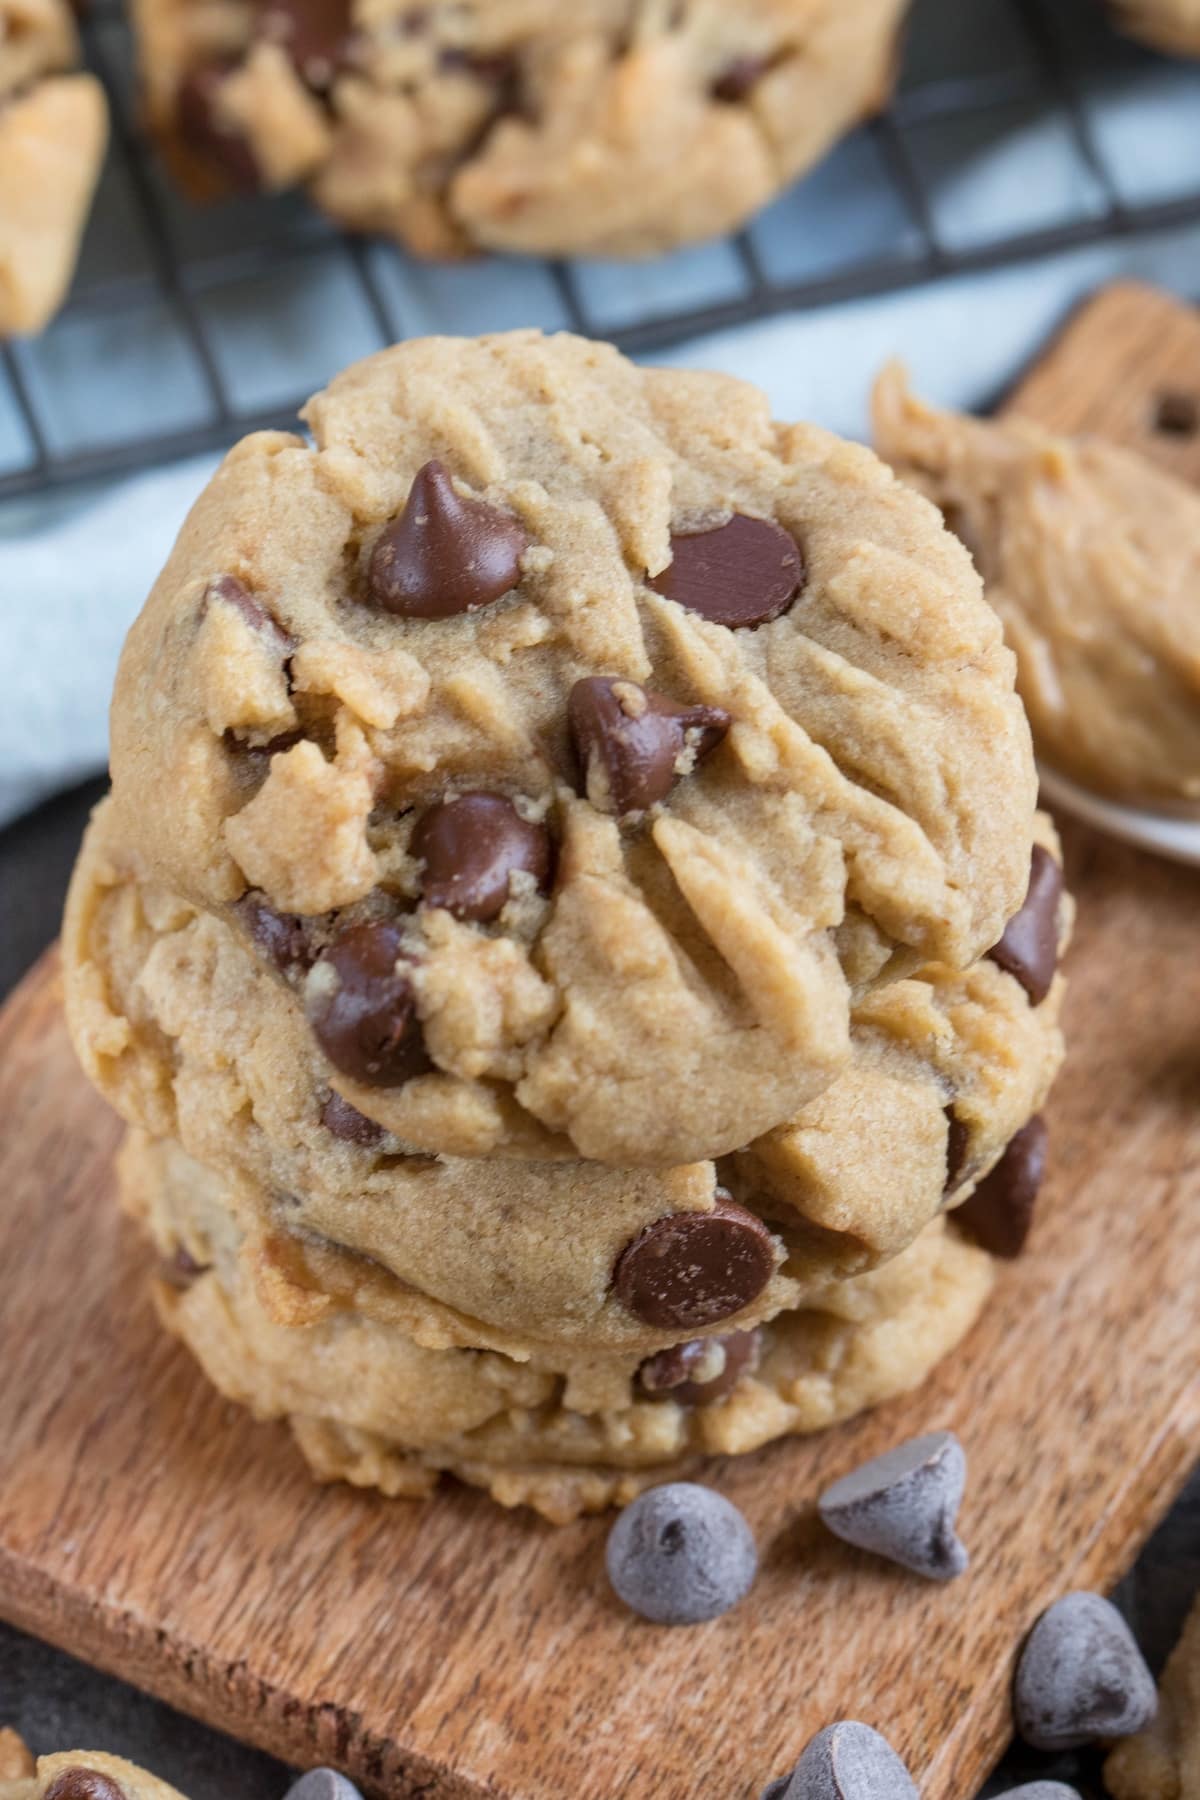
peanut butter chocolate chip cookies
Ingredients
Method
- Mix or stir butter with peanut butter until smooth. Add brown sugar and granulated sugar and mix until creamy.
- Beat in vanilla, egg, baking soda, and salt. Mix in flour slowly until cookie dough forms. Stir in chocolate chips.
- Scoop 2 tablespoon-sized cookie dough balls onto cookie sheets covered with parchment paper or silicone baking mats. Chill 30 minutes.
- Preheat oven to 350°F.
- Press cookie dough balls flat with the tines of a fork.
- Bake cookies for 8-12 minutes, or until slightly brown on the bottom and the top just loses the wet cookie dough look.
- Store in an airtight container for up to 3 days or freeze for up to one month.