Easy Frozen Cream Delight Recipe
There’s something about the smell of a freshly baked cake that instantly makes any day feel special, don’t you think? I remember my grandma’s kitchen well—her oven always had a warm hug waiting inside, and this chocolate zucchini bundt cake is a little slice of that nostalgia for me. I’ve made this countless times, and let me tell you, it never fails to wow everyone at my house. The thing I love most about it? It’s secretly healthy—all that zucchini keeps it moist and tender—and nobody ever guesses there’s a veggie hiding in there! Honestly, it’s one of those recipes I keep in my back pocket for those busy weeknights when I want something sweet but don’t want to spend hours baking. Plus, the kids ask for this all the time, and I love that I can sneak in some greens without them batting an eye. It’s simple, delightful, and the perfect excuse to have cake for breakfast or an afternoon snack. Trust me, once you try this, it’ll become a staple in your kitchen too.
What is a Zucchini Bundt Cake?
Think of this as a cozy, chocolatey hug wrapped up in a gorgeous, swirled bundt cake. It’s essentially a moist, rich chocolate cake—made even better with the addition of zucchini, which adds a subtle earthiness and keeps the crumb super soft. The name might sound fancy, but this is the kind of recipe I love—flour, sugar, cocoa, and that sneaky zucchini grated right into the batter. The idea of adding zucchini might sound odd at first, but it’s a win-win. It’s like the cake gets a secret upgrade—it’s healthier, but caramelly, gooey, and chocolatey enough to satisfy your deepest sweet tooth. Plus, the way the zucchini melds into the batter makes every bite incredibly tender. It’s perfect for when you want something homey but with a touch of indulgence. And honestly, it’s become a bit of a family treasure—my kids ask for this every birthday, and I always do this when I want a little comfort after a long day.
Why you’ll love this recipe?
This chocolate zucchini bundt cake is one of those recipes that sneaks a little health into a classic treat, and I’m all about that. The flavor? Rich, decadent, and deep with nice cocoa notes, but somehow still light and airy thanks to the zucchini. The smell alone will have everyone rushing to the kitchen—trust me on this one. It’s ridiculously simple to make, which is a lifesaver on busy nights or when unexpected guests show up. Ingredients are budget-friendly, too. You probably already have most of what you need in your pantry: cocoa powder, sugar, flour, and of course, zucchini. The versatility is what seals the deal—enjoy it as an afternoon snack with tea, serve it after dinner with a dollop of whipped cream, or even pack a slice for a picnic. What I love most about this is how adaptable it is—you can jazz it up with nuts, or add a splash of espresso to intensify the chocolate flavor. It’s one of those recipes I’ve tested with almond milk, and it actually made it even creamier! Honestly, it’s become a family favorite because it hits all the right notes—the perfect cozy, homemade cake that feels special without any fuss.
How do I make a Zucchini Bundt Cake?
Quick Overview
This cake comes together quite easily—mix your dry ingredients, whisk your wet ones, combine gently, and swirl the batter with the zucchini and optional extras like chocolate chips or nuts. The key is not overmixing to keep that tender crumb. Pour into a prepared bundt pan, bake until a skewer comes out clean, let it cool, then glaze or dust with powdered sugar if you like. The hardest part? Waiting for it to cool before slicing because the smell is so tempting! What makes this method special is how fast it all comes together, and the zucchini keeps it ultra moist, so you don’t need any fancy tricks.
Ingredients
For the Main Batter:
– 2 cups all-purpose flour (I always use unbleached for a richer flavor)
– 1/2 cup unsweetened cocoa powder (preferably Dutch-processed)
– 1 1/2 teaspoons baking soda
– 1/2 teaspoon baking powder
– 1/2 teaspoon salt
– 1 cup granulated sugar
– 1/2 cup brown sugar (adds depth, but you can use all sugar if you prefer)
– 1/2 cup vegetable oil or melted coconut oil
– 3 large eggs
– 1 teaspoon vanilla extract
– 1 cup grated zucchini (squeezed to remove excess moisture—learned this trick after many soggy cakes!)
– 1/2 cup buttermilk or milk + a splash of vinegar or lemon juice
For the Filling (optional):
– 1/2 cup chocolate chips (dark or semi-sweet)
– 1/2 cup chopped nuts (pecans or walnuts are lovely)
– Or swirl in some peanut butter or cream cheese for a decadent variation
For the Glaze:
– 1 cup powdered sugar
– 2-3 tablespoons milk or cream
– 1 teaspoon vanilla
– Or melted chocolate for a richer finish
Step-by-Step Instructions
Step 1: Preheat & Prep Pan
Set your oven to 350°F (175°C). Grease your bundt pan well—trust me, butter and cocoa powder are a good combo to prevent sticking. If you have a baking spray with flour, even better. Let’s get everything ready so the cake slides right out once baked!
Step 2: Mix Dry Ingredients
In a big bowl, whisk together the flour, cocoa powder, baking soda, baking powder, and salt. This step is crucial—it ensures everything’s nicely distributed so your cake bakes evenly. I usually do this first, then set it aside. It makes the whole process smoother.
Step 3: Mix Wet Ingredients
In another bowl, combine the sugars and oil, whisk until smooth. Add eggs one at a time, mixing well after each addition. Stir in vanilla and buttermilk. The mixture will look a little thick, but that’s okay. I always make sure my eggs are at room temperature; it helps everything blend better.
Step 4: Combine
Gently fold the wet into the dry, mixing just until combined—overmixing makes the cake dense. Then, fold in the grated zucchini and any extras, like chocolate chips or nuts. Keep it light and gentle—that’s the secret to a tender crumb.
Step 5: Prepare Filling
If you’re adding a swirl or filling, spread a little batter in the pan first, then dollop or sprinkle your extras, and top with more batter. I like to do a gentle ripple with a butter knife—I find it’s the best way to get that lovely marbled look without overmixing.
Step 6: Layer & Swirl
Drop spoonfuls of batter into the pan, layer with filling, then swirl a bit with a skewer or knife. Be playful, but try not to disturb the layers too much—you want that beautiful marbling when it’s baked!
Step 7: Bake
Pop into the oven and bake for about 45-55 minutes. Start checking around the 45-minute mark with a skewer—if it comes out clean, it’s ready. If not, give it a few more minutes. Every oven varies a little, so patience is key!
Step 8: Cool & Glaze
Remove from oven and let cool in the pan for 15 minutes, then turn out onto a wire rack. Once fully cooled, drizzle with your glaze or dust with powdered sugar. I love adding a melted chocolate drizzle if I want extra richness. The smell of this cake cooling is just divine; honestly, I could sit by it all day.
Step 9: Slice & Serve
Cut with a serrated knife for clean, beautiful slices. Serve at room temperature with a cup of coffee or a glass of milk. I swear, every bite tastes like a little bit of comfort—moist, chocolatey, with a hint of zucchini’s earthiness. It’s even better the next day, if it lasts that long!
What to Serve It With
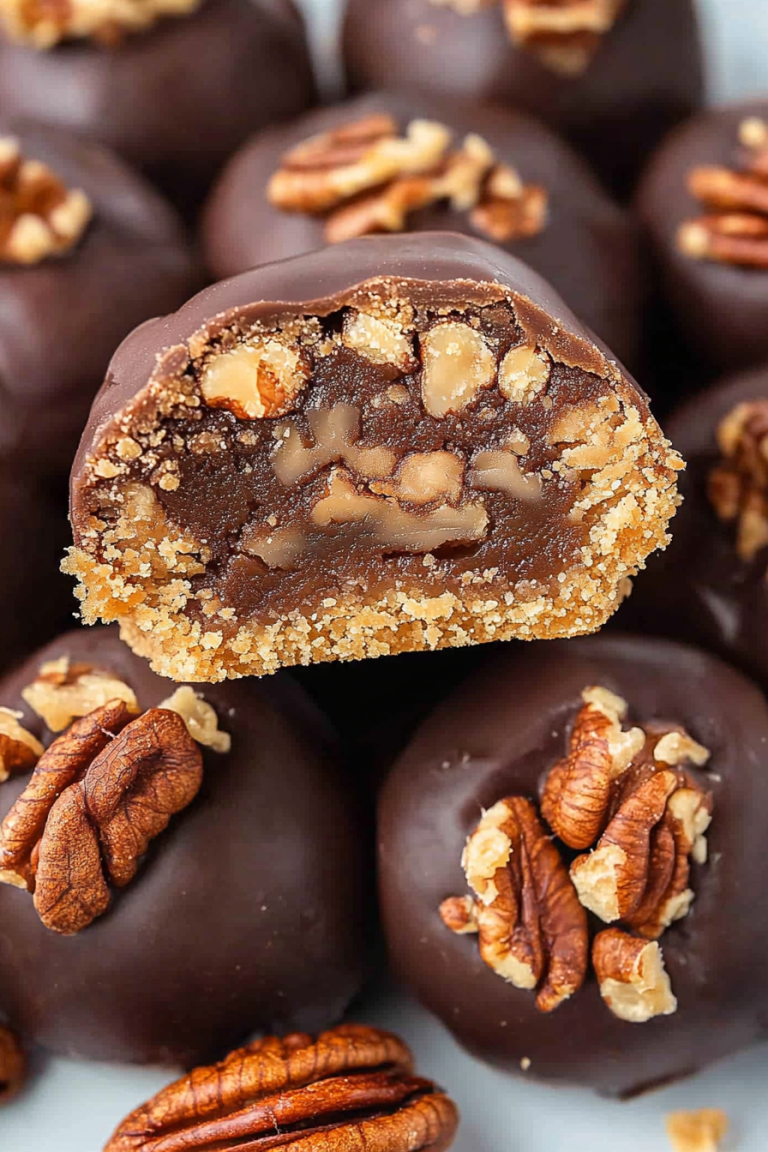
This cake is so versatile, I always have a few ideas ready to go. A cup of black coffee or a latte pairs beautifully—the bitterness balances the sweetness perfectly. For brunch, try serving slices with a dollop of whipped cream and fresh berries—my kids love it with strawberries or a sprinkle of crushed pistachios. After dinner? Dust it with icing sugar or top with a scoop of vanilla ice cream for an indulgent finish. Sometimes, I even cube leftovers for a quick, wholesome breakfast paired with Greek yogurt. My family loves this for weekend get-togethers or a cozy Sunday afternoon.
Top Tips for Perfecting Your Chocolate Zucchini Bundt Cake
Over the years, I’ve picked up a few tricks that really make a difference. First, grating zucchini: always squeeze out the excess moisture. I do this with a clean kitchen towel or paper towels—wet zucchini = soggy cake. If you want extra flavor, try adding a splash of espresso to the batter; it intensifies the chocolate notes and gives it a subtle richness. When mixing, resist the urge to overmix once you add the flour—this keeps the crumb tender. Swirling the batter with filling? Use a skewer or a butter knife to create beautiful marbling, but don’t overdo it—you want neat layers, not a mess. For substitutions, I tested this with coconut oil and almond flour, and while it’s a bit denser, it still turned out pretty delicious. Also, I’ve baked this at different oven racks—middle is best for even baking, but if your oven runs hot, dropping the temp slightly can help avoid over-browning. The glaze? Don’t be shy—pour it generously, and let it set before slicing. If you’re feeling adventurous, mix in a teaspoon of cinnamon or chili powder for an extra kick. The key takeaway? Practice makes perfect, and hearty, flavorful, well-balanced ingredients are what make this cake stand out.
Storing and Reheating Tips
Storing this cake is a breeze. It stays fresh for up to 3 days at room temperature—cover it loosely with a clean towel or plastic wrap, and it’ll retain that moistness. If you want it to last longer, pop it into an airtight container and refrigerate for up to a week. Honestly, it’s still delicious cold or at room temp, but I find it’s best served slightly warmed—just pop a slice in the microwave for 10-15 seconds to revive the moisture. Freezing is also an option: wrap slices tightly in plastic wrap and then foil. Properly stored, it’ll last a month. When you’re ready to eat, let it thaw at room temp or warm it up gently. If you added a glaze, I recommend adding it fresh before serving—this keeps that luscious shine and prevents sogginess. Keep an eye on the texture and appearance; if it looks dry or dull, a light drizzle of syrup or extra glaze can work wonders. Trust me—once you master these simple steps, this cake becomes an effortless go-to for whenever you crave something sweet but wholesome.
Frequently Asked Questions
Final Thoughts
I hope you give this chocolate zucchini bundt cake a try—trust me, it’s one of those recipes that feels like a warm hug. It’s rich but light, familiar yet sneaky enough to impress even the pickiest eaters. Over the years, this cake has become a part of my own little family traditions—perfect for lazy weekends, special celebrations, or just a cozy evening in. I’ve played around with fillings, toppings, and even made mini muffins; each variation just proves how versatile and forgiving this recipe is. The secret, I think, is in how the zucchini keeps everything moist and tender, even days later. So, gather your ingredients, put on some good music, and get ready for your kitchen to fill up with the smell of chocolate and happiness. I’d love to hear how yours turns out—pop a comment below or share your own twists. Happy baking!
Homemade Vanilla Ice Cream
Ingredients
Method
- Pour 1 cup of the heavy cream into a saucepan. Add the sugar and salt. If using a vanilla bean, scrape the seeds into the mixture and add the pod to the saucepan.
- Warm the mixture over medium heat, stirring until the sugar is dissolved. Remove from heat and add the remaining cream, milk, and vanilla extract (if using). Whisk to combine.
- Chill the mixture thoroughly in the refrigerator. When ready to churn, remove the vanilla pod (if used), whisk the mixture again, and pour it into your ice cream maker. Churn according to the manufacturer's instructions.
- Serve immediately for a soft-serve consistency, or transfer to an airtight container and freeze until firm.