Sweet Strawberry Graham Delight How to Make It
There’s something so nostalgic about pulling a warm loaf out of the oven, the smell of chocolate and something fresh—like zucchini— wafting through the air. This recipe is one I’ve been making for years, especially on those busy mornings when I need something quick but still crave that cozy, homemade touch. My kids ask for this all the time, and honestly, I love how it secretly sneaks in veggies (I always do this with my baked goods—it’s a good trick for sneaking more greens into the kids’ diets). Plus, it’s surprisingly simple to pull together, even when I’m rushing between school runs or work meetings. Trust me on this—once you try it, it’s going to be your new go-to for a sweet treat that’s wholesome, satisfying, and totally delicious. And bonus—it disappears in minutes at my house every single time. You’re going to love the way the chocolate and zucchini swirl create this beautiful marbled effect—it’s almost too pretty to cut into. But I promise, once you do, it’s all about that first bite—soft, moist, with just enough sweetness and a hint of cocoa that makes it feel like a special indulgence. Let’s get baking!
What is Zucchini Chocolate Swirl Loaf?
Think of this as a cozy, slightly indulgent bread with a secret healthy twist. It’s essentially a moist zucchini loaf infused with cocoa and a generous swirl of melted chocolate. The name might sound fancy, but it’s really just a simple batter with shredded zucchini folded in, then swirled with melted chocolate or chocolate chips. It’s similar to a rich chocolate bread but with a healthy, veggie-filled punch that makes you feel good about grabbing a slice for breakfast or a snack. The “swirl” part is what makes it extra pretty—whenever I cut into it, I love seeing those dark chocolate ribbons run through the bright green zucchini. I learned this trick after years of making standard zucchini bread—adding cocoa and swirl gives it a more decadent twist, perfect for when you want something a little more dessert-like without going all out on sugar or butter. It’s a family favorite, and I swear, once you try it, it’ll be in your regular rotation too!
Why you’ll love this recipe?
What I love most about this zucchini chocolate swirl loaf is how it hits all the right notes—flavor, texture, and ease. The taste is just divine: moist, tender crumb with intense chocolate flavor from the cocoa and melted chocolate or chips—honestly, it’s like a cross between your favorite chocolate cake and a comforting loaf. But what makes it even better is how simple it is to pull together. No fancy equipment, no intimidating techniques, just a few bowls and a whisk. This one’s a lifesaver on busy nights or when unexpected guests drop by; I just toss everything together, and it’s ready to bake in under an hour. Plus, it’s budget-friendly—most ingredients are pantry staples like flour, sugar, cocoa powder, and of course, zucchini, which I always have on hand during summer. The versatility is a big plus too—serve it as a sweet breakfast snuggled with coffee, a fancy brunch centerpiece, or a cozy teatime treat with a glass of milk or tea. And honestly, the secret ingredient—zucchini—keeps it wonderfully moist, and I’ve tested this with almond milk, which actually made it even creamier. This loaf has become a staple because it’s just so adaptable and delicious.
How do you make Zucchini Chocolate Swirl Loaf?
Quick Overview
This loaf is easier than you’d think—think of it as mixing up a straightforward batter, layering in a chocolate swirl, and then baking until golden and irresistible. The trick is in folding shredded zucchini into the batter and creating a beautiful marbled swirl with melted chocolate or chocolate chips. Once baked, it’s moist, tender, and loaded with chocolatey goodness. I always do this when I want something satisfying but don’t want to spend hours in the kitchen. The entire process—from grating the zucchini to slicing that first piece—is pure comfort. Plus, it’s so forgiving—you can swap ingredients, tweak sweetness, or add nuts or berries depending on your mood. And the best part? The smell alone will bring everyone running—trust me, your house will smell like happiness!
Ingredients
For the Main Batter:
- 1 ½ cups all-purpose flour (or gluten-free blend if you prefer)
- ½ cup cocoa powder (preferably unsweetened)
- 1 teaspoon baking powder
- ½ teaspoon baking soda
- ¼ teaspoon salt
- ¾ cup granulated sugar (can reduce slightly for less sweetness)
- ⅓ cup vegetable oil (or melted coconut oil for richer flavor)
- 2 large eggs
- 1 teaspoon vanilla extract
- 1 cup shredded zucchini (squeeze out excess moisture)
- ½ cup buttermilk or almond milk
For the Filling:
- ½ cup meltable chocolate (dark or semi-sweet)
- Optional: ¼ cup chocolate chips for extra pockets of gooeyness
For the Glaze:
- ¼ cup powdered sugar
- 1-2 teaspoons milk or lemon juice
- Optional: cocoa powder or melted chocolate for richer glaze
Step-by-Step Instructions
Step 1: Preheat & Prep Pan
I always start by preheating my oven to 350°F (175°C). Then, I grease my loaf pan well—either butter or non-stick spray—and line it with parchment paper if I want an easy release. This step makes slicing a breeze later on. While the oven heats, I shred the zucchini and squeeze out as much moisture as I can—trust me, excess water can make your batter too watery and mess with the texture.
Step 2: Mix Dry Ingredients
In a big bowl, I whisk together the flour, cocoa powder, baking powder, baking soda, and salt. It’s important to do this first to evenly distribute the leavening agents and prevent clumps of cocoa. I’ve learned that sifting the cocoa can help avoid with clumping, especially if you’re using a super fine or Dutch-processed variety. It gives the loaf a nice, even chocolate flavor.
Step 3: Mix Wet Ingredients
In another bowl, I combine the sugar, oil, eggs, and vanilla. Whisk until smooth—this part smells incredible, like a dessert dream. Then I stir in the shredded zucchini and milk, making sure everything’s well incorporated. I’ve tested this with almond milk, and honestly, it made the loaf even creamier without overpowering the flavor.
Step 4: Combine
Next, I pour the wet mixture into the dry ingredients, folding gently with a spatula. Overmixing can lead to dense loaves, so I just mix until I see no dry flour. The batter will be thick but pourable. If it feels too stiff, I add a tad more milk—trust your instincts. It’s okay if it’s a little rustic; that’s part of the charm.
Step 5: Prepare Filling
I melt the chocolate either in the microwave in short bursts or over a double boiler—just make sure it’s smooth and glossy. Pour it into a piping bag or a small plastic bag with the tip cut off if you want a clean swirl, or simply dollop spoonfuls on top of the batter for a more rustic look. I sometimes fold in chocolate chips for extra gooey pockets—my kids love that.
Step 6: Layer & Swirl
Pour about half the batter into the prepared pan, then spread the melted chocolate over it. Dollop the rest of the batter on top, then use a skewer or knife to swirl through the layers—creating beautiful marbled ribbons. Be gentle, but don’t overdo it—part of the visual charm is those imperfect, natural swirls.
Step 7: Bake
Pop it into the oven and bake for about 45-50 minutes. I check doneness by inserting a toothpick—if it comes out clean with a few moist crumbs, you’re good. If the top gets too dark before it’s done, tent it with foil. Every oven is different, so don’t be discouraged if it needs a few extra minutes.
Step 8: Cool & Glaze
Let the loaf cool for at least 15 minutes in the pan—this helps the structure set. Transfer it to a wire rack if you lined your pan, then wait another 10 minutes before glazing. Mix powdered sugar with a splash of milk or lemon juice, pour over the loaf, and let it set. The glaze adds just the right touch of sweetness and prettiness.
Step 9: Slice & Serve
Use a serrated knife for the cleanest slices, and serve at room temperature or slightly warmed. I love pairing a slice with a cup of coffee or a glass of cold milk—so comforting. This loaf is also incredible toasted the next day, with a smear of butter or extra drizzle of chocolate if you’re feeling indulgent. My family likes to reheat slices in the microwave for about 10 seconds—delicious and warm every time.
What to Serve It With
This loaf is so versatile—it’s practically a dessert, a breakfast, or a snack all in one. For breakfast, I often slice and toast it, then top with fresh berries and a dollop of Greek yogurt. Pair it with your morning coffee or tea, and it’s heaven. For brunch, arrange slices on a pretty platter, add some fresh fruit, and maybe a drizzle of honey or extra melted chocolate for a decadent touch. As dessert, serve it warm with a scoop of vanilla ice cream or a dusting of powdered sugar. My kids actually ask for this as a after-school treat—sometimes I cut off a slice and warm it up, then top with whipped cream. It’s also perfect as a cozy snack with a mug of hot chocolate during chilly evenings. Honestly, I sometimes whip up a batch just because I love that instant comfort it provides.
Top Tips for Perfecting Your Zucchini Chocolate Swirl Loaf
I’ve baked dozens of these, so here are a few tricks I’ve picked up:
- Zucchini Prep: Squeeze out excess moisture thoroughly—wet zucchini can turn your batter soupy and affect texture. I like to wrap the shredded zucchini in a clean dish towel and press firmly to drain out the water.
- Mixing Advice: Overmixing is the enemy of a tender loaf. Fold gently, especially after adding the zucchini—this keeps the batter light.
- Swirl Customization: Use a skewer or toothpick to create fun patterns—think of it as artistic therapy. You can even swirl in some hints of peanut butter or caramel for a different flavor twist.
- Ingredient Swaps: I’ve tested this with coconut sugar and plant-based milks, and it still comes out fantastic. Adjust the sugar to taste if you prefer less sweetness.
- Baking Tips: Oven temperatures can vary—set a timer 5 minutes early and keep an eye on it. You want moist crumbs, not wet batter.
- Glaze Variations: For a richer glaze, mix in a dab of butter or cream. Or, sprinkle with crushed nuts or sprinkles for added texture and color.
Honestly, every time I make this, I learn a new little trick—like how thinly you slice it affects presentation, or how adding a splash more milk makes it even softer. It’s a forgiving recipe, so don’t be afraid to customize and make it your own. I’ve found that the best loaves come from just relaxing and enjoying the process—baking should be fun, after all!
Storing and Reheating Tips
This loaf keeps beautifully, especially if you store it properly. Once cooled completely, keep it in an airtight container at room temperature for up to 2 days—cover it with a cloth or foil if you want it to stay fresh. If you’re not planning to eat it all in one go, refrigerate for up to a week, wrapped tightly or in a resealable bag. Just remember, the zucchini will keep it moist, but refrigeration can sometimes dry out the edges—so I like to slice what I need and reheat just a slice or two in the microwave for about 10-15 seconds for that just-baked feel. If you’re freezing, wrap the loaf tightly in plastic wrap and then foil or pop it in a freezer bag—good for up to 3 months. To thaw, leave it on the counter or warm slices gently in the microwave. Adding a fresh glaze after thawing can revive the glossy finish and extra flavor. Honestly, it tastes almost as good as day one, and it’s a lifesaver to have on hand for busy mornings or unexpected visits.
Frequently Asked Questions
Final Thoughts
This zucchini chocolate swirl loaf has truly become a family favorite—a comforting, all-in-one treat that satisfies that sweet tooth without feeling overly indulgent. Every time I make it, I feel like I’m sharing a little piece of happiness with my loved ones. It’s versatile, forgiving, and endlessly customizable. Whether you’re craving a quick breakfast, a gift for a friend, or just a cozy snack on a rainy day, this loaf fits the bill. Don’t be surprised if your house smells as good as you imagine—warm chocolate and freshly baked zucchini can brighten even the gloomiest day. I hope you love making this as much as I do—trust me, it’s worth every crumb. Happy baking, and I can’t wait to hear how yours turns out! Feel free to share your own tweaks and photos—I love connecting over baked goodies!

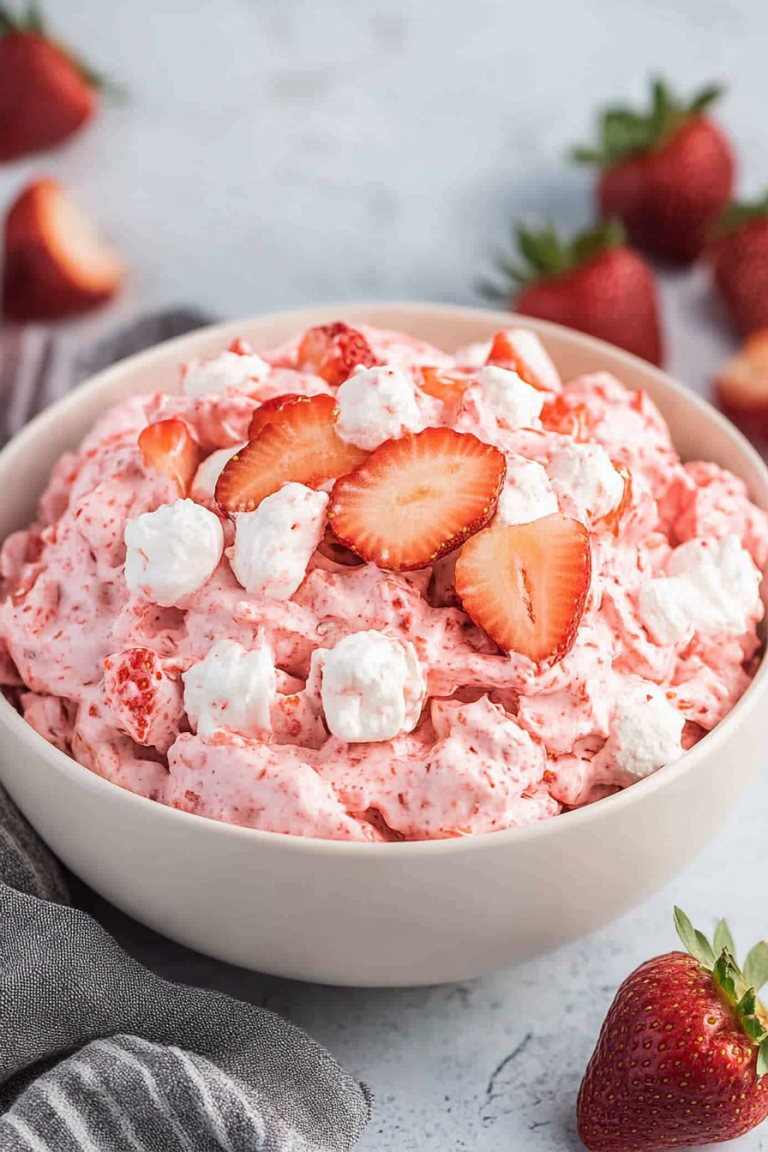
strawberry graham
Ingredients
Method
- Preheat the oven to 350°F. Mix graham cracker crumbs with melted butter and press into a baking dish. Bake for 8 minutes. Let cool.
- In a bowl, beat cream cheese and powdered sugar until smooth. Spread over the cooled crust.
- Slice strawberries and layer over the cream cheese mixture. Top with whipped cream.
- Chill in the refrigerator for at least 2 hours before serving.