Sweet Strawberry Treats How to Make Them
Sometimes, I think back to my childhood summers, sitting on my grandma’s porch with a slice of something sweet warming my hands. That smell—rich cocoa melding with fresh garden zucchini—still sticks with me. This cake? It’s like a cozy wink to those lazy afternoons, but with a modern twist. It’s surprisingly easy to make, and I’ll admit, it’s a sneaky way to get veggies into the kids (and adults) without the whining. Honestly, this one’s a lifesaver on busy nights when I want something homemade and crowd-pleasing but don’t have hours to fuss in the kitchen. The best part? It’s so moist, so tender, and that cream cheese swirl? It’s a game changer. Trust me, my family asks for this at least once a month—and my kids ask for seconds every single time. If you’re craving something chocolatey and comforting that’s also secretly good for you (well, mostly), this is it. Grab your zucchinis—let’s do this!
What is Chocolate Zucchini Cake with Cream Cheese Swirl?
This cake is basically a happy marriage of two worlds: classic chocolate cake and the humble zucchini. Think of it as the love child of a fudgy brownie and a fluffy muffin, but in cake form. The zucchini, when grated and folded into the batter, keeps everything super moist and tender without overpowering the chocolate flavor. It’s essentially a sneaky veggie tucked into something decadently chocolatey, which makes it perfect for those days when you want a sweet treat that doesn’t feel totally guilty. The name might sound fancy, but really, it’s straightforward—just a zucchini-rich cake with a luscious layer of cream cheese swirl running through it. It’s one of those recipes that once you make it, it becomes a household staple. Easy, satisfying, and a little bit nostalgic—that’s what makes this cake so special.
Why you’ll love this recipe?
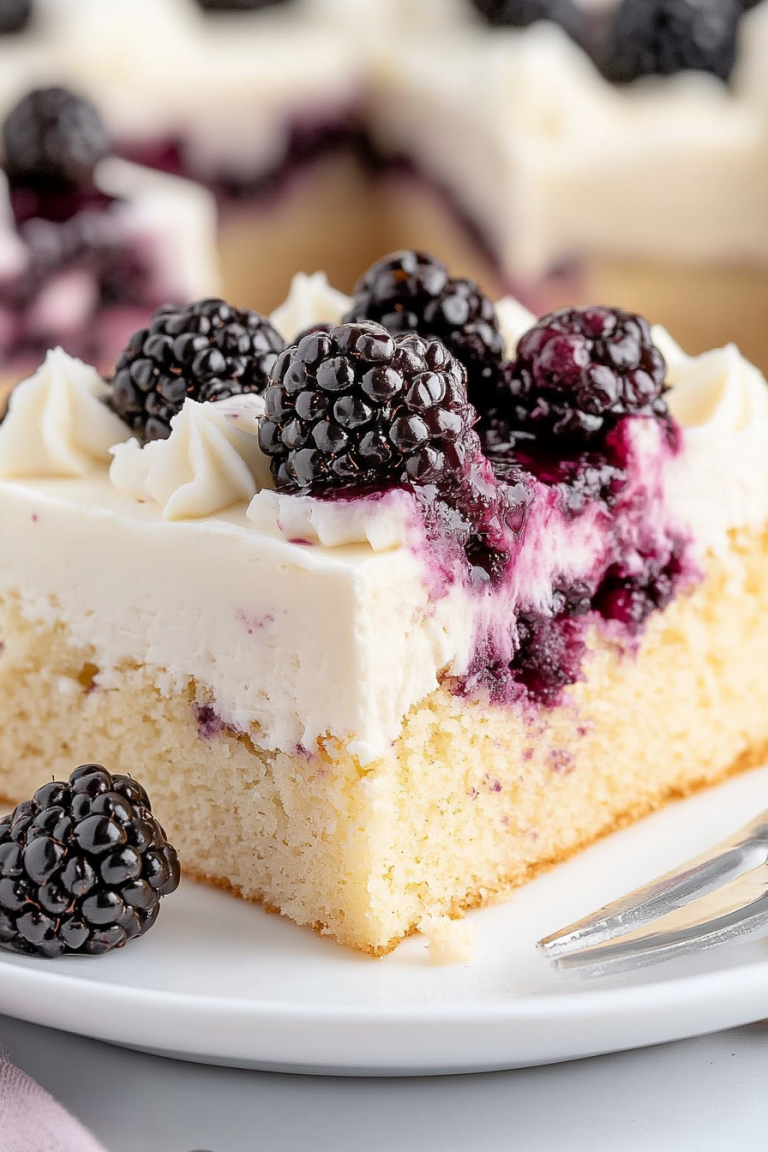
What I love most about this chocolate zucchini cake is how it balances flavor and texture so perfectly. The richness of the cocoa paired with the subtle sweetness of the zucchini makes every bite feel indulgent but not overly heavy. Plus, the grated zucchini melts right into the batter, so you get all the moisture without it turning into a dense loaf. This recipe is a total win because it’s incredibly forgiving—no need to be a baking pro. If you can measure, mix, and layer, you’re golden. It’s also budget-friendly; most of these ingredients are staples in my pantry, so I can whip it up last-minute when friends pop by or I want a quick treat for the family. And let’s talk versatility—it’s amazing as is, but you can jazz it up with nuts, berries, or even a dusting of powdered sugar if you’re feeling fancy. My favorite part? It feels like a warm hug in cake form, perfect for cozy weekends or a quick ‘pick-me-up’ after a long day. Honestly, this cake has a magical way of making everyone smile—nothing beats that.
How do I make Zucchini Cake with Cream Cheese Swirl?
Quick Overview
This cake is straightforward: grate the zucchini, mix the moist ingredients, fold everything together, swirl in rich cream cheese, and bake. Trust me, once you’ve seasoned this recipe a few times, it’s hardly more complicated than making a pot of coffee. The trick is not overmixing the batter—gentle folds keep the cake light—and spreading the cream cheese layer evenly before swirling. The smell alone when it’s baking is a guaranteed way to bring everyone running into the kitchen. It’s perfect when you want something homemade that feels fancy but really, takes less than an hour from start to finish. Plus, it’s very forgiving—if you forget to drain every last bit of moisture from your zucchini, no worries. The cake still comes out moist and delicious.
Ingredients
For the Main Batter:
– 2 cups grated zucchini (about 2 small zucchinis, grated and excess moisture squeezed out)
– 1½ cups all-purpose flour (I’ve tested it with almond flour too, and it works, but keep an eye on the moisture)
– ¾ cup unsweetened cocoa powder (good quality makes a big difference)
– 1¼ teaspoons baking soda
– ½ teaspoon baking powder
– ½ teaspoon salt
– 1 cup granulated sugar
– ½ cup brown sugar (the molasses-y flavor adds depth)
– ½ cup vegetable oil or melted coconut oil
– 3 large eggs
– 1 teaspoon vanilla extract
For the Filling:
– 8 ounces cream cheese, softened
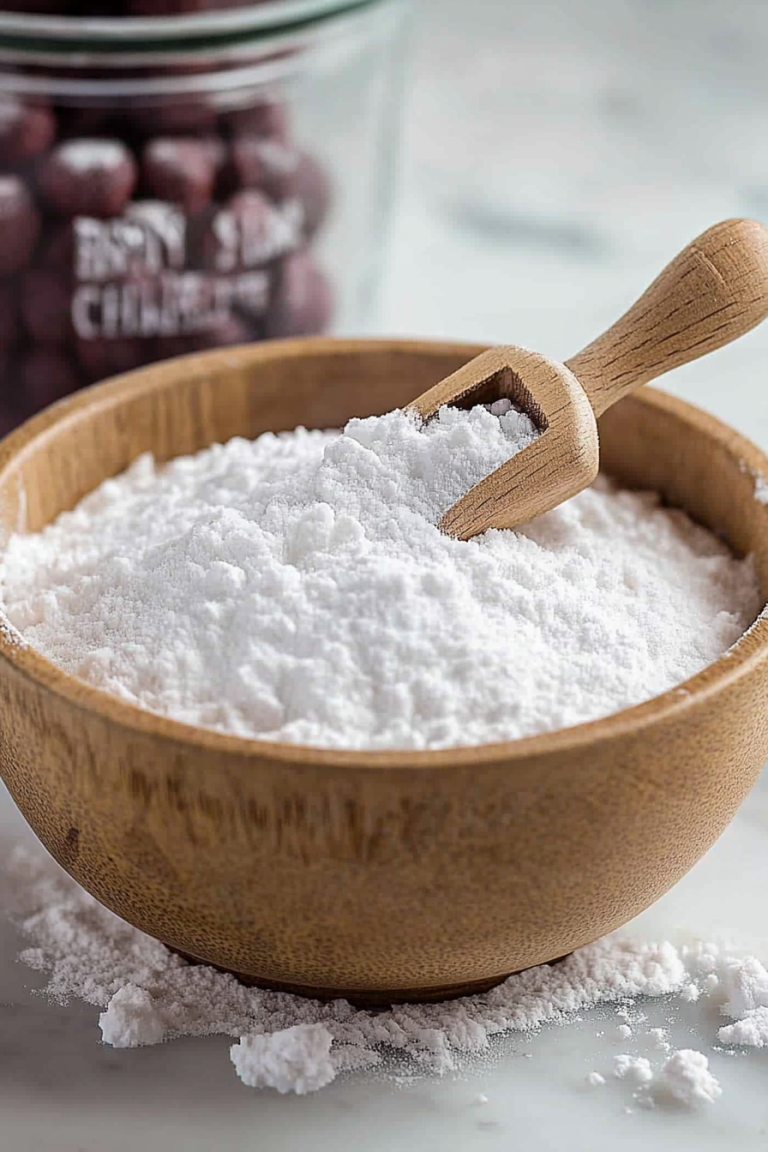
– ½ cup powdered sugar
– 1 teaspoon vanilla extract
*(Optional: a handful of chocolate chips or chopped nuts for extra texture)*
For the Glaze:
– ½ cup powdered sugar
– 1-2 teaspoons milk or cream
– A splash of vanilla or a hint of melted chocolate for extra richness
Step-by-Step Instructions
Step 1: Preheat & Prep Pan
Set your oven to 350°F (175°C) and line a 9-inch square baking pan with parchment paper or spray it well with non-stick spray. I always do this because clean-up is a breeze, and the cake releases perfectly every time.
Step 2: Mix Dry Ingredients
In a large bowl, whisk together the flour, cocoa powder, baking soda, baking powder, and salt. This ensures everything is evenly distributed. I’ve learned the hard way that skipping this step can lead to uneven rise or dry spots, so take your time here.
Step 3: Mix Wet Ingredients
In a separate bowl, beat the eggs with both sugars until combined—that’s about 2 minutes. Add the oil and vanilla, and beat until smooth. The mixture should look glossy and emulsified. I like to do this in stages so everything blends gently and no oil peeks out floating around.
Step 4: Combine
Pour the wet ingredients into the dry and gently fold with a spatula until just combined. Don’t overmix—that’s the secret to a nice light crumb. If you see a few lumps, that’s okay. The zucchini will bring all the moisture we need.
Step 5: Prepare Filling
In a small bowl, mix the softened cream cheese with powdered sugar and vanilla. Whisk until creamy. I sometimes add a tiny pinch of salt or a splash of lemon juice to balance the sweetness, depending on my mood.
Step 6: Layer & Swirl
Pour about half of the batter into your prepared pan. Dollop the cream cheese mixture over on top, then spread evenly—or in patches if you’re feeling rustic. Pour the remaining batter over and gently swirl with a knife or skewer to create a marbled effect. It’s just a fun step that makes each slice a little prettier.
Step 7: Bake
Pop it into the oven and bake for 40–45 minutes, or until a toothpick inserted in the center comes out with a few moist crumbs. Keep an eye on the edges—they might brown faster. If that happens, lightly tent with foil to prevent burning.
Step 8: Cool & Glaze
Let the cake cool in the pan for at least 15 minutes, then transfer to a wire rack. When fully cooled, drizzle with the glaze. The glaze should be thick enough to hold a gentle shine but runny enough to spread easily.
Step 9: Slice & Serve
Use a sharp knife to cut through the moist crumb—warm water on the blade helps with clean slices. Serve with a dollop of whipped cream or a second drizzle of glaze if you’re feeling extra indulgent.
What to Serve It With
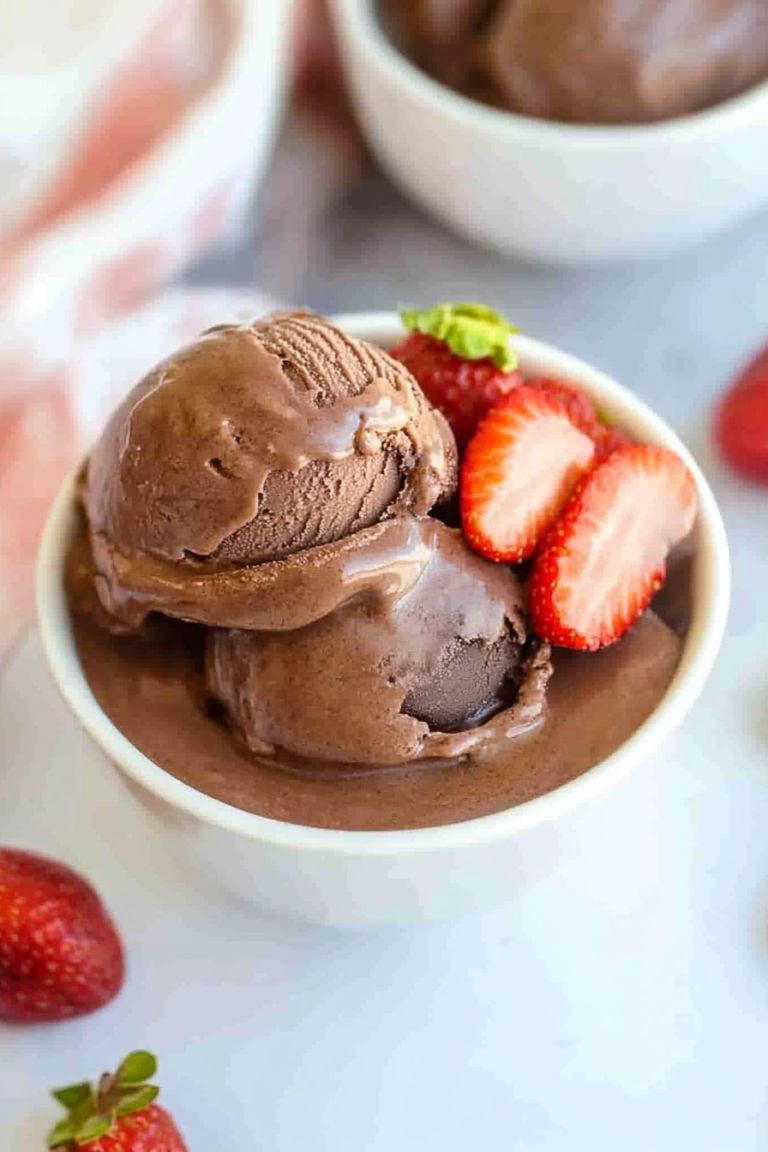
This cake is versatile enough to shine at all times of the day. For breakfast, a cup of black coffee pairs beautifully—trust me, that bitter warmth contrasts perfectly with the sweet cocoa. I also like to serve a slice with a scoop of vanilla ice cream if I’m feeling fancy or have guests over for brunch. It’s delicious slightly warm or at room temperature—the moisture stays so good that even a day or two later, it’s still moist and flavorful.
As an afternoon treat, I’ll add a splash of whipped cream or a sprinkle of toasted nuts on top. My kids love it with a drizzle of peanut butter or a dusting of powdered sugar—totally optional but worth it for that extra flair. And honestly, it’s perfect as a light dessert after a heavier meal because it’s satisfying but not overwhelming.
Top Tips for Perfecting Your Chocolate Zucchini Cake with Cream Cheese Swirl
Having made this so many times, I’ve learned a few tricks. First, squeezing out excess moisture from your zucchini is key—if it’s too wet, the cake can turn gummy. I use a clean kitchen towel to really wring it out, then even pat it dry—that step makes a noticeable difference. Otherwise, the batter can be a little runny, and you don’t want that.
When mixing the dry ingredients, sift cocoa powder and flour together if you want an extra fine crumb. Overmixing is my biggest rookie mistake—since I’m a ‘fold slowly and gently’ kind of person, I’ve learned that patience pays off here. It keeps the cake airy and light.
For the swirl, I sometimes swirl differently—more…or less—depending on my mood. Less swirl keeps the cake more uniform, but a good marbling makes it fun to look at and eats even prettier. If you’re feeling adventurous, sprinkle some mini chocolate chips or chopped walnuts into the batter before baking for added texture and flavor.
And honestly, don’t stress about timing. My oven tends to run hot, so I check a few minutes early. Every oven is a little different. When the toothpick comes out with just a few moist crumbs, you’re good to go.
Trying different fillings or toppings? I’ve tested lemon zest in the frosting for a zing, or a hint of cinnamon sometimes jazzes up the flavor. These little tweaks make this a versatile canvas for your baking personality.
Storing and Reheating Tips
This cake stays moist for days, but I prefer to keep it covered in an airtight container at room temperature for up to 2 days. If I want to keep it longer, I pop it in the fridge—just make sure to cover it tightly so it doesn’t dry out. It’s still delicious cold or slightly warmed in the microwave for 10 seconds—so good. For freezer storage, I wrap individual slices tightly in plastic wrap and then foil. It’ll last in the freezer for up to 3 months. Thaw it overnight in the fridge or warm slices gently in the microwave, and the moisture and flavor will bounce right back. When you’re ready to add the glaze, just give it a quick whisk and drizzle over the cake at serving time—the freshness makes all the difference.
Frequently Asked Questions
Final Thoughts
This chocolate zucchini cake has truly become a family favorite in my house. It’s like that comfy pair of slippers—familiar, warm, and just a little indulgent. I love how it sneaks in veggies without anyone noticing, and no one ever turns down a second slice. Once you get the hang of it, I bet it’ll become your go-to for quiet weekends or when you want to impress without stressing. Plus, it’s endlessly adaptable—try different fillings, toppings, or even whole wheat flour if you’re feeling healthier. I hope you give this a shot and see how simple, satisfying, and downright delicious it really is. Tell me how yours turns out—I can’t wait to hear! Happy baking!
Favorite Strawberry Recipes
Ingredients
Method
- For the Strawberry Shortcake: In a medium bowl, gently toss the sliced strawberries with granulated sugar. Let sit for about 15-20 minutes, or until the strawberries have released some of their juices.
- While the strawberries are macerating, bake the biscuits according to package directions. Let cool slightly.
- In a separate bowl, whip the heavy cream with powdered sugar until stiff peaks form.
- To assemble: Split the biscuits in half horizontally. Top the bottom half with a generous spoonful of macerated strawberries and their juices, then a dollop of whipped cream. Place the top half of the biscuit on top.
- For the Strawberry Basil Bruschetta: Preheat your oven or grill to toast the baguette slices. Brush each slice with olive oil.
- Toast the baguette slices until golden brown and slightly crispy.
- In a bowl, combine the diced fresh strawberries and chopped fresh basil.
- Spoon the strawberry and basil mixture onto the toasted baguette slices. Drizzle with balsamic glaze just before serving.