Easy Peppermint Candy Recipe
If you’ve ever had one of those mornings where you need a little something to lift you up—maybe it’s after a sleepless night or a busy weekend—then I’ve got the perfect comfort food for you. It’s this zucchini chocolate swirl cake that I’ve been making forever, and trust me, it’s one of those magical recipes that somehow tastes like a slice of cozy happiness. What’s funny is, I used to think zucchini was just for savory dishes or quick stir-fries, but this cake changes everything. It’s moist, rich, and packed with chocolate swirls—yet, it’s surprisingly simple to throw together, even when life feels a bit hectic. My kids ask for this all the time, especially when chocolate cravings hit in the afternoon. I always do this when I want to sneak in a veggie and still indulge—because let’s face it, dessert is best when it’s sneaking in good stuff. And the smell alone? It’s enough to bring everyone to the kitchen—trust me, this one’s a lifesaver on busy nights when you want something sweet but don’t want to go all-out baking from scratch. Ready to see how it’s made? Let’s do this!
What is Zucchini Chocolate Swirl Cake?
This isn’t just your average chocolate cake, my friend. Think of it as a cozy, wholesome delight where the humble zucchini plays the star sidekick. The name might sound fancy or a bit strange—swirling zucchini into cake? Yep, it’s that simple trick that keeps the texture super moist and adds a hint of freshness without taking over the chocolatey goodness. It’s essentially a cross between a quick-mix muffin recipe and a decadent layered dessert, but with a healthful twist. The idea came from trying to make my kids eat more greens without the fuss—so I just grated zucchini into batter one day, hoping no one would notice. Spoiler: They didn’t, and I got an extra serving of veggies in… while still enjoying a treat. This cake has become a family staple, especially for lazy weekend mornings or when someone needs a pick-me-up after school. It’s perfect for making ahead, and the swirling chocolate—oh, the swirling chocolate—makes every slice look like a little piece of art. Think of it as a chocolatey hug wrapped in healthy coziness!
Why you’ll love this recipe?
What I love most about this zucchini chocolate swirl cake is how endlessly versatile it is. First, the flavor? It’s rich and indulgent, but not overwhelming. That little bit of zucchini adds moisture and a fresh boost, which keeps it feeling light, even with all that chocolate. And let me tell you—nothing beats the smell of this baking in the oven. It’s the kind of aroma that makes everyone in the house stop what they’re doing and gravitate toward the kitchen, noses in the air. Plus, it’s one of those recipes that’s pretty forgiving, even if you’re not a seasoned baker. It’s super simple and cost-effective—using ingredients you probably already have hiding in your pantry and fridge. And the best part? It’s adaptable! Want it gluten-free? Swap in almond flour. Need it dairy-free? Use coconut oil and almond milk. I’ve tested this with different chocolates too—white, dark, even that fancy vegan kind—and it always comes out amazing. What really seals the deal for me is how quick this is to prepare, but it feels just fancy enough to serve at brunch, dessert, or even a casual coffee date. Plus, it’s a sneaky way to get those greens in without any fuss. Who knew zucchini could be this charming?
How do I make Zucchini Chocolate Swirl Cake?
Quick Overview
This cake is honestly easier than it looks. You start by grating zucchini and mixing it into a simple batter, then layering half with melted chocolate before swirling it together. A quick bake, a drizzle of glaze, and you’ve got a gorgeous, moist cake that’s perfect when time’s tight but the craving for something cozy hits hard. What makes this method special is how forgiving it is—overmix, and it’s still going to turn out fluffy. The swirling part? It’s just messy enough to be fun, and the visual payoff is totally worth it. Plus, if you’re like me and often forget to soften your butter or chill your eggs, don’t worry—this recipe is flexible and forgiving. Once it’s out of the oven, you smell the warm chocolate and hint of zucchini, and everything else just melts away.
Ingredients
For the Main Batter:
– 2 cups all-purpose flour (or almond flour for gluten-free)
– 1 cup granulated sugar, or honey/maple syrup for natural sweetness
– 1 teaspoon baking powder
– ½ teaspoon baking soda
– ½ teaspoon salt
– 1 teaspoon vanilla extract
– ¾ cup vegetable oil or melted coconut oil
– 3 large eggs (or flax eggs for vegan version)
– 1 cup grated zucchini (squeeze out excess moisture)
– ½ cup milk (dairy or plant-based)
For the Filling:
– 1 cup chopped dark chocolate or chocolate chips (select your fave)
– 2 tablespoons butter or coconut oil (for melting with the chocolate)
For the Glaze:
– ½ cup powdered sugar (or coconut sugar blended finely)
– 2-3 tablespoons milk or cream (for consistency)
– A splash of vanilla or a pinch of cinnamon for extra flavor
Step-by-Step Instructions
Step 1: Preheat & Prep Pan
Crank your oven to 350°F (175°C). Grease a loaf pan or line it with parchment paper—I like using my 9×5-inch loaf because it’s just the perfect size for this cake. This prevents sticking, and noone wants to wrestle with breaking apart a hot cake.
Step 2: Mix Dry Ingredients
In a big bowl, whisk together your flour, baking powder, baking soda, and salt. I always do this first so everything’s evenly distributed. It’s like giving the dry ingredients an invite to the party, keeping clumps away and making sure your cake is fluffy.
Step 3: Mix Wet Ingredients
In another bowl, beat the eggs, sugar, vanilla, and oil until you get a smooth, slightly frothy mixture—about 2 minutes. Then gently stir in the grated zucchini and milk. The zucchini should be well incorporated but not totally smushed—think of it as adding a little burst of freshness with every bite.
Step 4: Combine
Pour your wet mixture into the dry ingredients and fold gently with a spatula. Do not overmix! It’s okay if there are a few small lumps—that’s what makes it tender. Overmixing can lead to dense cakes, and nobody wants that.
Step 5: Prepare Filling
In a microwave-safe bowl, melt the chocolate with the butter or coconut oil, stirring until smooth. I usually do 30 seconds, then stir, and repeat if needed. It should be nice and pourable but not too hot—you might want to let it cool just a tad before pouring.
Step 6: Layer & Swirl
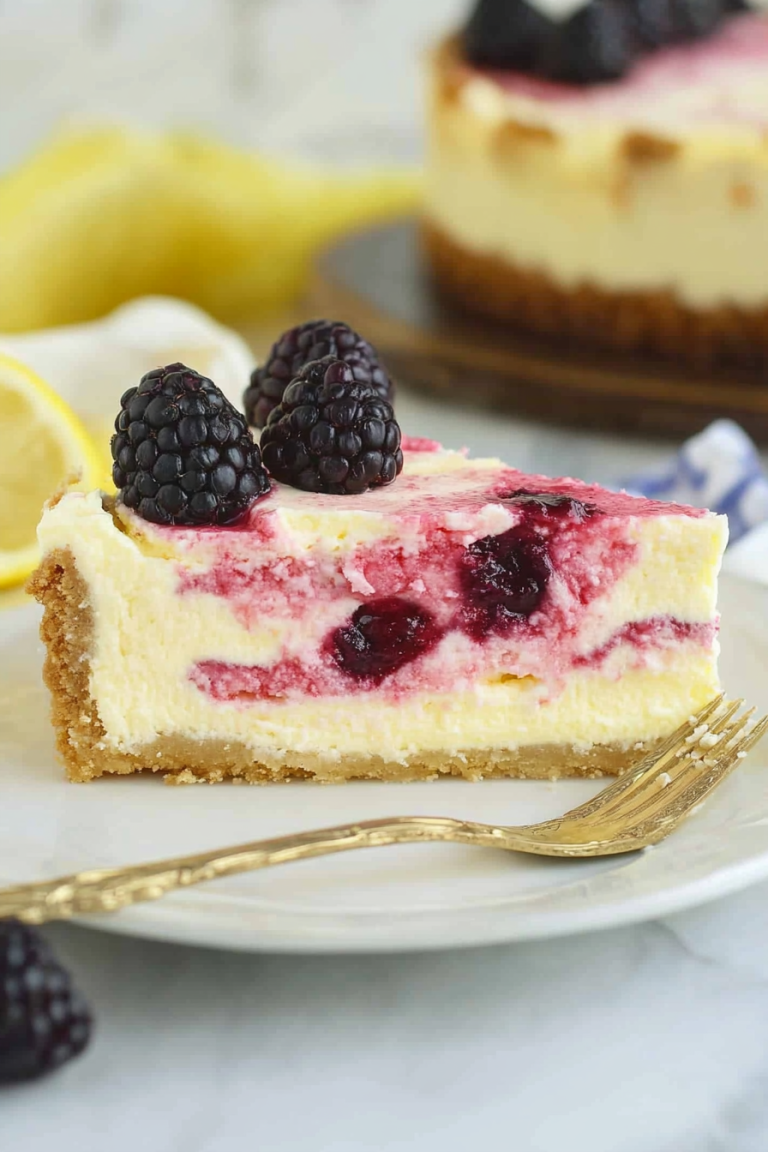
Pour half your batter into the prepared pan. Spread evenly. Then drizzle the melted chocolate over the batter, sort of zigzagging it across. Pour the rest of your batter on top, then use a toothpick or skewer to gently swirl the chocolate into the batter—creating those pretty ripples you see in the photo. Don’t overdo it; a couple of zigzags usually do the trick.
Step 7: Bake
Pop it in the oven and bake for about 45-50 minutes. Check with a toothpick—if it comes out clean or with just a few moist crumbs, you’re good. Ovens vary, so start checking at 45. If the top’s browning too fast, cover loosely with foil. Patience here makes all the difference.
Step 8: Cool & Glaze
Let the cake cool in the pan for about 15 minutes, then transfer to a wire rack. Once completely cooled, whisk together your glaze ingredients and drizzle it over the top. I find that the glaze sets beautifully if you do this when the cake is just warm. It adds that finishing glossy touch.
Step 9: Slice & Serve
Use a sharp serrated knife—patience is key here, especially for those perfect swirls. Serve slices slightly warmed or at room temp. I love it with a cold glass of milk or a hot cup of coffee. You can also top it with a dollop of whipped cream or a scoop of vanilla ice cream for an extra special treat.
What to Serve It With
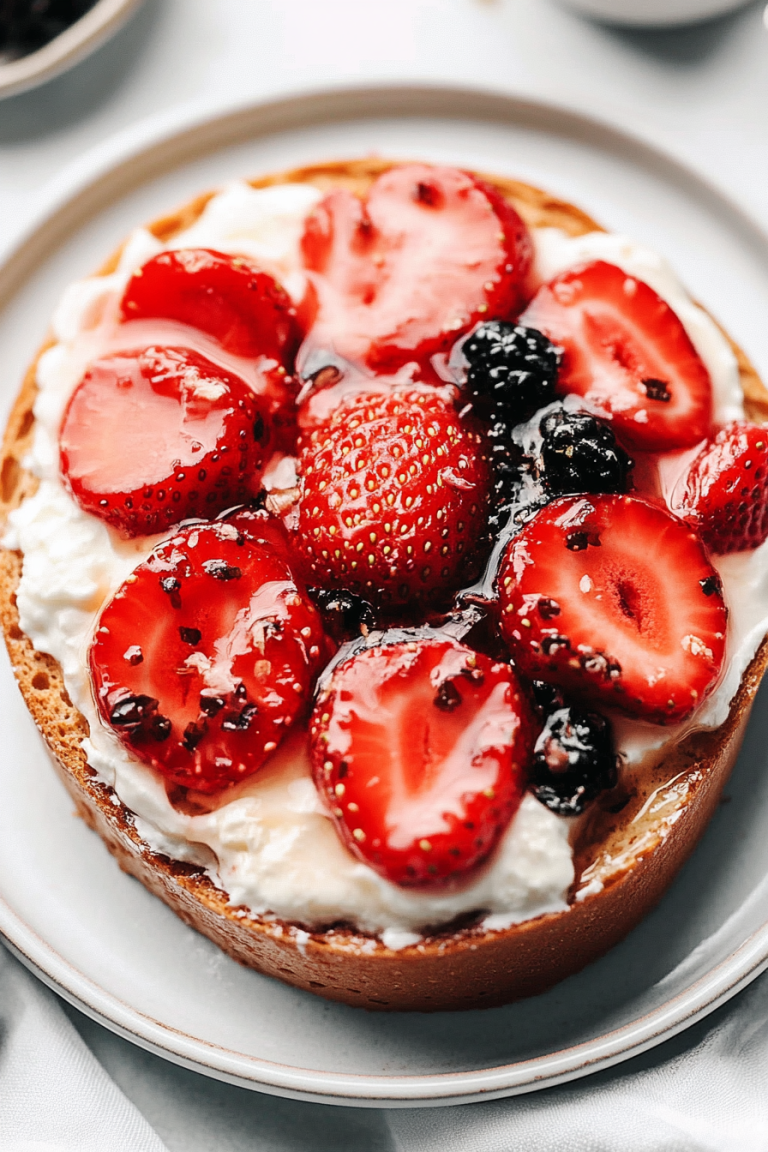
This cake is as good for breakfast as it is for dessert. I often serve it on Sunday mornings with fresh berries and a drizzle of honey—trust me, that combo is heavenly. For brunch, add some whipped cream and a sprig of mint, maybe a side of fresh fruit. It also makes a stunning end to a dinner party—cut thick slices, plate with a dusting of powdered sugar, and maybe a sprig of rosemary for good measure. My family loves having this as an afternoon snack, especially with a glass of cold milk or a cup of tea. When I bake this, the whole house smells like a warm chocolate hug, and honestly, I’m a little sad when it’s gone. It’s also terrific for picnics, because it travels well and stays moist—plus, no fancy equipment needed. My secret? I usually make the batter early in the day, swirl in the chocolate, and bake it fresh when everyone’s hungry. This cake always disappears in minutes, leaving everyone asking for seconds.
Top Tips for Perfecting Your Zucchini Chocolate Swirl Cake
After making this dozens of times, I’ve learned a few tricks that turn this cake from good to utterly irresistible. First, when grating the zucchini, I always squeeze out as much moisture as I can. It’s an extra step but so worth it—less sogginess means a fluffier crumb. Speaking of texture, if you don’t have all-purpose flour, almond flour works surprisingly well, though it makes the cake denser—delicious, but heavier. When melting your chocolate, I recommend doing it slowly in short bursts to avoid burning or seizing. The swirl pattern can be fun to play with—try experimenting with different patterns or even adding a dash of vanilla or cinnamon to the chocolate for a flavor boost. For a vegan twist, replace eggs with flax eggs (1 tablespoon ground flaxseed mixed with 3 tablespoons water), and swap the milk for almond or oat milk. Honestly, I’ve tested all sorts of swaps, and as long as you keep the batter balanced, it’ll turn out beautifully. Baked too long? The cake dries out; not baked enough? It’s gooey in the middle. Trust your toothpick! When baking at higher altitudes, add an extra tablespoon of flour and watch the baking time. And lastly, the glaze—you can make it thicker or thinner depending on your mood, and even add a splash of bourbon or orange zest for a grown-up touch. I’ve learned that a little patience, and not rushing the cooling process, really makes a difference. The first time I marbled in too vigorously, and the chocolate sank to the bottom—lesson learned! Now I swirl gently, creating those lovely ribbons of chocolate that make each slice almost too pretty to eat.
Storing and Reheating Tips
This cake is best enjoyed within a couple of days, but if you’re like me, leftovers are rare. Wrap it tightly in plastic wrap or store in an airtight container—this keeps it moist and fresh. On especially humid days, I sometimes pop it in the fridge, especially if I’ve added a dairy-based glaze or topping. Just remember, if it’s chilled, let it sit at room temperature for about 10 minutes before slicing—it softens and releases even more of that irresistible smell. To freeze leftovers—wrap the entire cake or slices in plastic wrap, then foil, and pop into the freezer for up to a month. When you want to enjoy it, just thaw at room temp for a couple of hours or warm slices in the microwave—be careful not to overheat, or the chocolate will seize up. The glaze can become a little matte when chilled, so if you want the shiny finish, drizzle fresh once it’s at room temp. Honestly, this cake tastes almost better the next day, when all those flavors have melded together. It’s my go-to for when I want a quick sweet fix without the hassle, and it holds up beautifully for a picnic or a casual get-together. Just keep an eye on moisture—you don’t want it to dry out, but with proper storage, it stays tender and delicious.
Frequently Asked Questions
Final Thoughts
Honestly, I can’t recommend this zucchini chocolate swirl cake enough. It’s a little bit fun to make—swirling the chocolate into batter is almost like creating a work of art—and a whole lot delicious. I love how it combines cozy, homey flavors with a surprising veggie twist, which makes me feel good about sneaking in that extra green. Every time I bake this, my kitchen fills with that warm, chocolatey scent, and my family comes running. If you’re looking for a way to brighten a dull afternoon or impress friends with a deceptively simple dessert, this is your answer. The best thing? It’s adaptable—gluten-free, vegan, or just plain classic, it always turns out fantastic. Oh, and don’t forget to take a mental snapshot of the swirl pattern—trust me, it’s almost too pretty to cut! I hope you try it soon and that it brings as much joy to your home as it’s brought to mine. Happy baking!
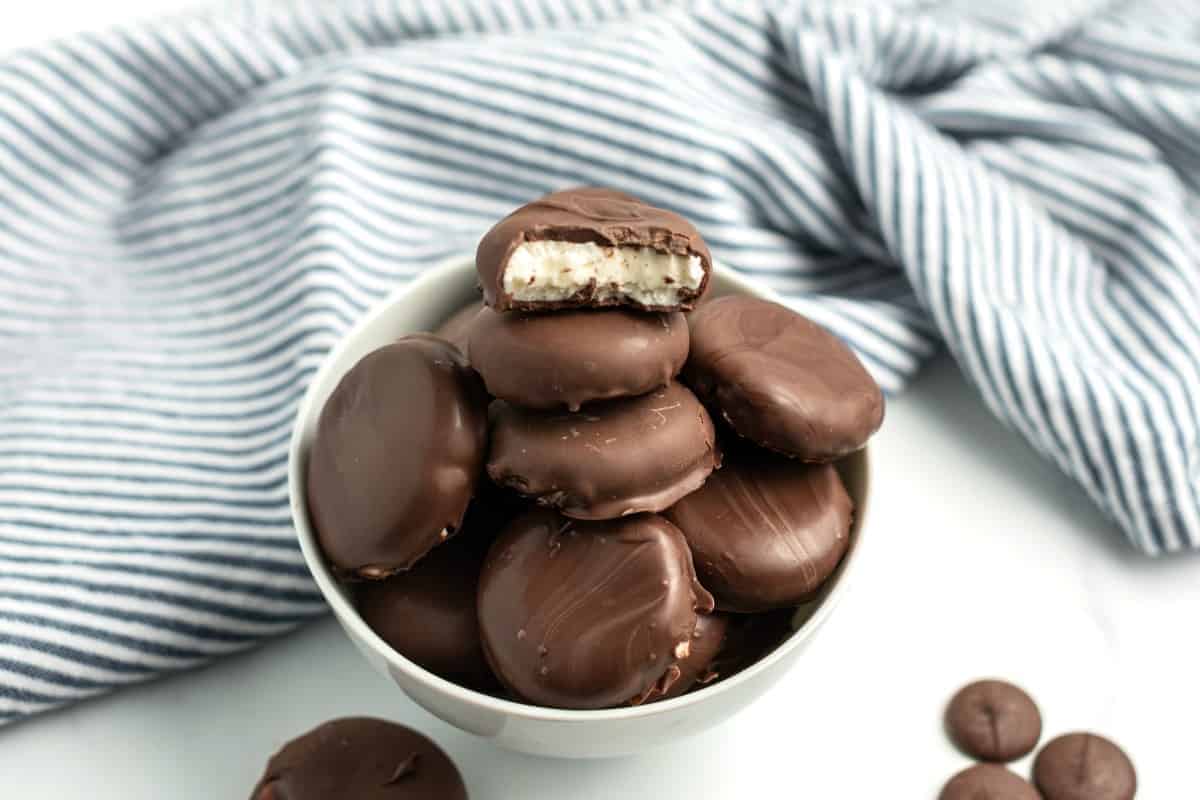
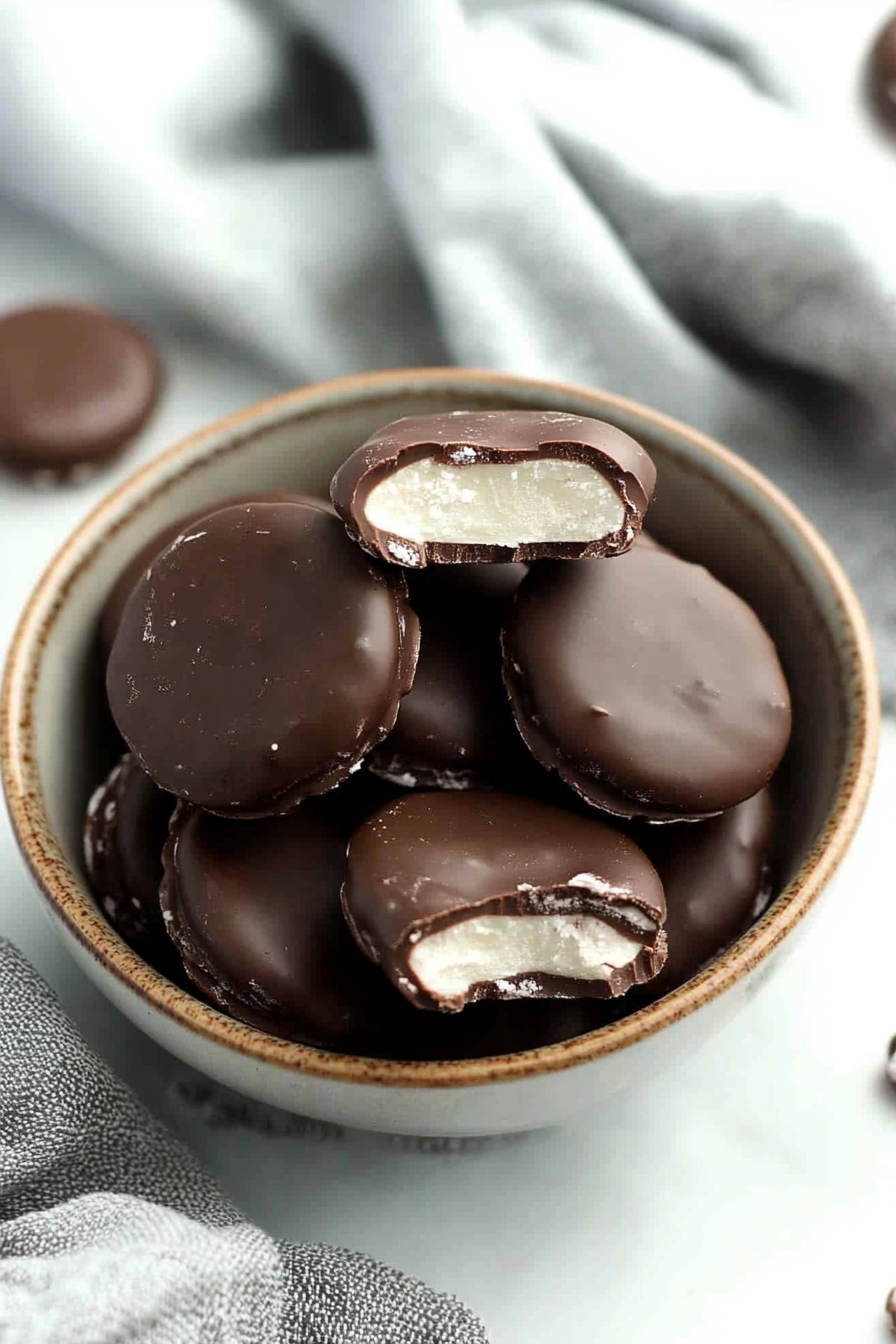
peppermint patties
Ingredients
Method
- In a large mixing bowl, beat cream, butter, and extracts until fully combined. Add in powdered sugar and mix on medium speed until well blended.
- Line a large baking sheet with parchment paper. Using about 1 tablespoon of filling, shape into a ball, then flatten it for the traditional shape. For footballs, shape into a ball and pinch the ends. Freeze for about 2 hours.
- Melt Ghirardelli chocolate wafers according to package directions. Dip frozen peppermints into the chocolate with a toothpick, tap excess, and place on parchment paper. Let set.
- Store at room temperature in a covered container.
- For footballs, melt white chocolate, pipe onto the coated candies to add laces, and let set.