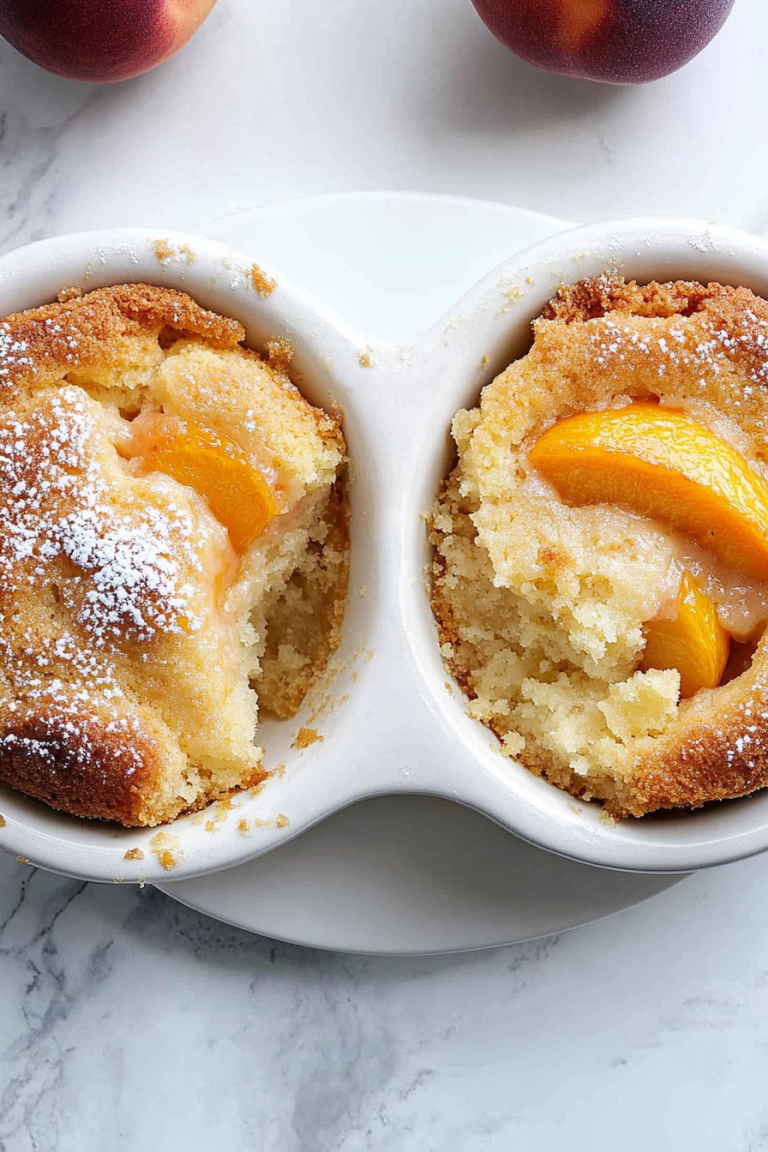
Sweet Citrus Date Loaf Turtle Recipe
There’s something magical about pulling a warm, fragrant coffee cake out of the oven on a lazy weekend morning, isn’t there? I’ll never forget the smell of my grandma’s kitchen when she baked her famous zucchini swirl cake — that cozy scent of cinnamon, nutty walnuts, and sweet zucchini wafting through the air. It’s funny how a simple zucchini, usually tucked away in the back of the fridge, can turn into something so irresistible with a little love and a handful of common ingredients. This particular recipe is my go-to when I want something sweet but not overly indulgent, and it’s become a standard in my house because my kids ask for it all the time. Honestly, I always keep a stash of shredded zucchini in the freezer just for these moments. Trust me — this “human” kind of baking brings family together and makes the kitchen smell like home. Plus, it’s surprisingly easy to make, even for those busy mornings when you want something comforting in a pinch.
What is Zucchini Swirl Coffee Cake?
Think of this as a cozy, breakfast-style treat that combines the moist, tender crumb of a coffee cake with the fresh, sneaky goodness of zucchini. It’s essentially a layered cake with a beautiful swirling pattern of cinnamon-spiced zucchini mixture running through the batter. The name might sound fancy, but it’s really just a simple, homey baking project that’s perfect for breakfast, brunch, or even a comforting afternoon snack. The “swirl” part is what makes it a little special — a ribbon of tender zucchini flavored with cinnamon, sugar, and a little nutty crunch from walnuts or pecans, if you like. This cake is all about those small, happy moments: slicing into a piece and watching the cinnamon swirl dance through the moist cake, then taking that first bite and feeling like you’re wrapped in a warm hug. It’s wholesome, a little nostalgic, and downright delicious.
Why you’ll love this recipe?
What I love most about this zucchini swirl coffee cake is how it manages to be both cozy and wholesome without feeling heavy. The flavor is a perfect balance of cinnamon sweetness with that hint of fresh zucchini, which keeps it moist and tender with a subtle veggie boost. Plus, the aroma—it smells like homemade comfort food that instantly makes everyone in the house come running. And let me tell you, this one’s a lifesaver on busy nights when you want to whip up something quick that feels special. The best part? It’s so easy to prepare — no complicated steps, just mixing, layering, and baking. I’ve tested this with almond milk and even a splash of vanilla extract, and it actually made it even creamier. It’s also super budget-friendly, using ingredients I always have on hand. Trust me, this cake is versatile, too — serve it warm with a dusting of powdered sugar, a dollop of whipped cream, or even a drizzle of glaze for extra oomph. Honestly, it’s become a family favorite, and I find myself craving it on lazy weekends or when I need a little sweet pick-me-up after a long day. And because it’s so adaptable — gluten-free, dairy-free, you name it — anyone can enjoy a piece.
How do I make Zucchini Swirl Coffee Cake?
Quick Overview
This zucchini swirl coffee cake comes together with a simple batter, a vibrant zucchini cinnamon filling, and a swirl technique that turns it into a mini masterpiece. The key is to grate the zucchini well, squeeze out excess moisture, and gently fold it into the batter. Then, you layer the zucchini mixture in the center of the batter, swirl it in with a knife, and bake until golden and fragrant. It’s one of those recipes where you look at it raw and think, “This can’t be good,” but trust me, it’s delicious. The magic is in that swirl—kind of like a cinnamon roll but with the earthiness of zucchini. It’s perfect for baking on Sundays or making ahead for breakfast the next day — just refrigerate, slice, and reheat. Simple, cozy, and honestly one of the most enjoyable baking projects I do — I promise, once you’ve tried it, you’ll want to make it again and again.
Ingredients
For the Main Batter:
– 2 cups all-purpose flour (or a 1:1 gluten-free blend if you prefer)
– 1 teaspoon baking powder
– 1/2 teaspoon baking soda
– 1 teaspoon ground cinnamon
– 1/2 teaspoon salt
– 1/2 cup granulated sugar
– 1/2 cup packed light brown sugar
– 1/2 cup vegetable or canola oil
– 2 large eggs
– 1 teaspoon vanilla extract
– 1 cup milk (dairy or almond milk)
– 1 1/2 cups shredded zucchini (see tips below for prep)
For the Filling:
– 1/2 cup granulated sugar
– 1 tablespoon ground cinnamon
– 1 cup shredded zucchini
– 1/2 cup chopped walnuts or pecans (optional)
For the Glaze:
– 1/2 cup powdered sugar
– 1-2 tablespoons milk or lemon juice
– Optional: vanilla extract or lemon zest for extra flavor
Step-by-Step Instructions
Step 1: Preheat & Prep Pan
Set your oven to 350°F (175°C). Grease a 9-inch square baking pan or line it with parchment paper — this makes cleanup easier. If you’re feeling fancy, spritz it lightly with non-stick spray and dust with a little flour or sugar. Have your shredded zucchini ready — I always do this ahead of time and store it in a clean kitchen towel to squeeze out extra moisture. The less watery your zucchini, the better your cake will hold together and the prettier the swirl.
Step 2: Mix Dry Ingredients
In a large bowl, whisk together the flour, baking powder, baking soda, cinnamon, and salt. This step ensures everything’s evenly distributed and helps prevent lumps. Deliciously simple and essential for a tender crumb.
Step 3: Mix Wet Ingredients
In a separate bowl, beat the eggs, sugar, brown sugar, oil, vanilla, and milk until smooth. It should look slightly frothy and well combined. I like to do this part with a whisk — it’s quick and makes sure everything’s perfectly mixed.
Step 4: Combine
Pour the wet mixture into the dry ingredients and gently fold until just combined — don’t overmix, or your cake might turn out rubbery. Fold in the shredded zucchini carefully, making sure it’s evenly distributed throughout the batter. If the batter feels a touch thick, no worries — it’s supposed to be fluffy but hearty.
Step 5: Prepare Filling
In a small bowl, mix the sugar, cinnamon, and shredded zucchini for the filling. If you’re adding nuts, toss them in here. This filling is what makes the swirl so irresistible — fragrant, moist, and just the right amount of sweet.
Step 6: Layer & Swirl
Pour half of the batter into your prepared pan. Spread the zucchini filling over it, then pour the remaining batter on top. Using a butter knife or skewer, gently swirl the batter and filling together — don’t overdo it, just a few swirling motions to create those beautiful ribbon effects. The visual of the haven’t-yet-baked swirl is honestly a joy to watch unfold.
Step 7: Bake
Pop it into the oven and bake for about 35-40 minutes, or until a toothpick inserted into the center comes out clean. If your oven runs hot, start checking around 33 minutes — you want that golden top and a slightly firm center. My house smells incredible during this time, and I turn on some jazz to match the cozy vibe.
Step 8: Cool & Glaze
Allow the cake to cool in the pan for about 10 minutes, then transfer to a wire rack or serve warm from the pan. While it’s still a little warm, whisk together the powdered sugar and milk for the glaze, then drizzle it over the top. This glaze adds just enough sweetness and a lovely shiny finish — it’s a real crowd-pleaser.
Step 9: Slice & Serve
Cut into squares with a sharp knife, wiping it clean between slices for neat edges. Personally, I love serving this slightly warm with a dollop of whipped cream or a scoop of vanilla ice cream. It’s perfect for lazy mornings or for surprising guests with a homemade treat.
What to Serve It With
This cake is versatile enough to shine in many settings. At breakfast, pair it with a strong black coffee or a frothy cappuccino — the cinnamon and zucchini combo is a delightful wake-up call. For brunch, stack slices on a pretty platter with fresh berries or a sprinkle of extra cinnamon sugar. I love serving it as an afternoon snack with a glass of cold milk or tea — it’s a cozy treat to savor at noon or after school. As dessert, top it with whipped cream or a drizzle of caramel for a more decadent feel. My kids ask for this all the time, especially with a splash of vanilla ice cream melting on top. Sometimes I make it into mini muffins, which are perfect for packed lunches or picnics. Honestly, it’s become my go-to because I like how it adapts so easily to whatever mood I’m in or how much time I have. Plus, it’s a sneaky way to include more veggies in our day — my kids never know! And because it’s homemade, I know exactly what’s going into each piece — no preservatives, no artificials, just pure, comforting goodness.
Top Tips for Perfecting Your Zucchini Swirl Coffee Cake
Over the years, I’ve learned a few tricks that make this cake turn out just right every time. First, when preparing the zucchini, I always squeeze out as much moisture as possible using a clean kitchen towel — this keeps the batter from turning watery and prevent sogginess. I’ve tested with both fresh and frozen zucchini, and while fresh is best, frozen works in a pinch — just thaw it thoroughly and squeeze out excess water. When mixing the wet ingredients, don’t rush — room temperature eggs and milk help everything blend smoothly. I’ve had lumps and flat toppings happen when I overmix, so I gently fold everything until just combined. For the swirl, I prefer a light touch — too much stirring can blend the layers completely, losing that beautiful pattern. If I want to change things up, I’ll add a splash of lemon zest or a sprinkle of chopped walnuts for crunch. I’ve made this with coconut oil instead of vegetable oil, and it still turns out moist — you just might want to adjust the sweetness a little. When baking, always check around the 35-minute mark, as every oven is different. If you see the top browning too quickly, cover with foil and finish baking. For the glaze, I’ve played around with adding a touch of lemon juice or vanilla extract — it’s fun to customize based on the occasion. And one final tip: slice it only after it’s completely cooled — otherwise, it might crumble. Trust me, those little lessons learned over many batches of baking make all the difference!
Storing and Reheating Tips
This cake stays lovely for a couple of days, especially if stored properly. I usually wrap leftover slices tightly in plastic wrap or keep them in an airtight container at room temperature for up to two days. That said, if it’s hot or humid outside, I recommend refrigerating it — just make sure it’s covered well so it doesn’t dry out. To keep it fresh longer, I pop slices in an airtight container in the fridge — they’ll last about 4 days. Reheating is simple: warm slices in the microwave for about 20-30 seconds or until just warmed through. It’s amazing how the flavors intensify after a little rest! If you’re freezing leftovers, wrap individual slices tightly in plastic wrap, then place in a freezer bag. They’ll keep well for up to 2 months. When you’re ready to enjoy it, let it thaw at room temperature for about 15 minutes before reheating or serving cold. I’ve also tried adding the glaze after reheating, which gives it a fresh, glossy finish again — super simple and effective. Just keep in mind that glazing before freezing might cause the glaze to become soggy, so I prefer doing it fresh for the best presentation and flavor. Basically, with a little planning, you can enjoy this cozy cake anytime — it’s almost better the next day when the flavors have had a chance to meld.
Frequently Asked Questions
Final Thoughts
There’s something so comforting about this zucchini swirl coffee cake — it’s like a little slice of home in every bite. I love how it’s just as delicious for breakfast as it is for an afternoon treat or even a light dessert. The swirl design makes it feel special, yet it’s insanely simple to throw together. Over the years, I’ve experimented with different nuts, flavors, and even dairy-free options, and each variation turns out just wonderful. I hope you give this a try and find yourself making it a weekend tradition, too. Remember, the best part of baking is the joy it brings — the smell of cinnamon filling your kitchen, the first warm slice, and the delighted faces around the table. Happy baking! And I can’t wait to hear how yours turns out — don’t forget to leave a comment or share your own twists. Cheers to sweet, cozy mornings and all the love baked into each slice.
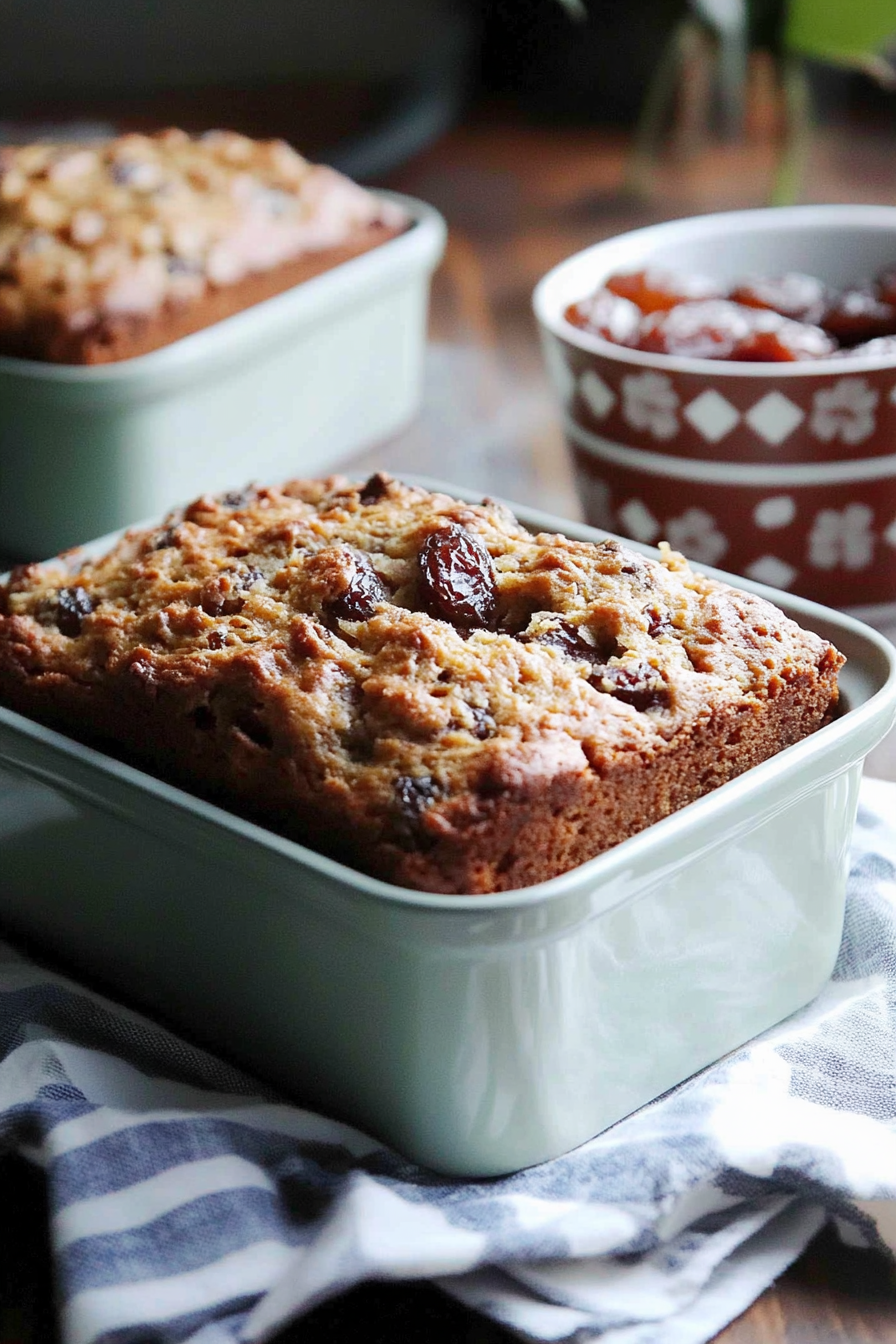
Date Nut Loaf
Ingredients
Method
- Preheat oven to 350ºF.
- Grease and flour a loaf pan; shake off excess flour. Set aside.
- In a large mixing bowl, combine dates, figs, butter, and baking soda; pour in the boiling water, stir until combined and set aside for 15 minutes.
- Using a whisk, beat sugar, walnuts, and eggs into the date mixture; set aside.
- In a separate bowl, whisk together all-purpose flour, baking powder, and salt.
- Add flour mixture to the date mixture and whisk until incorporated.
- Transfer batter to previously prepared loaf pan.
- Bake for 45 to 55 minutes, or until a toothpick inserted into the center of the loaf comes out clean.
- Remove from oven and place the loaf pan over a wire rack; let stand 15 minutes.
- Turn over the pan and turn out the bread; let cool completely.
- Cut and serve.